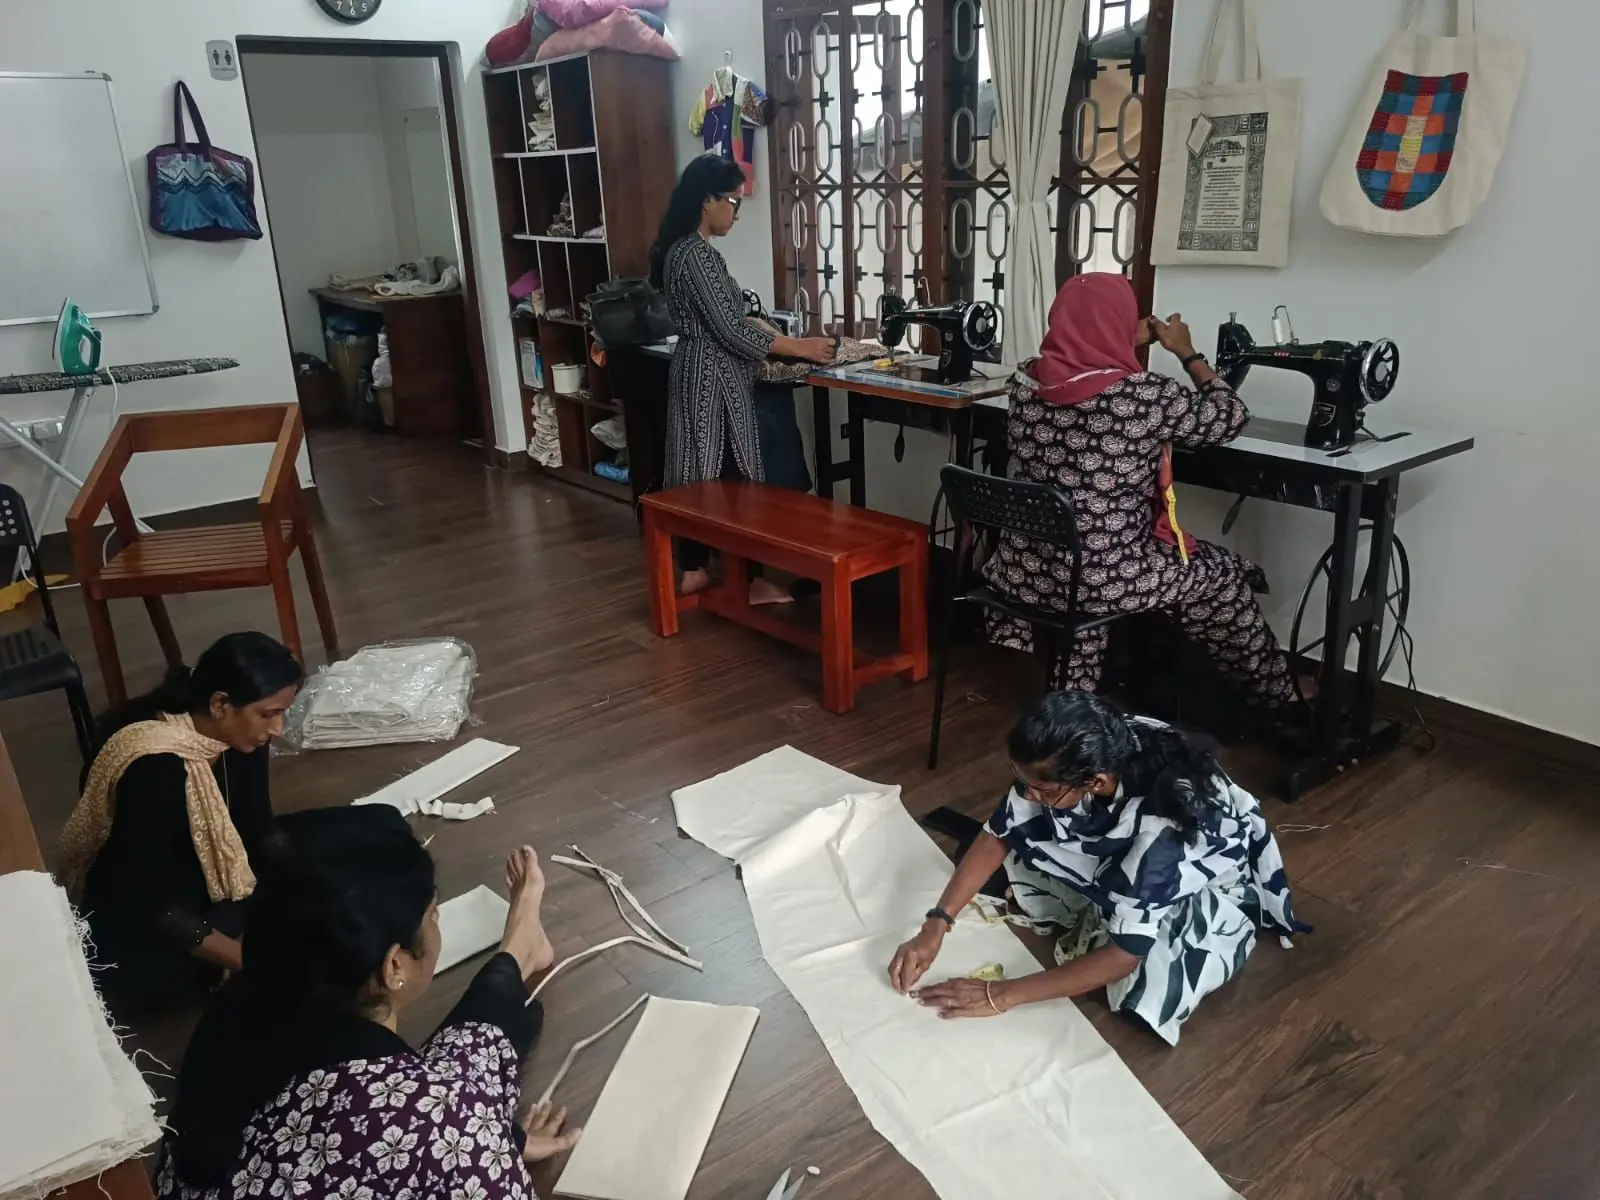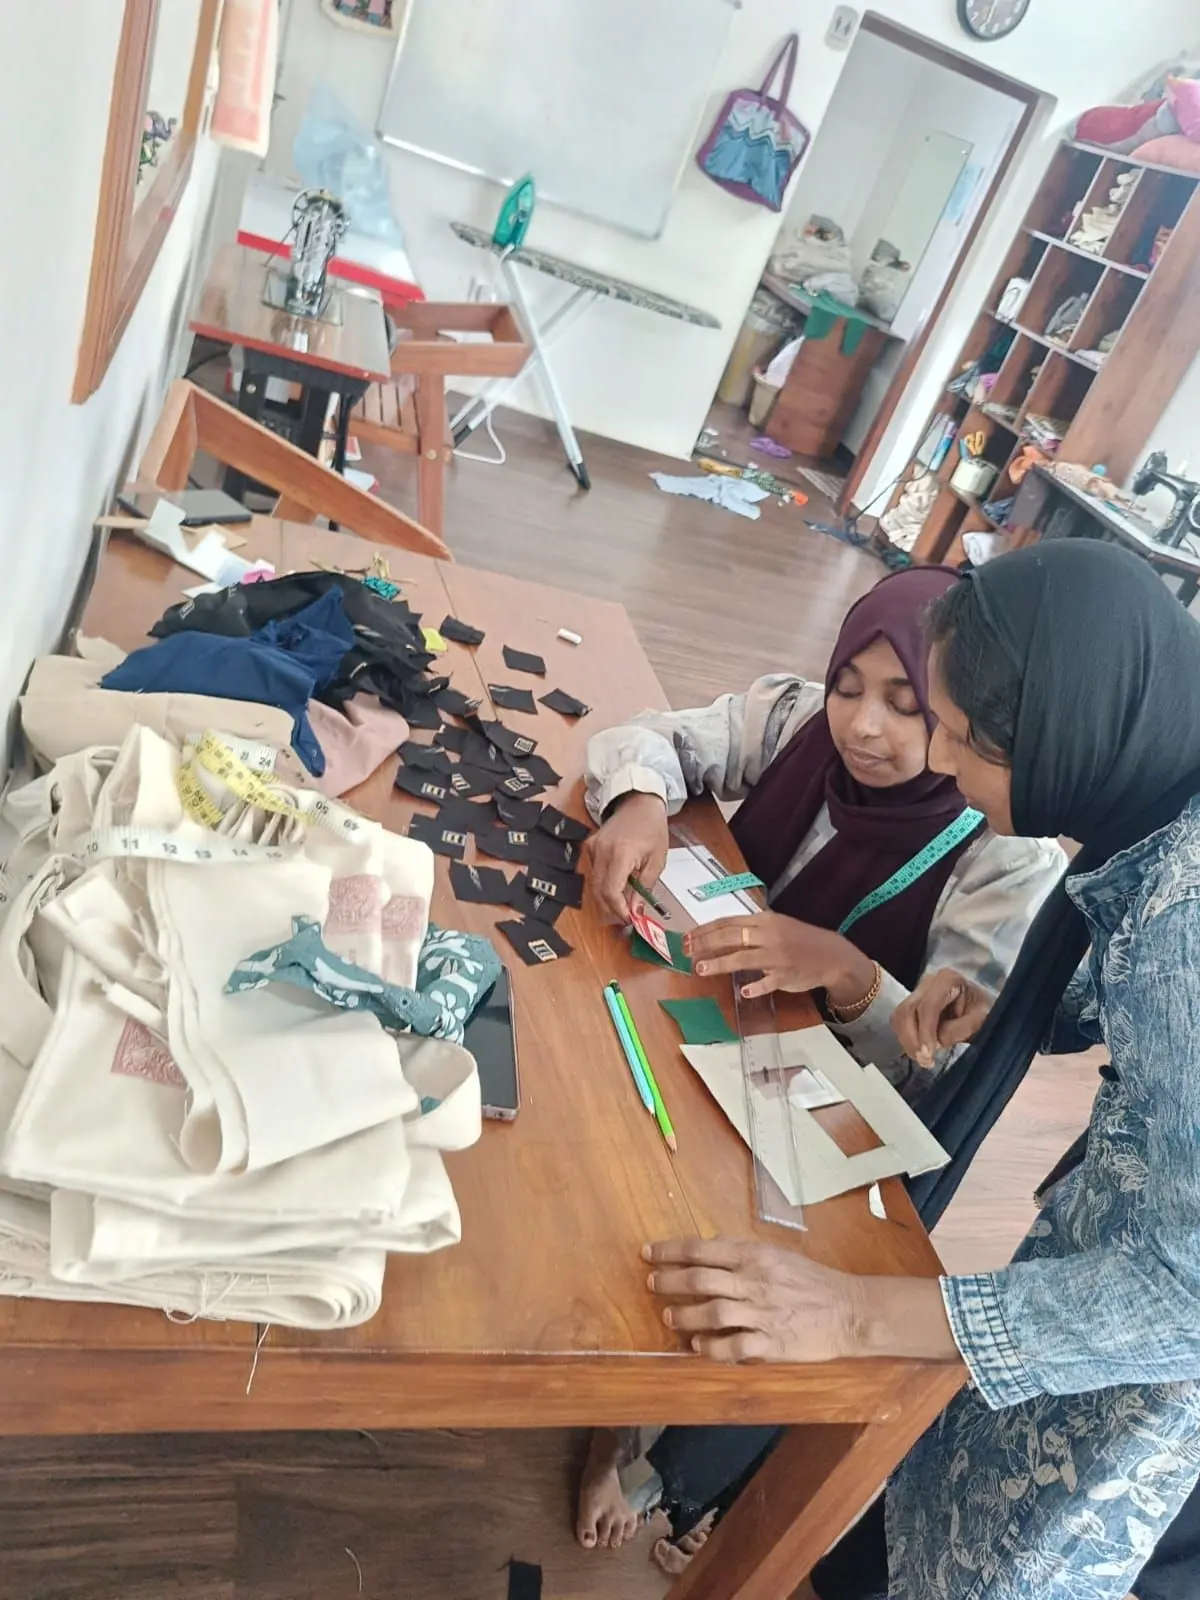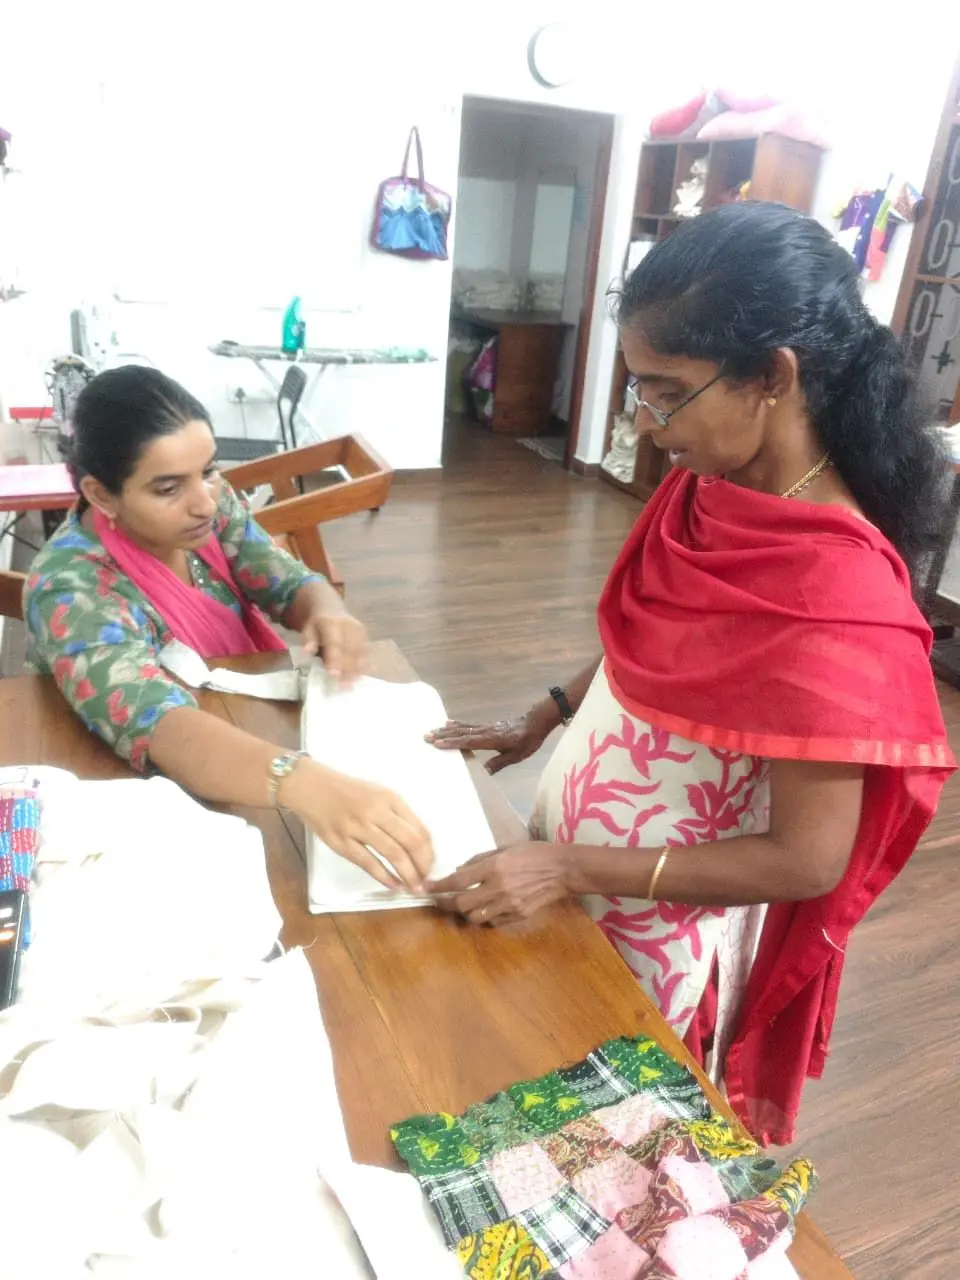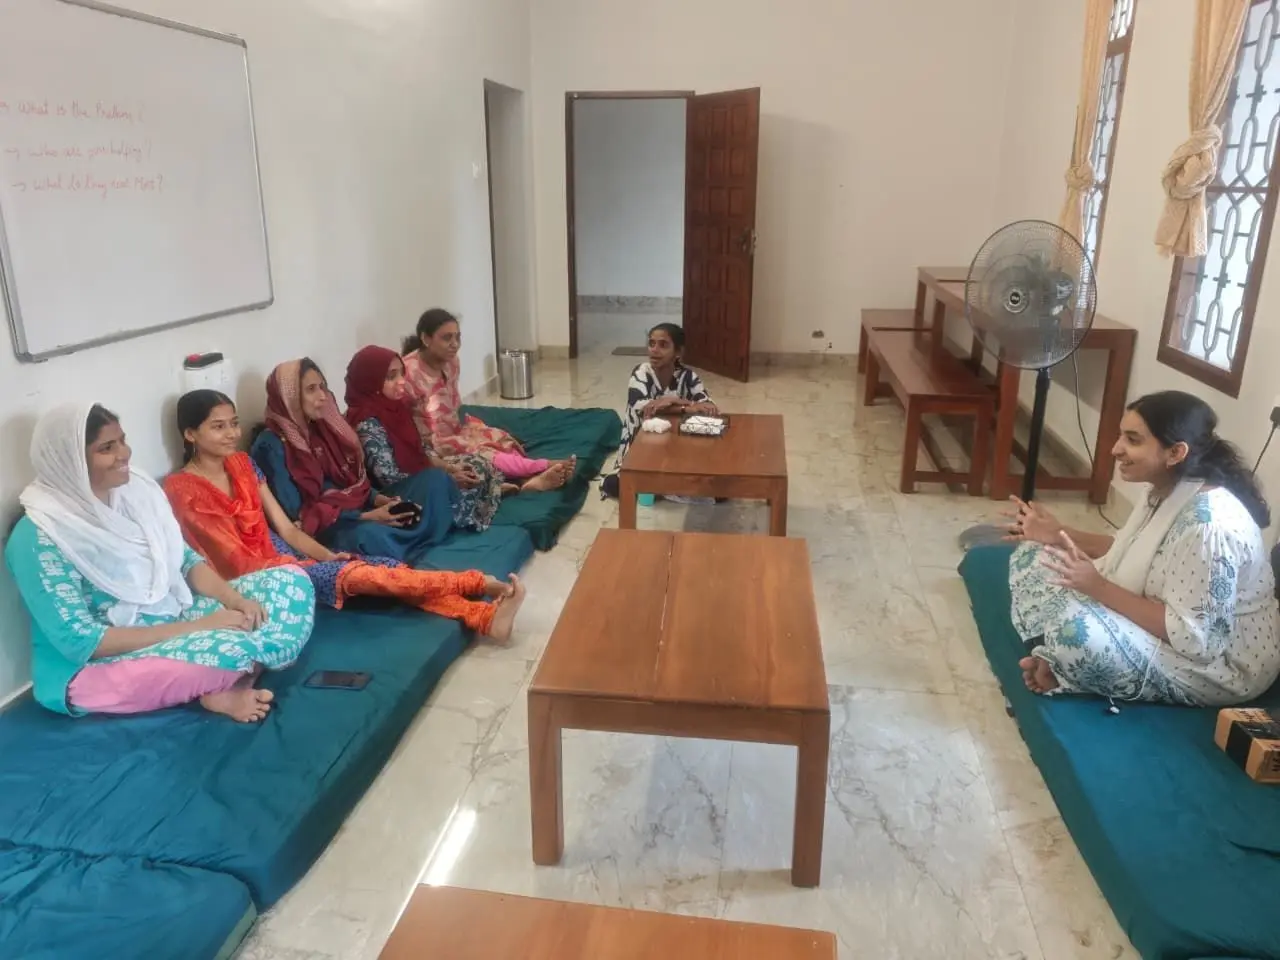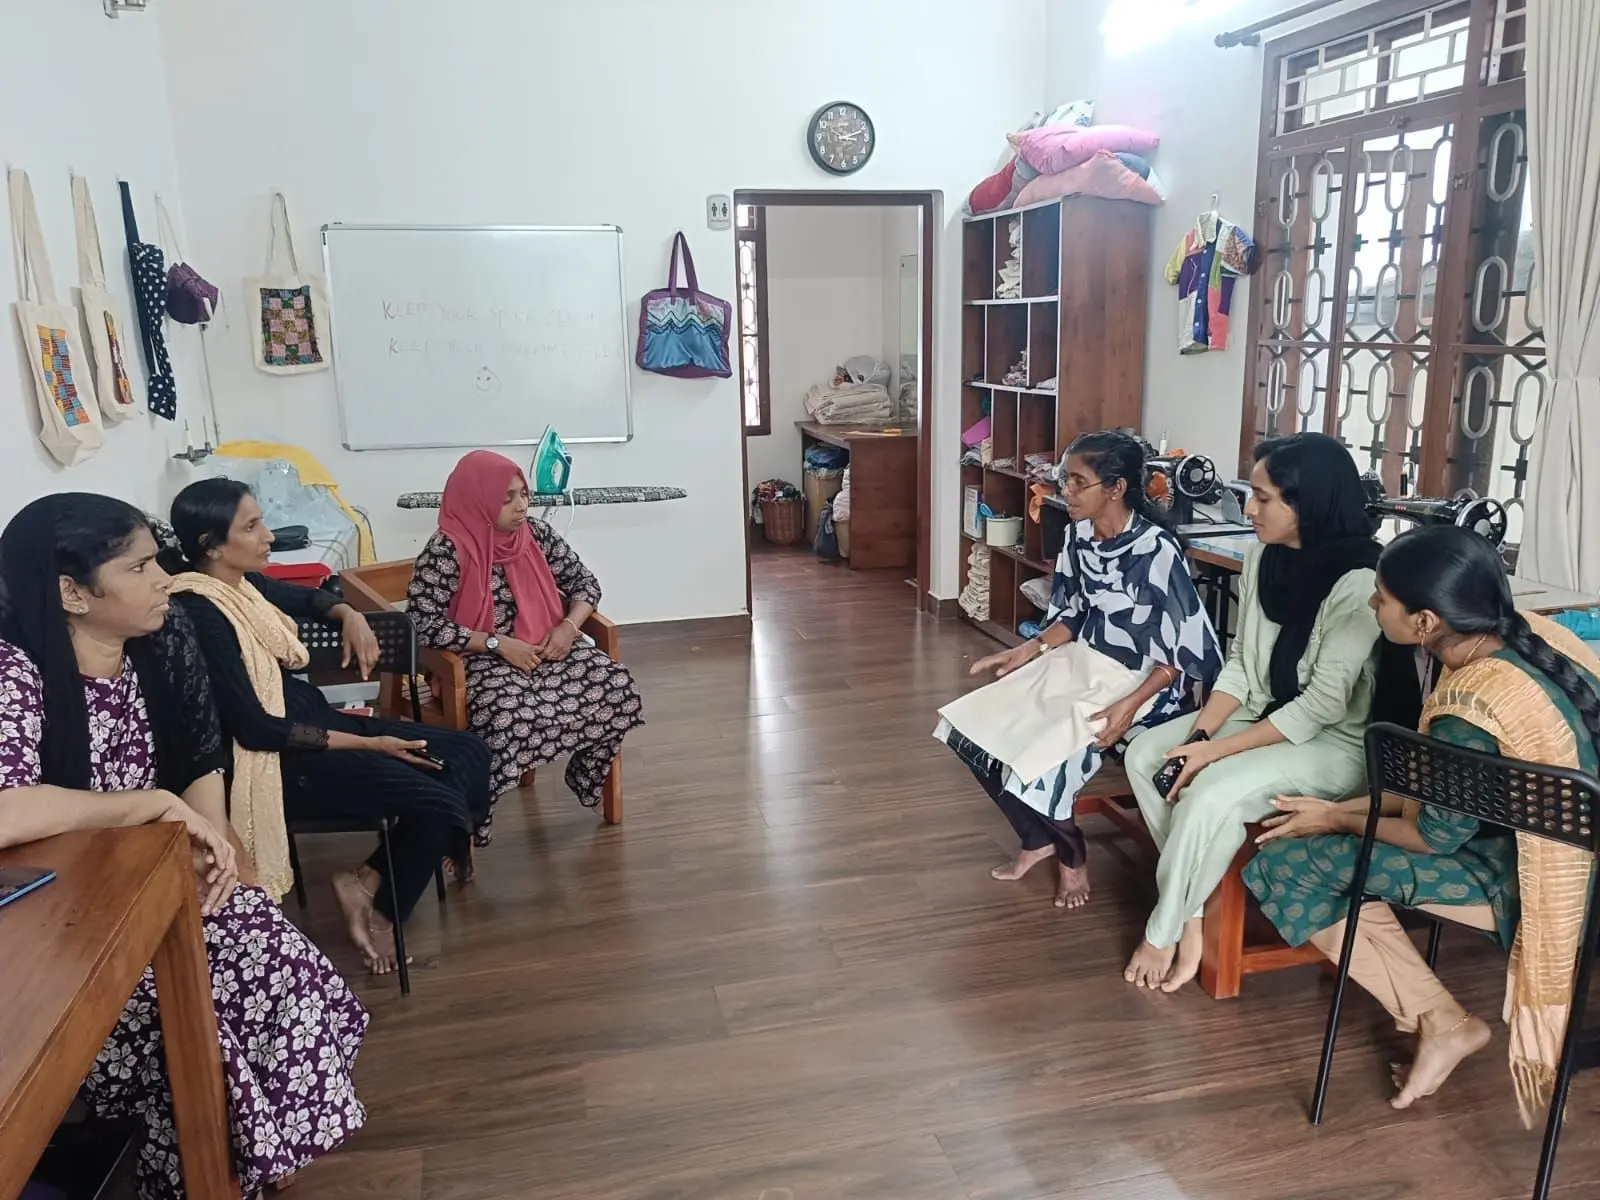
Mary Chechi led a session on special cutting and stitching techniques for screen-printed fabrics. She explained how to measure and align printed materials. She also showed how to stitch them. These steps differ from those for plain fabrics.
Screen-printed fabrics present unique alignment challenges. Cutting by the physical center of the fabric often leaves the printed motif off-balance or crooked.
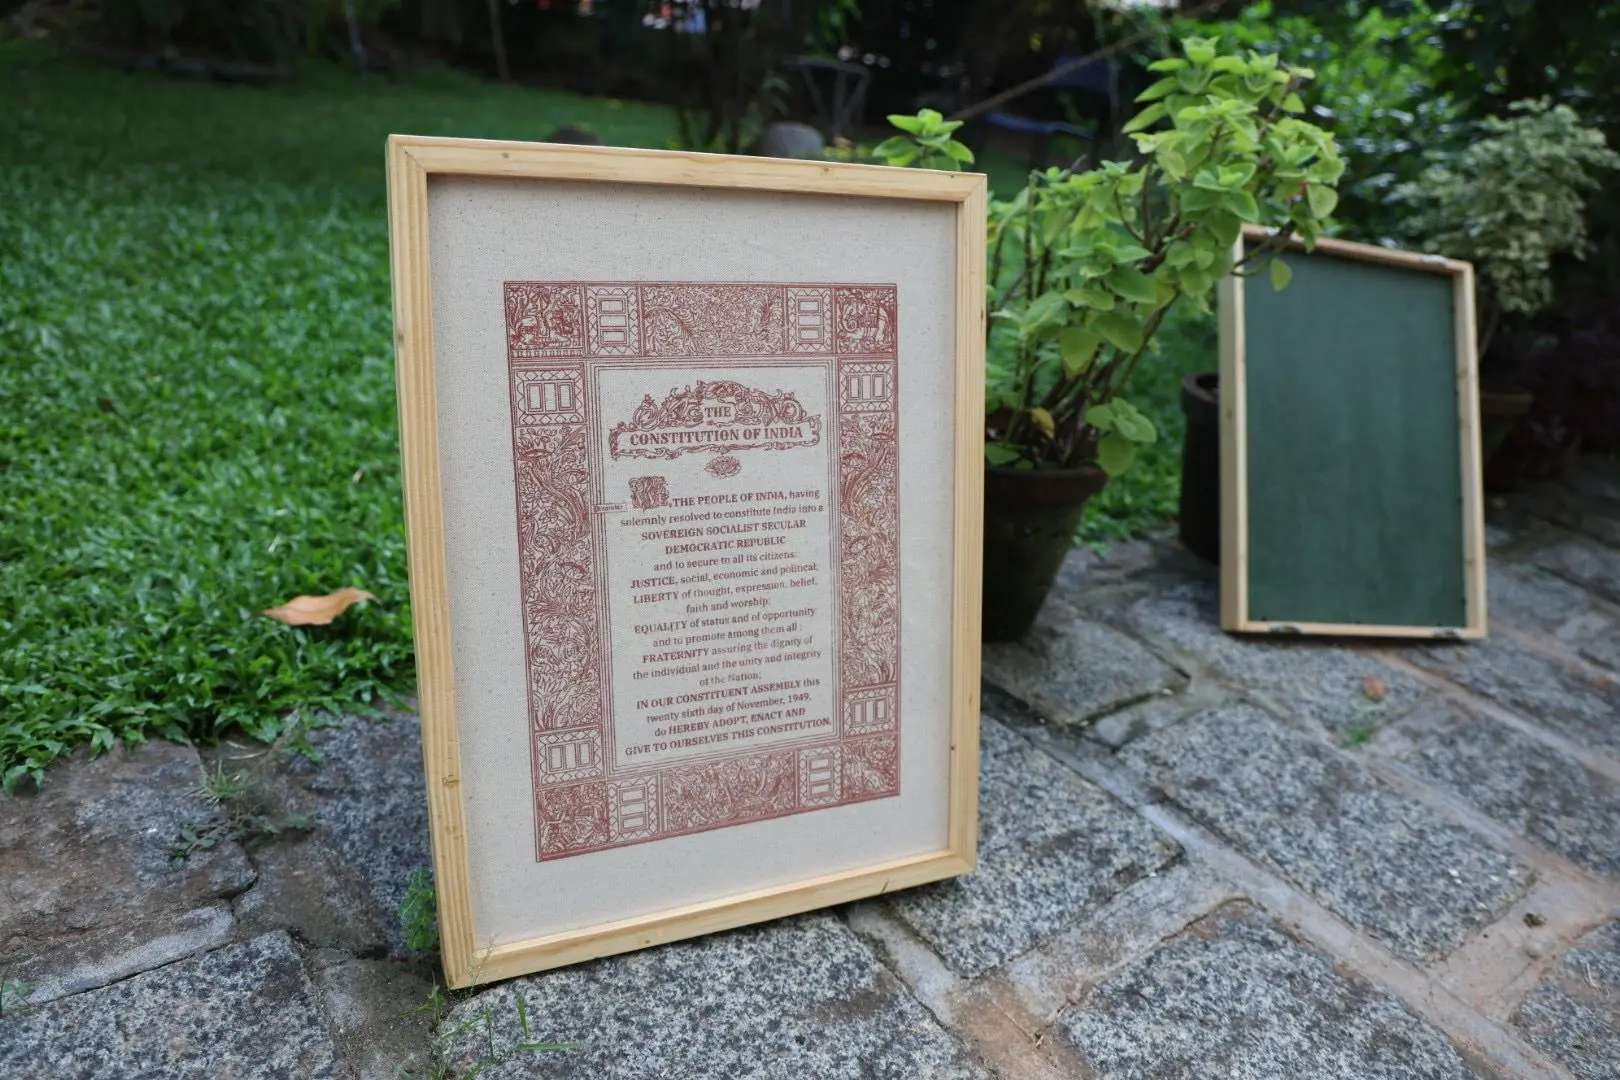
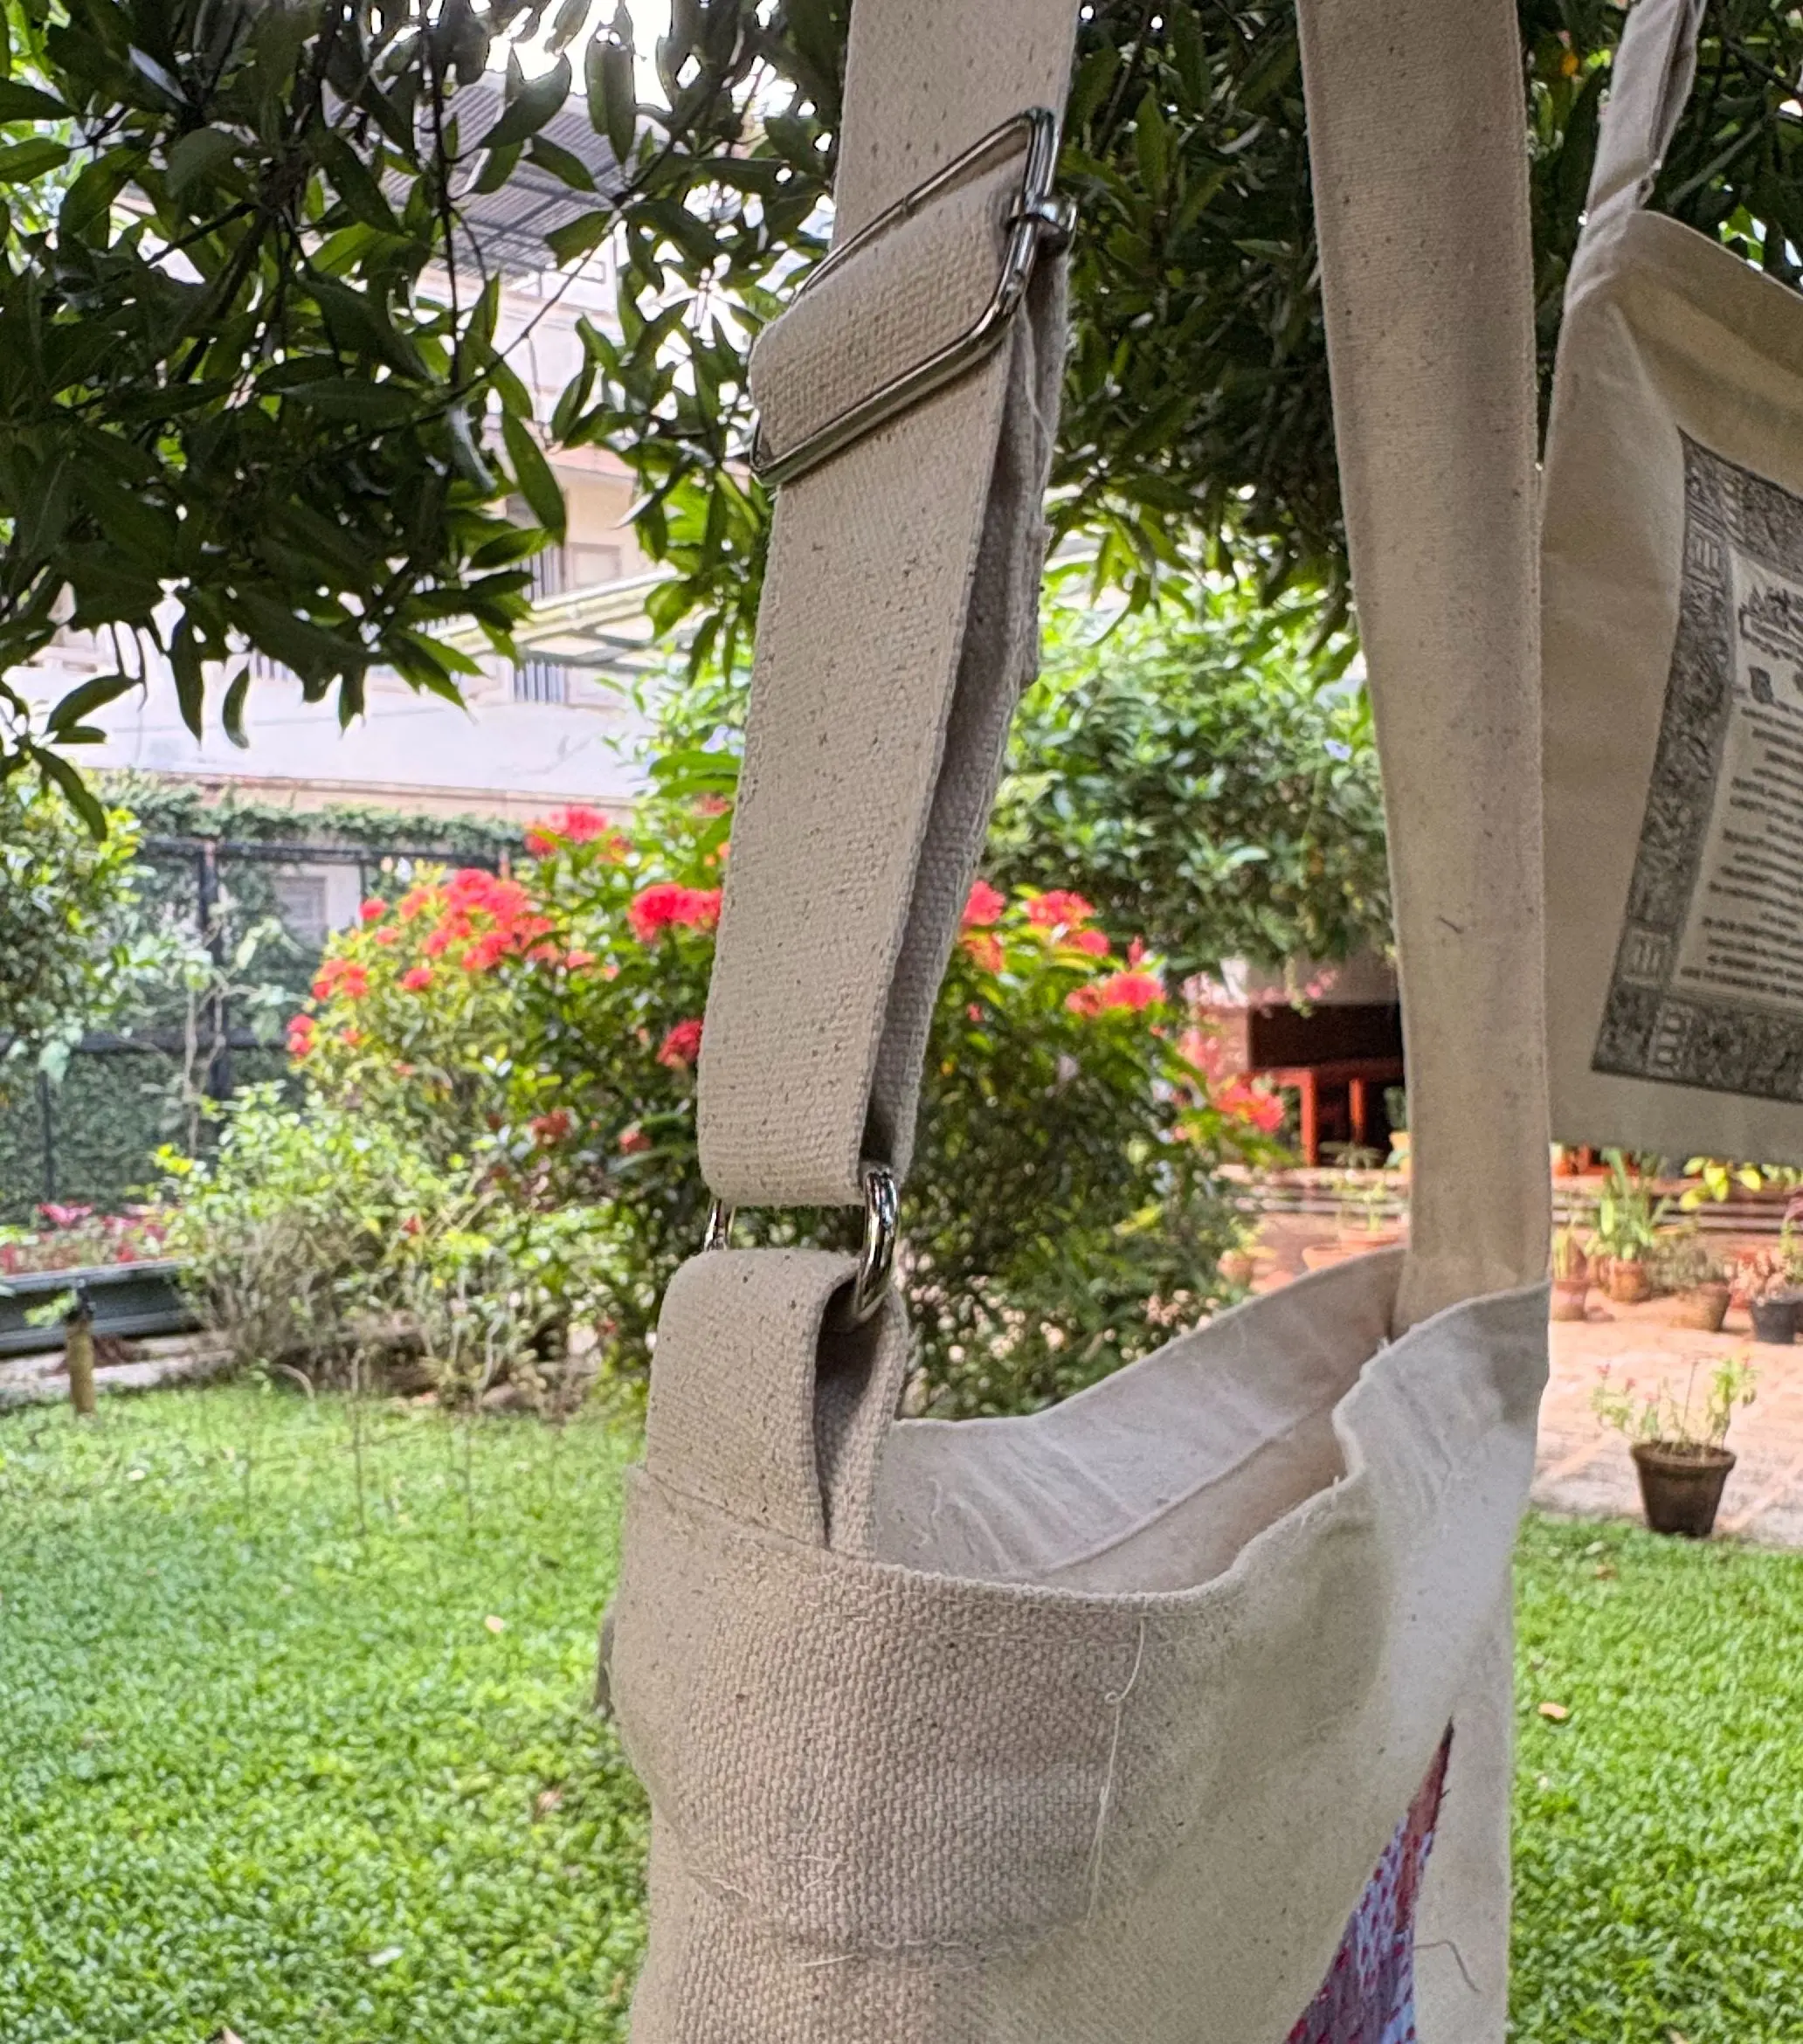
To get a professional finish, we aligned our measurements with the center of the screen-printed artwork. We did not use the edges or center of the raw cloth. Mary Chechi showed how to find the center of each print. She marked even margins around the design. Members then cut the fabric and moved to the sewing machines. This approach made sure every screen-printed panel sat symmetrically on the final stitched bags.
Equipped unit members with the technical skills to center, cut, and stitch screen-printed fabrics accurately without distorting motif symmetry. How we know: Observed through practical demonstrations, individual alignment checks prior to cutting, and visual inspection of the stitched screen-printed panels.
What worked. We measured and marked cutting lines from the center of the artwork. This gave symmetrical panels that looked balanced every time.
What was difficult. Moving from plain-fabric cutting habits to print-centric alignment took extra care. Relying on the cloth's edges or physical center gave off-center designs.
Changes for next time. We will locate and mark the exact center of the screen print with tailor's chalk. Do this before placing templates or cutting any printed fabric batch.
Run this activity yourself. You are free to copy, change and share this write-up, as long as you credit aikyam space. Photos are not included. (Creative Commons licence CC BY 4.0)