
Shabana K H
Shabana supports community building, outreach, and livelihood programs at aikyam. Her work centres on connecting people and enabling sustainable opportunities.
What Shabana K H did here
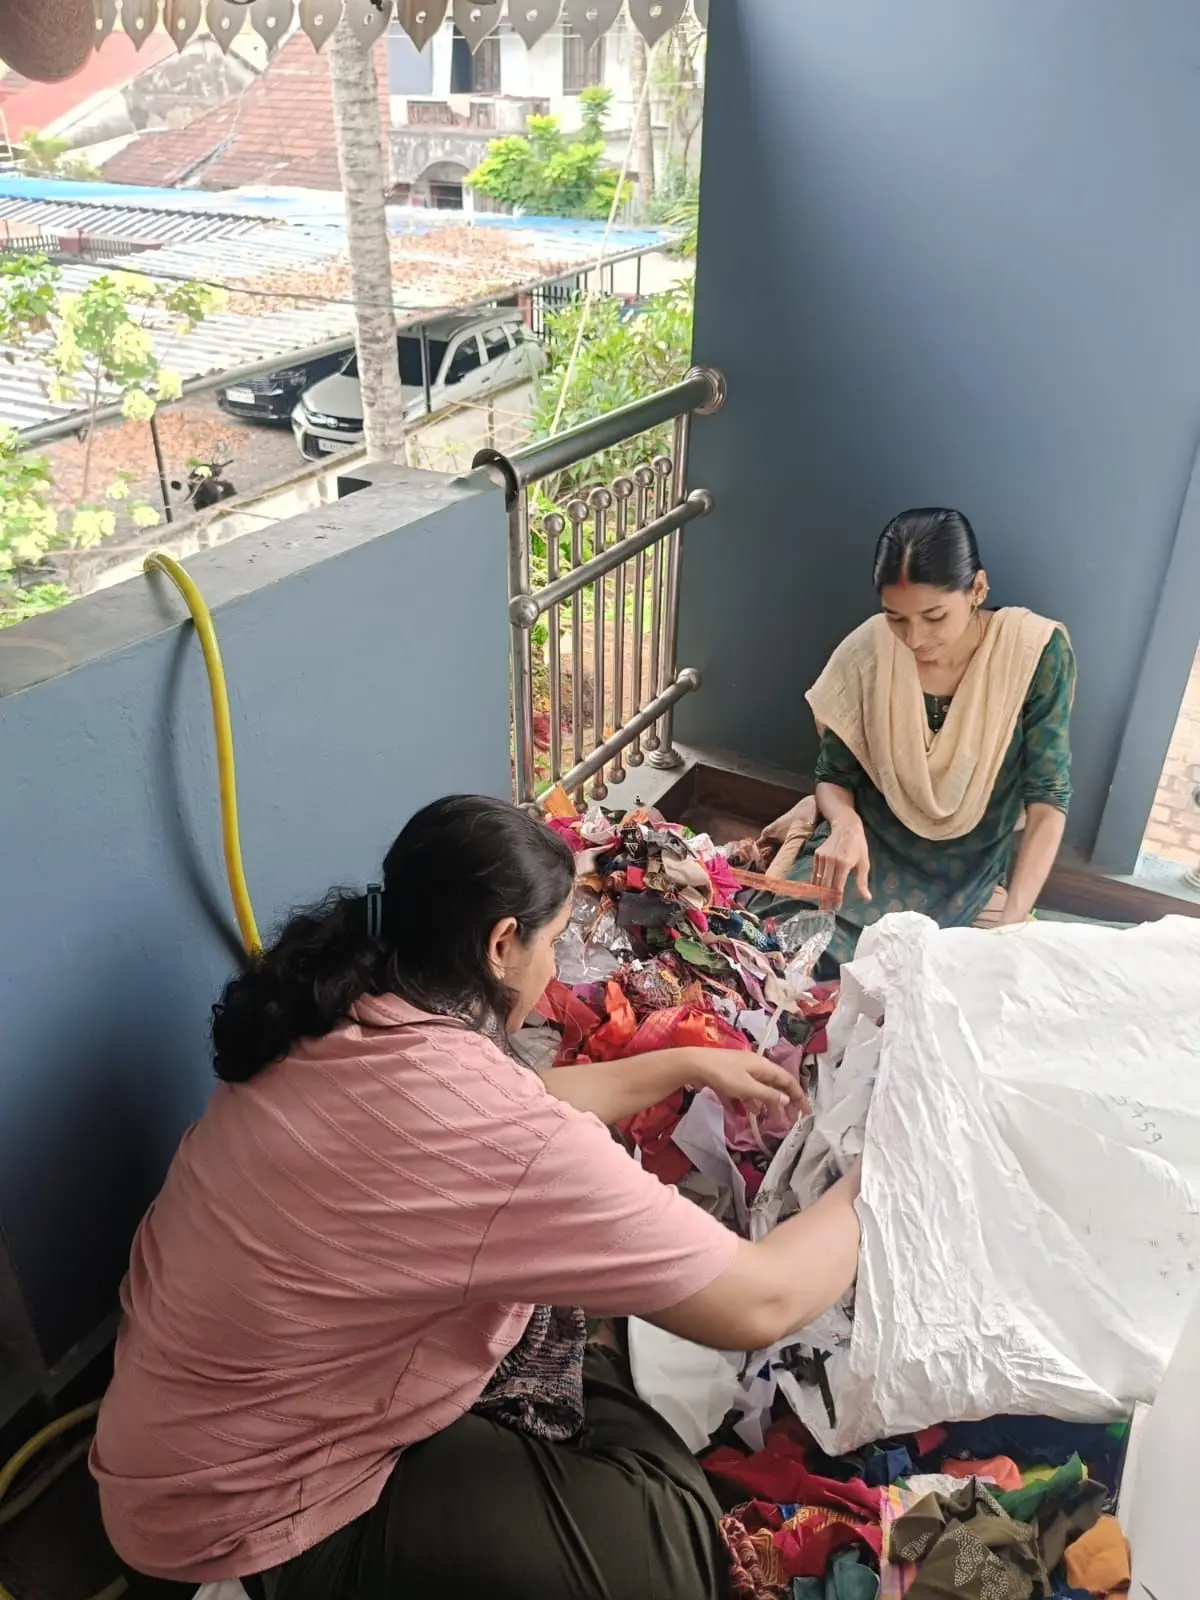
Quality Control in Fabric Pre-Treatment: Managing Shrinkage and Color Bleed
During this session, all team members gathered to collectively select a fresh batch of cotton fabrics recently acquired from a new supplier offering higher-grade materials. Working under the assumption that premium quality would prevent dye transfer, we soaked all the colorful fabric pieces together in a single washing container for initial pre-treatment. However, during the soaking and washing process, we observed significant color bleeding across multiple pieces, alongside visible fabric shrinkage as the cotton fibers reacted to the water. To accurately assess the structural and aesthetic impact of the wash, we carefully dried and ironed each fabric panel. Ironing allowed us to closely examine the extent of color fading, cross-staining, and dimensional shrinkage across the batch. This experience provided a crucial quality control lesson: even high-quality cotton fabrics naturally release excess surface dye and contract during their first wash. We recognized that incorporating unchecked, color-releasing fabrics into finished bag production would cause dyes to bleed onto adjacent panels, ultimately ruining the final products. Consequently, we established a mandatory quality control protocol requiring all newly purchased cotton fabrics to be washed individually and thoroughly inspected before being approved for bag construction.
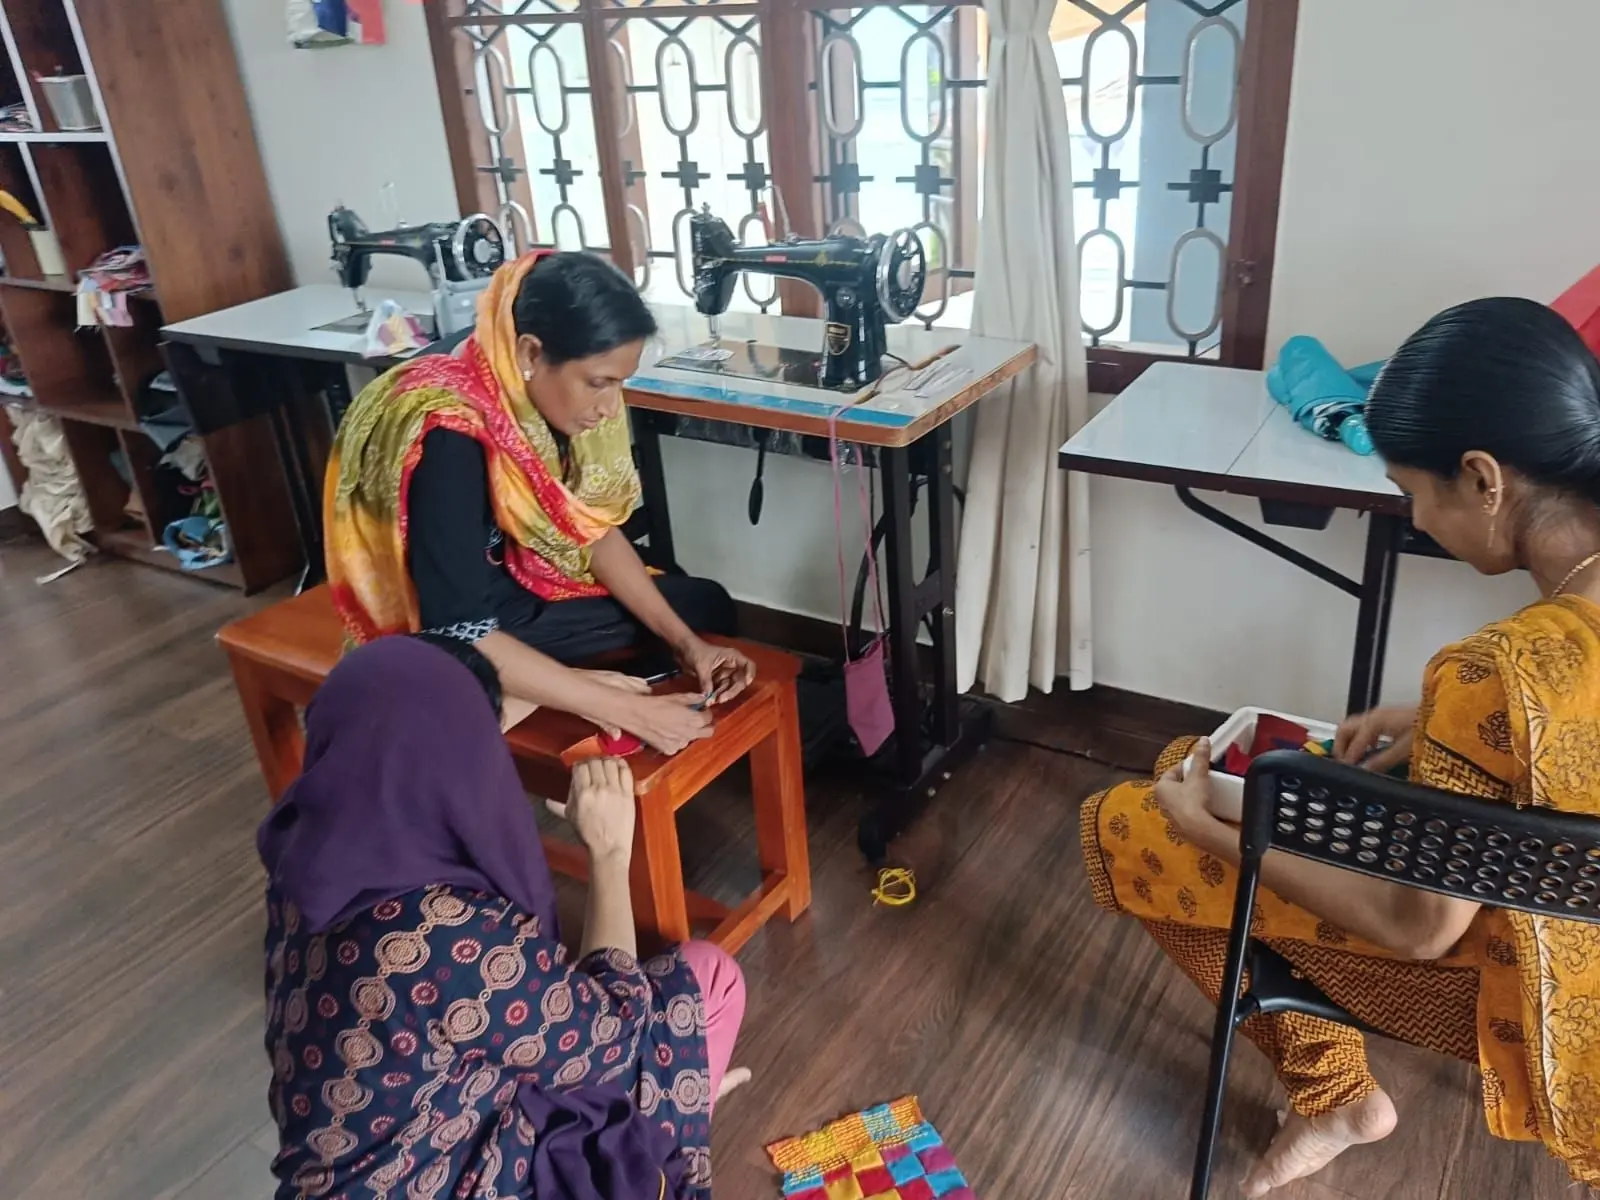
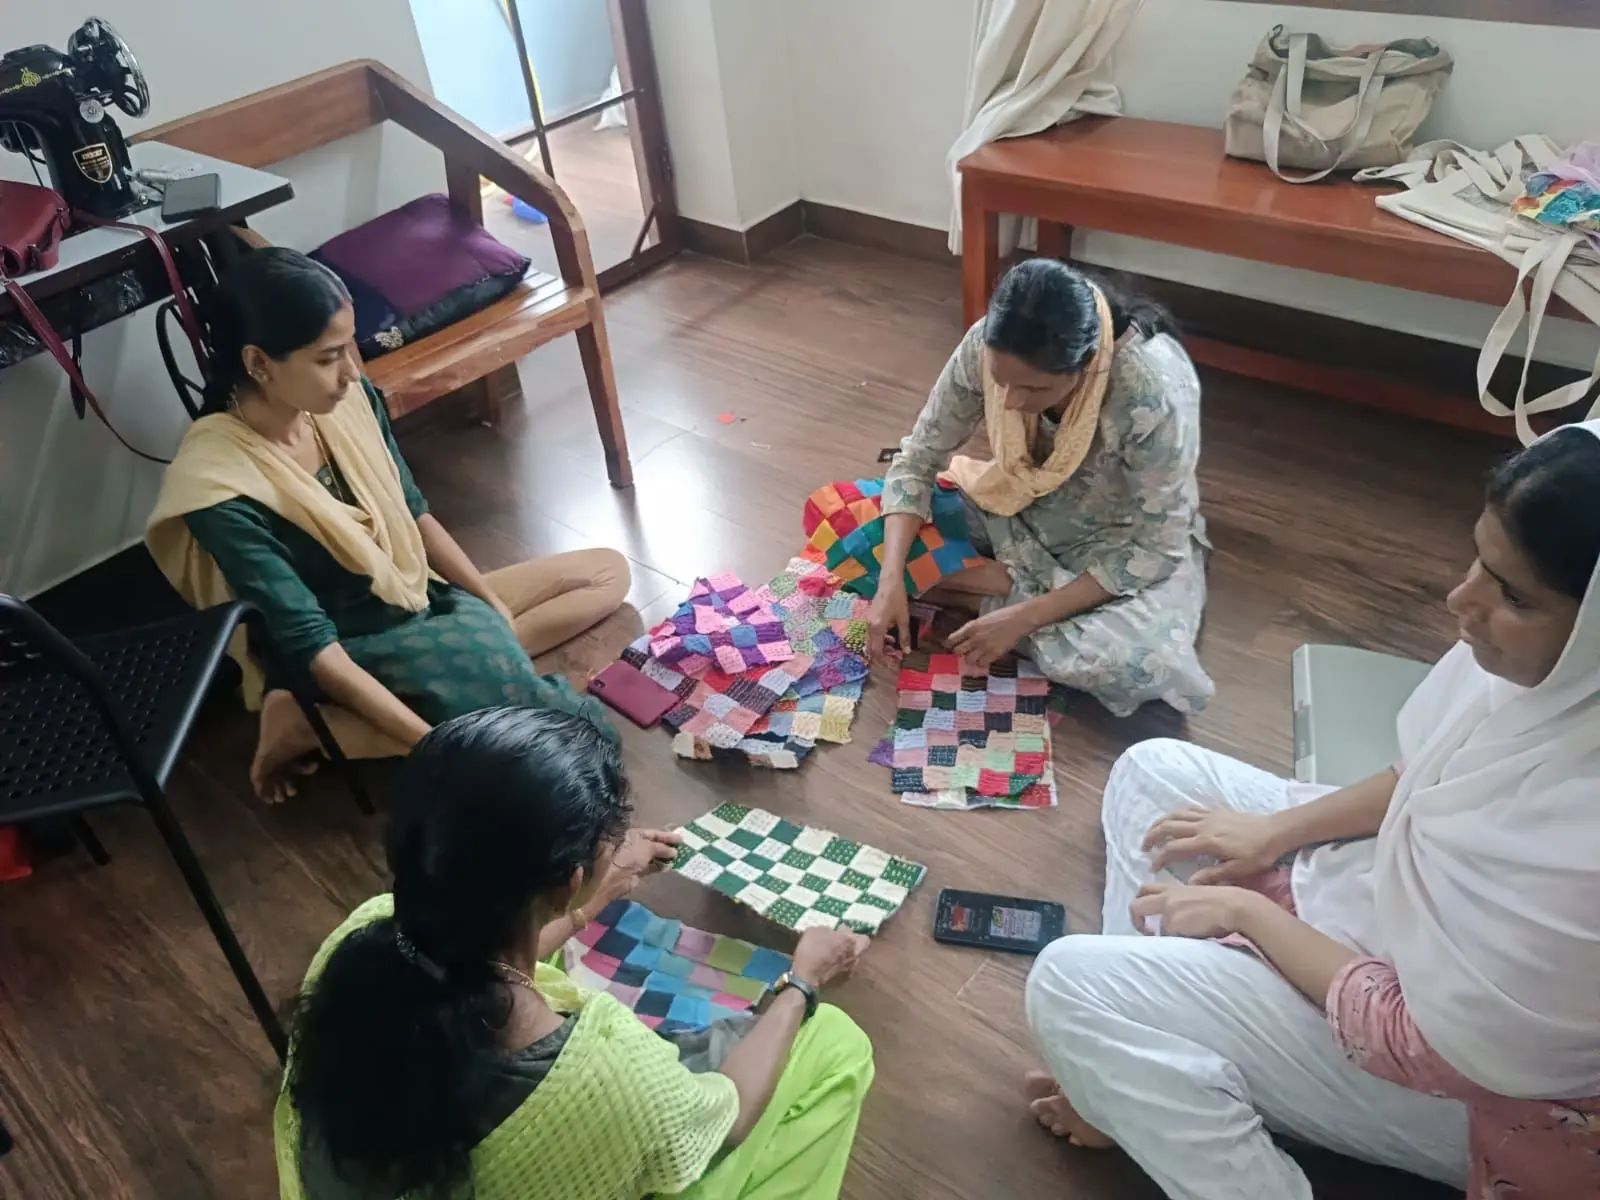
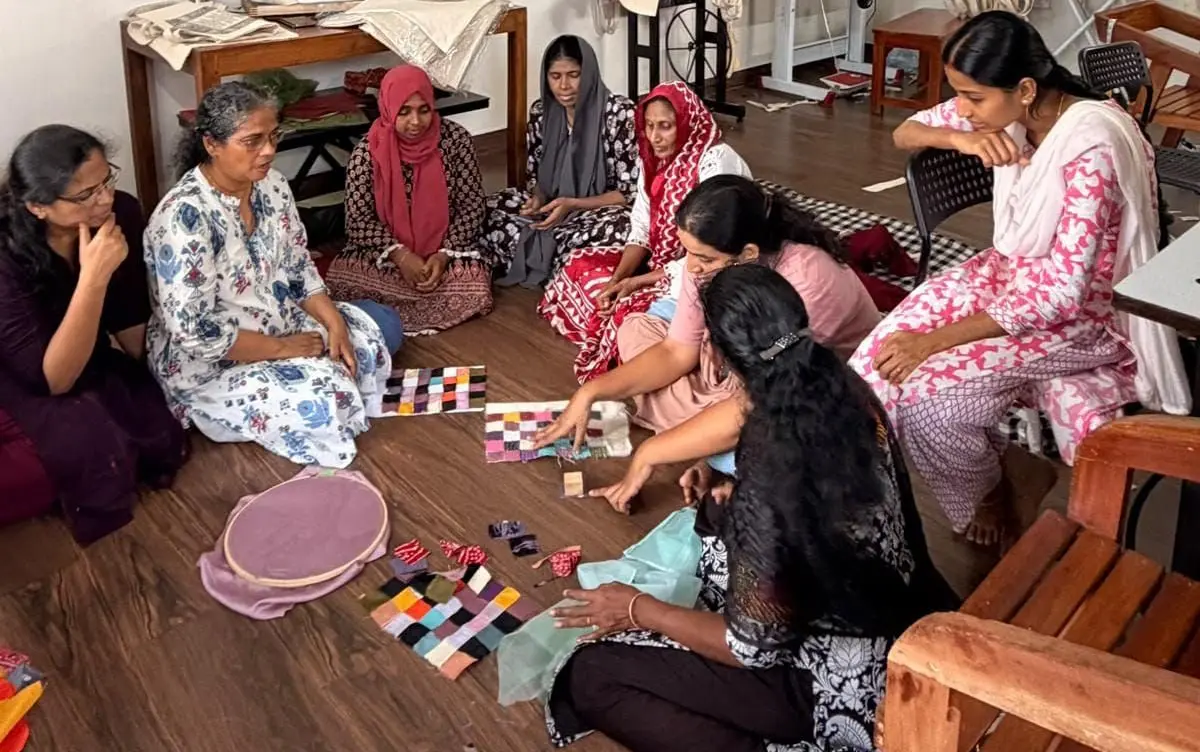
We continued our Kantha work by joining the fabric strips prepared in earlier sessions. The aim was to practise following a design, aligning fabric strips and keeping hand stitching even. Each participant used their design from the Kantha app, printed on A4 paper, to select and arrange the matching 6 cm-wide fabric strips. The printouts helped them check the colour order and placement before stitching the strips side by side into fabric panels. Participants then added rows of Kantha running stitches along the panels. We focused on consistent stitch lengths, even spaces between rows and thread tension, particularly at the thicker seams.
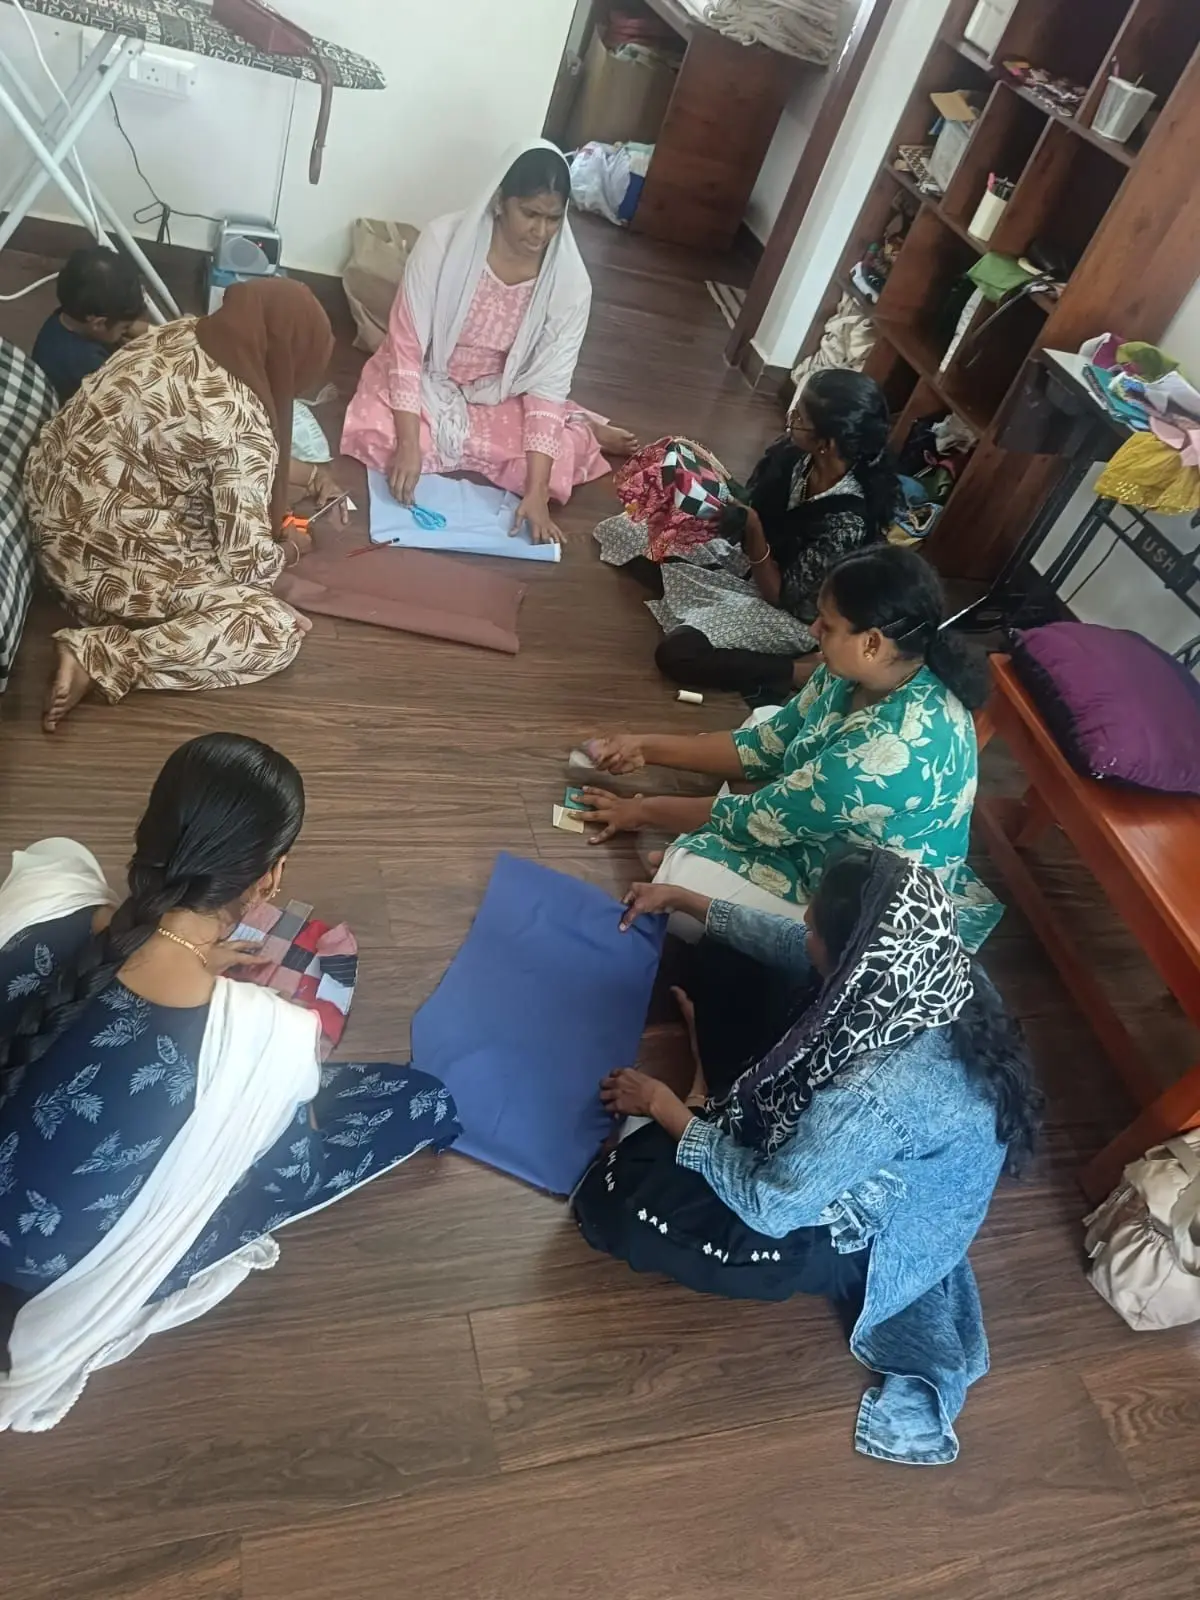
Digital Visual Planning and Kantha App Pattern Printing
To bring structured design layouts into our assembly process, we utilized the Kantha App to map out creative pattern variations. The app allowed us to test how different fabric strip widths and color sequences look when paired together, offering a clear digital preview before physical stitching. Once optimal pattern combinations were finalized, we printed these digital design sheets directly onto A4 paper. Each printed page acted as a detailed visual roadmap, guiding artisans on how to align, order, and position their pre-cut fabric strips for the upcoming panel assembly.
Show all 24 sessions
Systematic Preparation and Precision Cutting of Fabric Strips
We initiated a new production cycle focused on raw material processing and pre-stitching organization. The team gathered to sort through various multi-colored fabric scraps, categorizing them by texture, weight, and color tone to ensure balanced color distribution for upcoming Kantha panels. To maintain strict design uniformity, we accurately marked and cut the selected fabrics into uniform 6 cm wide strips. Every cut strip was inspected for edge neatness and proper length alignment before being bundled, labeled, and stored for the next phase of pattern assembly.
Opening Doors: Our First School Outreach Together
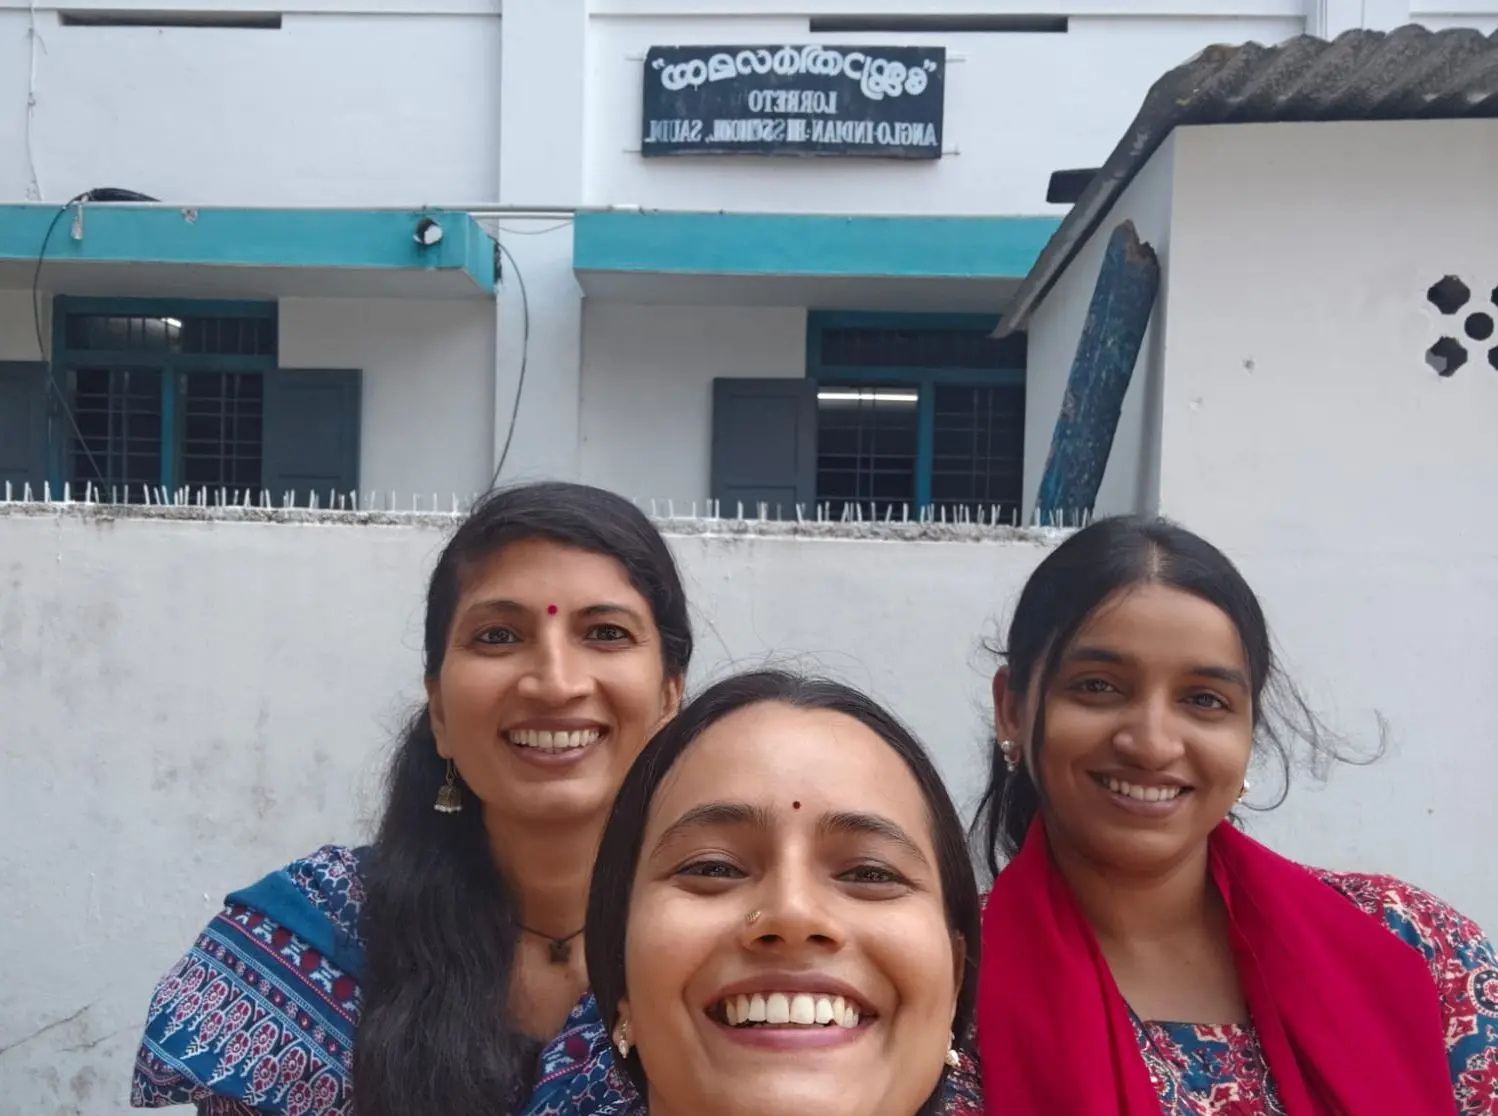
Our recent team meetings highlighted a shared challenge: reaching children and young people who could benefit from the programmes at aikyam. We agreed to combine our networks and prepare a shared introduction to the offerings. Putting this into action, we prepared a shared brochure introducing the programmes available at aikyam. Each team contributed programme descriptions, which were brought together in a brochure for the visits. We then made our first school visits together as the aikyam, Olimalar and Thudippu team, visiting two schools suggested by Shabana, drawing on her knowledge of the local community. We spoke with headteacher about opportunities for children to participate. One school already knew Olimalar through LifSkool. At the other, youth festival preparations opened a conversation about possible dance support from Thudippu. We collected their contact numbers and shared printed and digital copies of the brochure. When we returned to aikyam, we discussed the visits and how we could reach more children. Alongside welcoming families to aikyam, we explored finding spaces in schools and communities and training facilitators to run activities closer to where children live.
Praise, Precision, and Peer-Led Learning in Kantha Craft
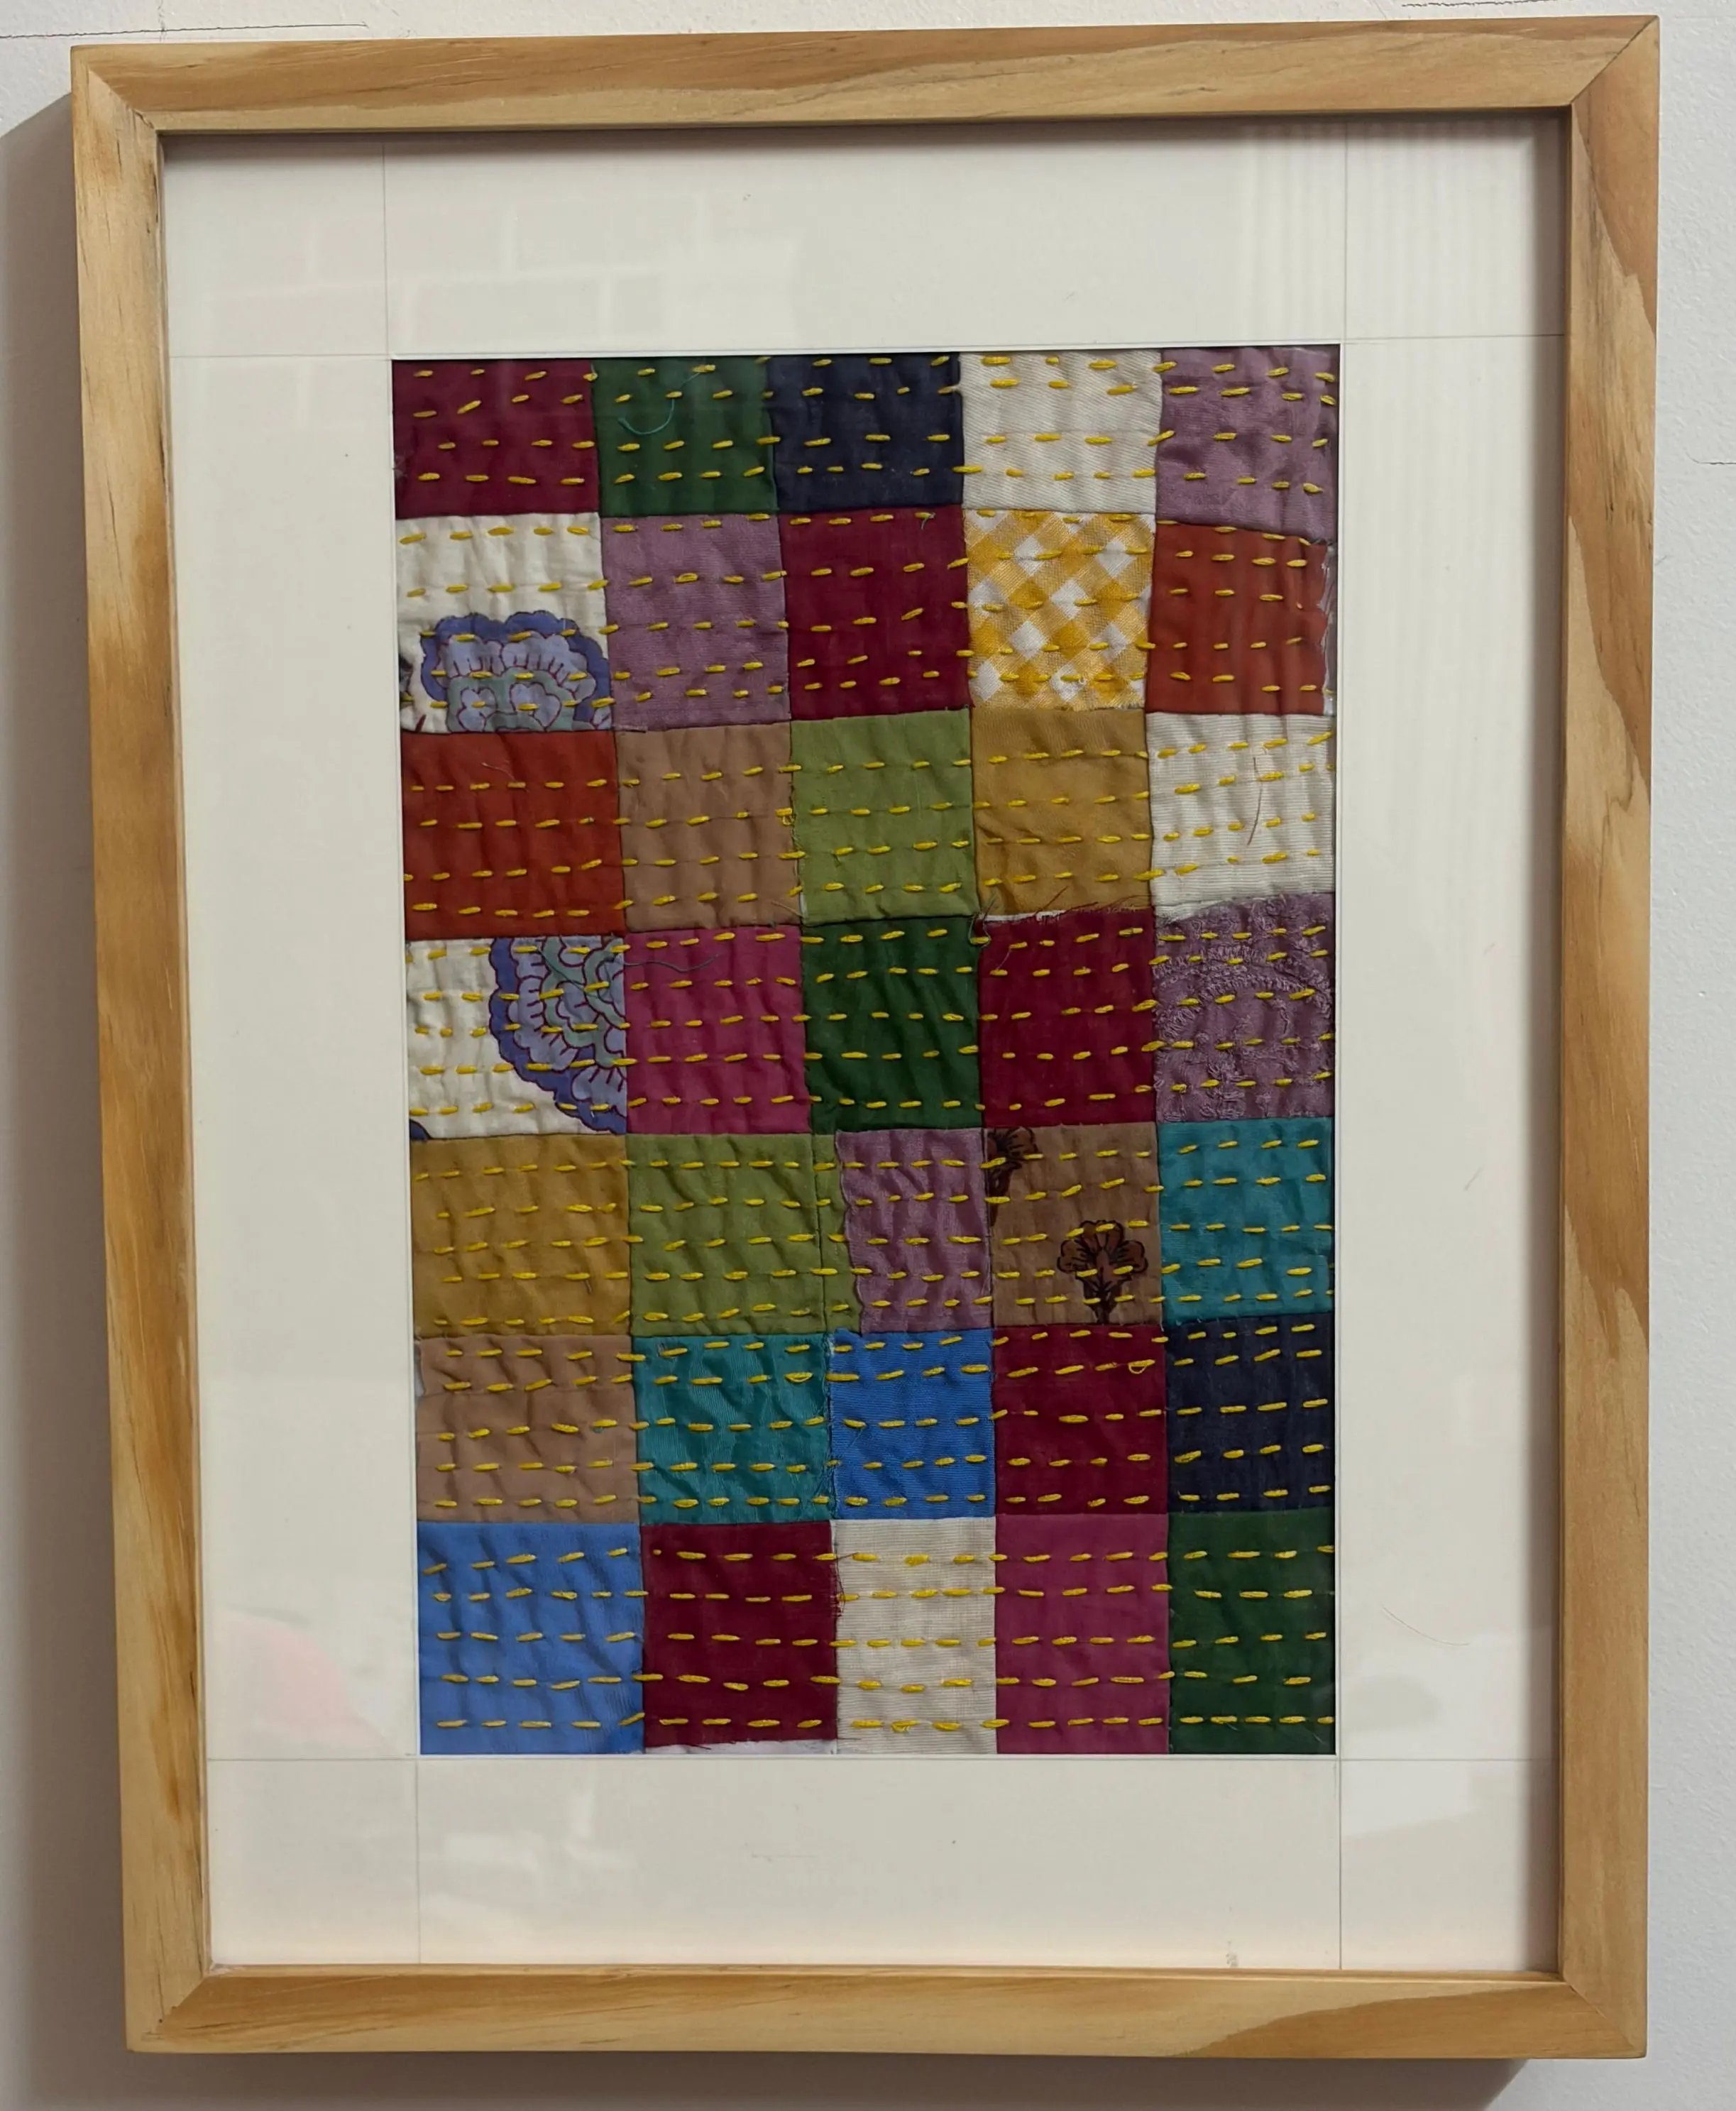
Today began with selecting suitable fabric pieces for Kantha work, which were washed and laid out for future use. The team then took yesterday’s pre-washed fabrics, ironed them smooth, and precisely marked, cut, and stitched them together to prepare fresh base panels for hand embroidery. As the work progressed, the exceptional accuracy of two artisans stood out. Their Kantha stitches showed remarkable neatness, speed, and confidence. We mounted their finished pieces into wooden embroidery frames and shared them with the rest of the unit. The display sparked an encouraging group discussion, with everyone examining the sample stitches and analyzing technique details. Seeing such swift progress exceeded all expectations. To build on this momentum, the team agreed that the advanced artisans will mentor others by sharing their insights. Before wrapping up, the artisans collectively planned dedicated group practice sessions to learn from one another and refine their craft as a unit.
Reflecting on Progress: Organization Sparks Pride and Precision in Kantha Craft
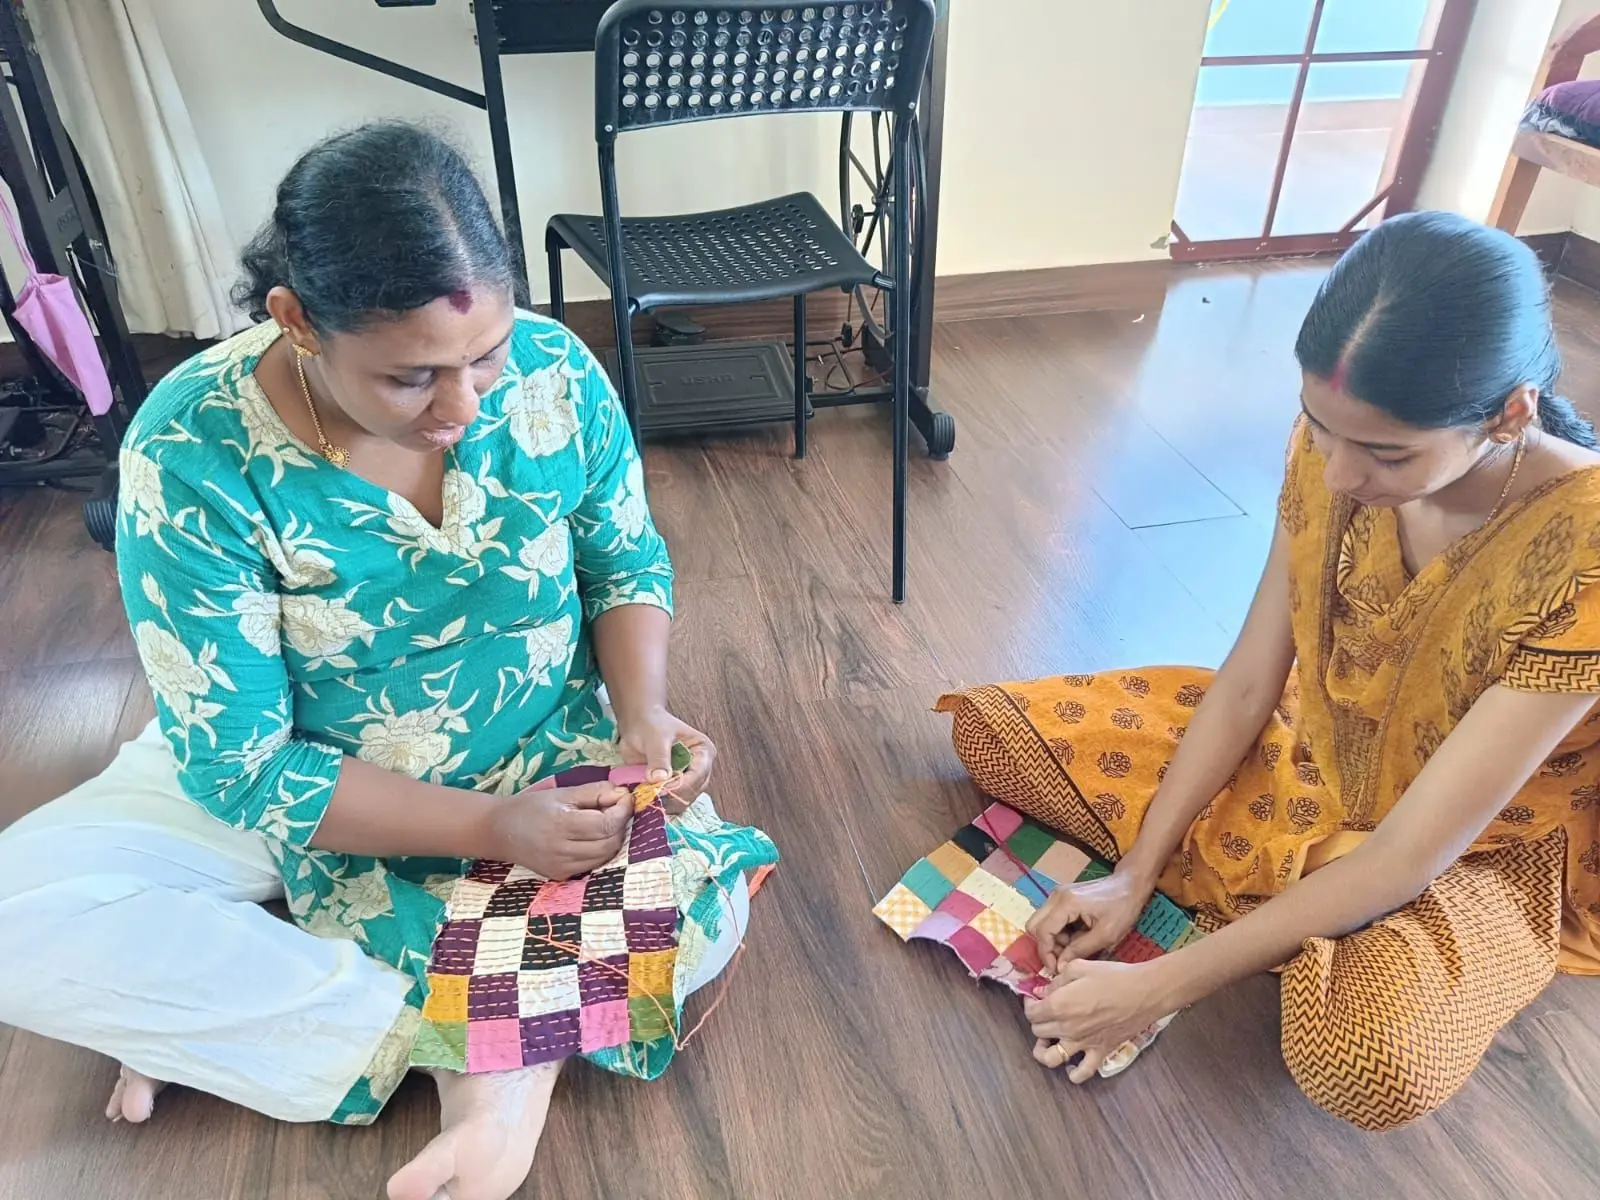
The stitching room felt bright, spacious, and filled with fresh, positive energy today, thanks to the thorough cleanup and reorganization done by the team yesterday. Stepping into a beautifully structured workspace set an upbeat, focused tone for the afternoon. The artisans eagerly jumped into practicing Kantha stitching, tackling two to three distinct new patterns. Their dedication was on full display as every stitch turned out noticeably neater, tighter, and more precise than before. Each completed sample was carefully archived inside their individual portfolio files. The true highlight of the day came when the team pulled out their earliest trials and placed them side-by-side with today's work. Seeing their tangible progress filled the room with visible pride and joy. Realizing how far patience and steady practice have brought them gave everyone a deep boost of confidence in their growing craftsmanship.
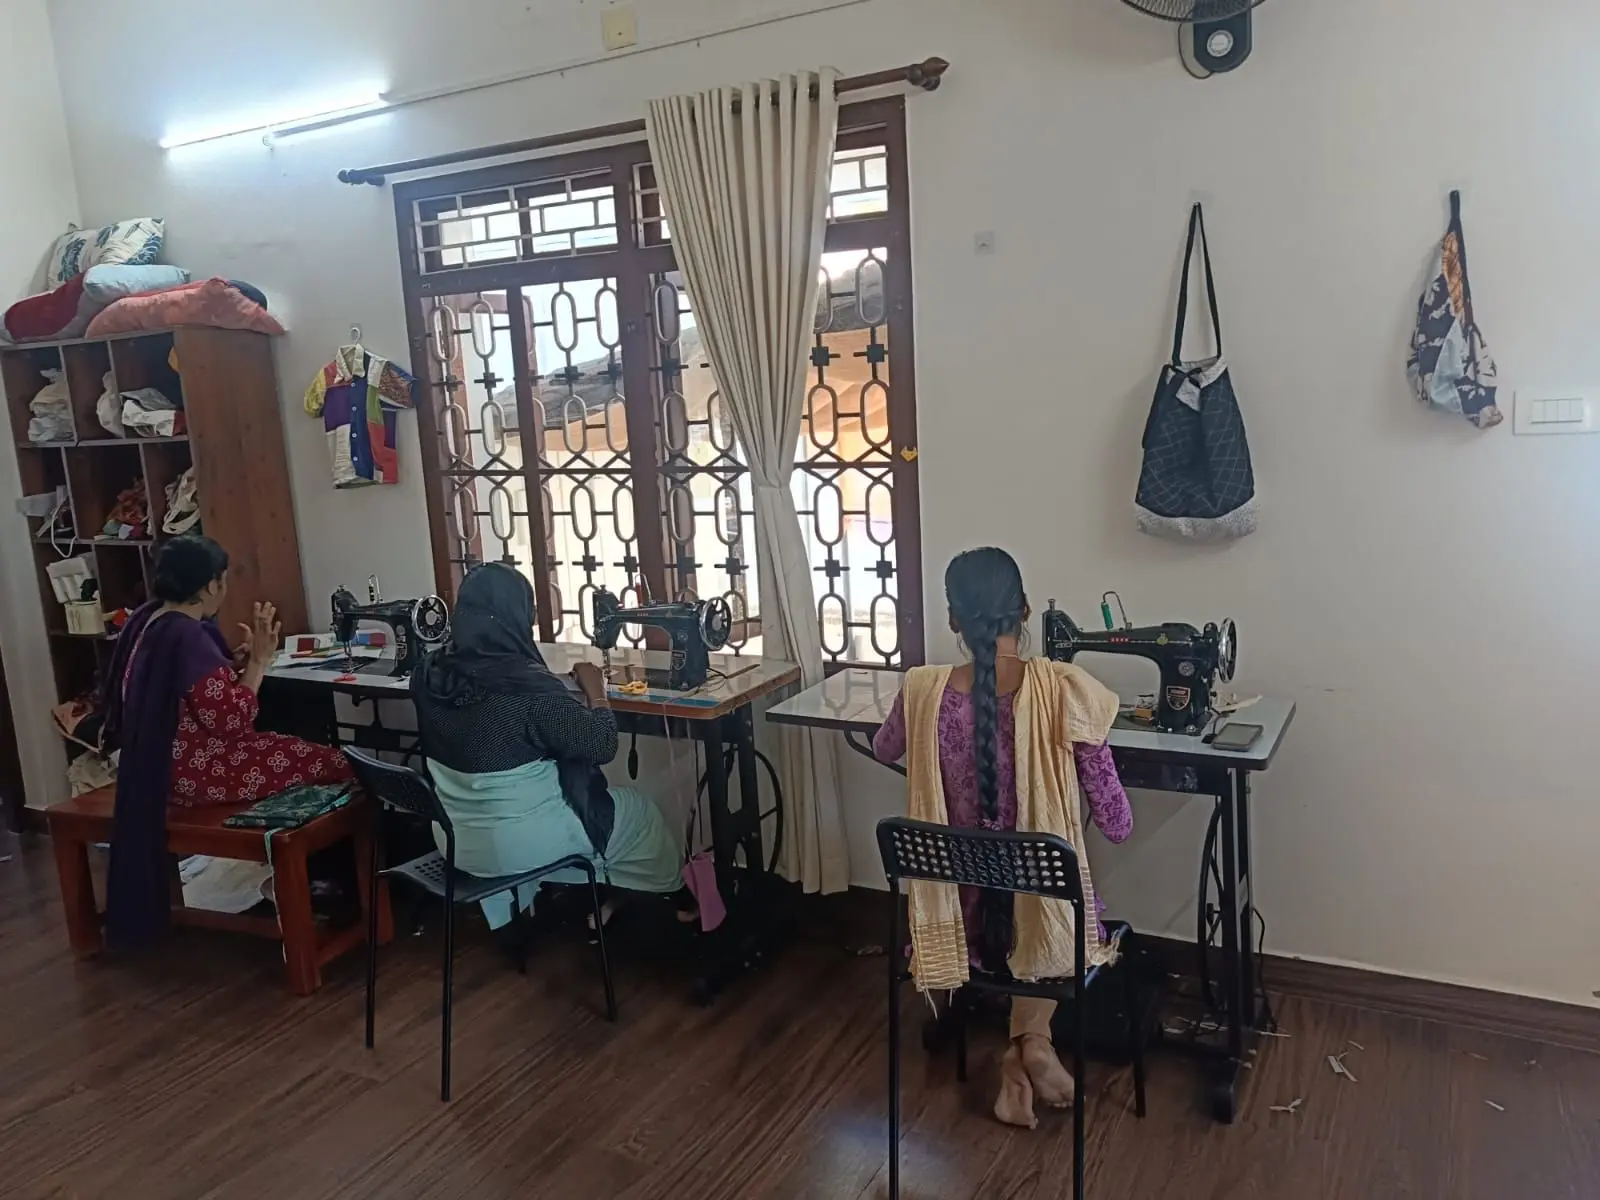
After the Storm: Unwinding with Fabric Sorting and Slow Kantha Craft
After two days of relentless hustle, frantic restitching, and tight deadlines, a collective sigh of relief echoed through the stitching unit today. The team gathered around 2:00 PM, and the moment they heard that their hard-earned tote bags were officially cleared and moving on to the sales stage, the room brightened with genuine excitement. Gone was the high-pressure rush of the previous days; in its place was a warm, quiet sense of accomplishment. Everyone sat together in a relaxed circle, taking time to untangle and sort colorful fabric scraps, share stories, and sip tea while casually continuing their Kantha practice. Without rigid targets looming overhead, it was a day dedicated to slowing down, catching our breath, and celebrating how far the team has come together.
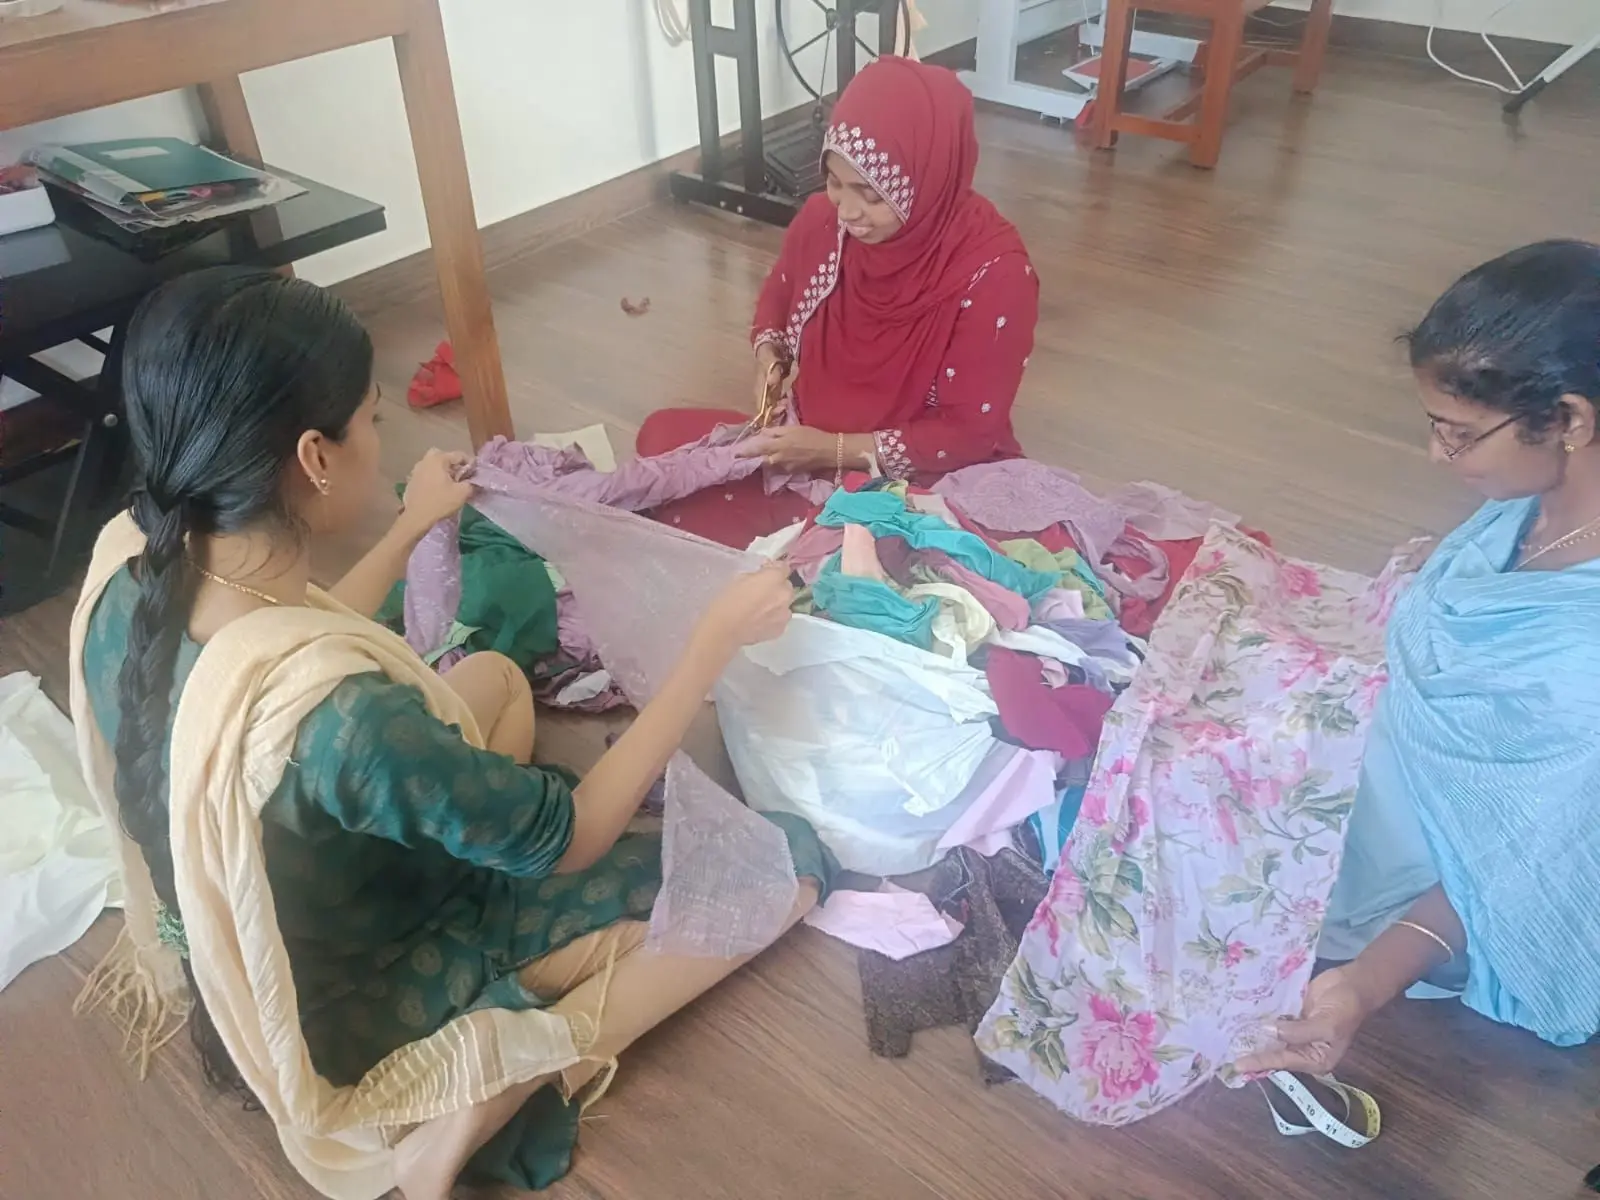
After the Storm: Laughter, Fabric Sorting, and a Gentle Return to the Craft
After two days of relentless hustle, frantic restitching, and tight deadlines, a collective sigh of relief echoed through the stitching unit today. The artisans gathered around 2:00 PM, and the moment they heard that their hard-earned tote bags were officially cleared and moving on to the sales stage, the room immediately brightened with genuine excitement. Gone was the high-pressure rush of the previous days; in its place was a quiet, warm sense of accomplishment. Everyone sat together in a relaxed circle, taking time to untangle and sort colorful fabric scraps, share stories, and sip tea while casually continuing their Kantha practice. Without rigid targets looming overhead, it was a day dedicated to slowing down, catching our breath, and celebrating how far the team has come together.
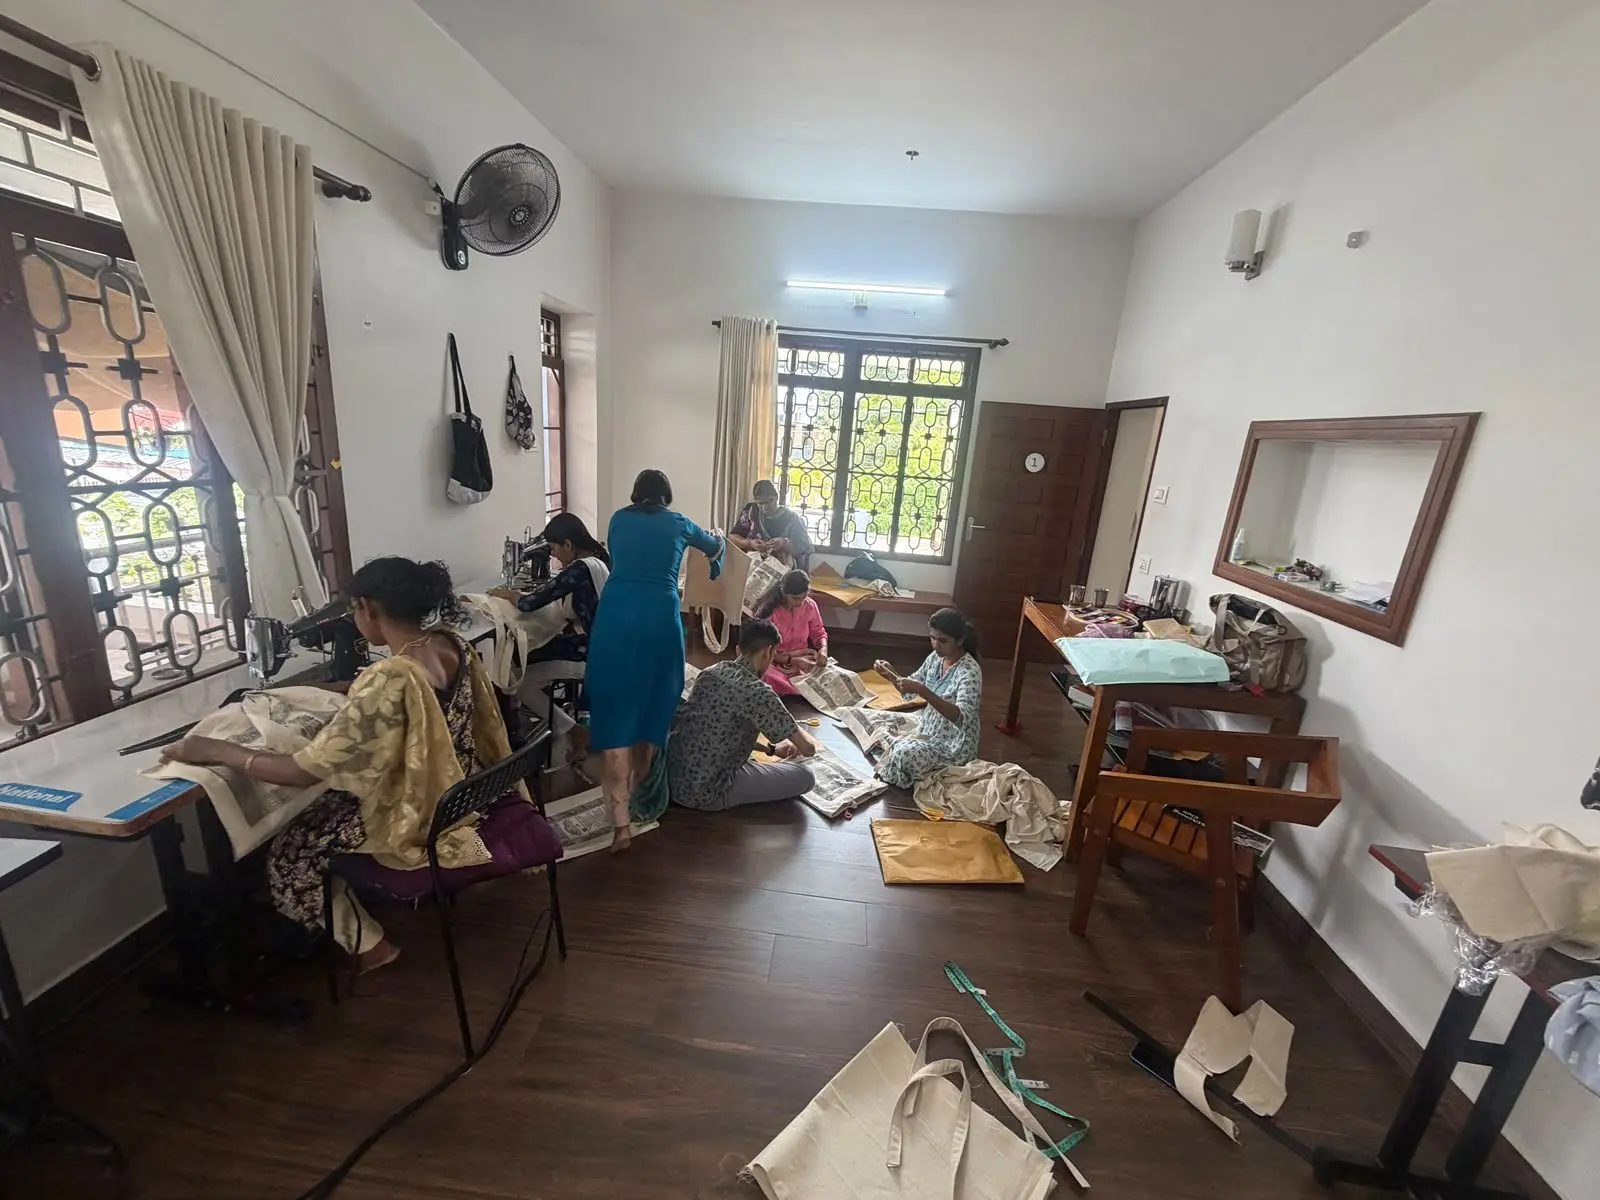
Panic, Pivots, and Packing: Delivering Under Extreme Deadline Pressure
Just when we thought the 50 tote bags were ready, misaligned screen prints and mismatched bag models turned our relief into late-stage chaos. With a strict 36-hour deadline looming, we tracked down a local printer who pulled off a three-hour miracle, leaving us to fix the stitching issues. The team rallied at 9:00 AM, salvaged 18 bags, completely restitched the remaining 32 from scratch, and completed quality checks to pack the entire order right on time.
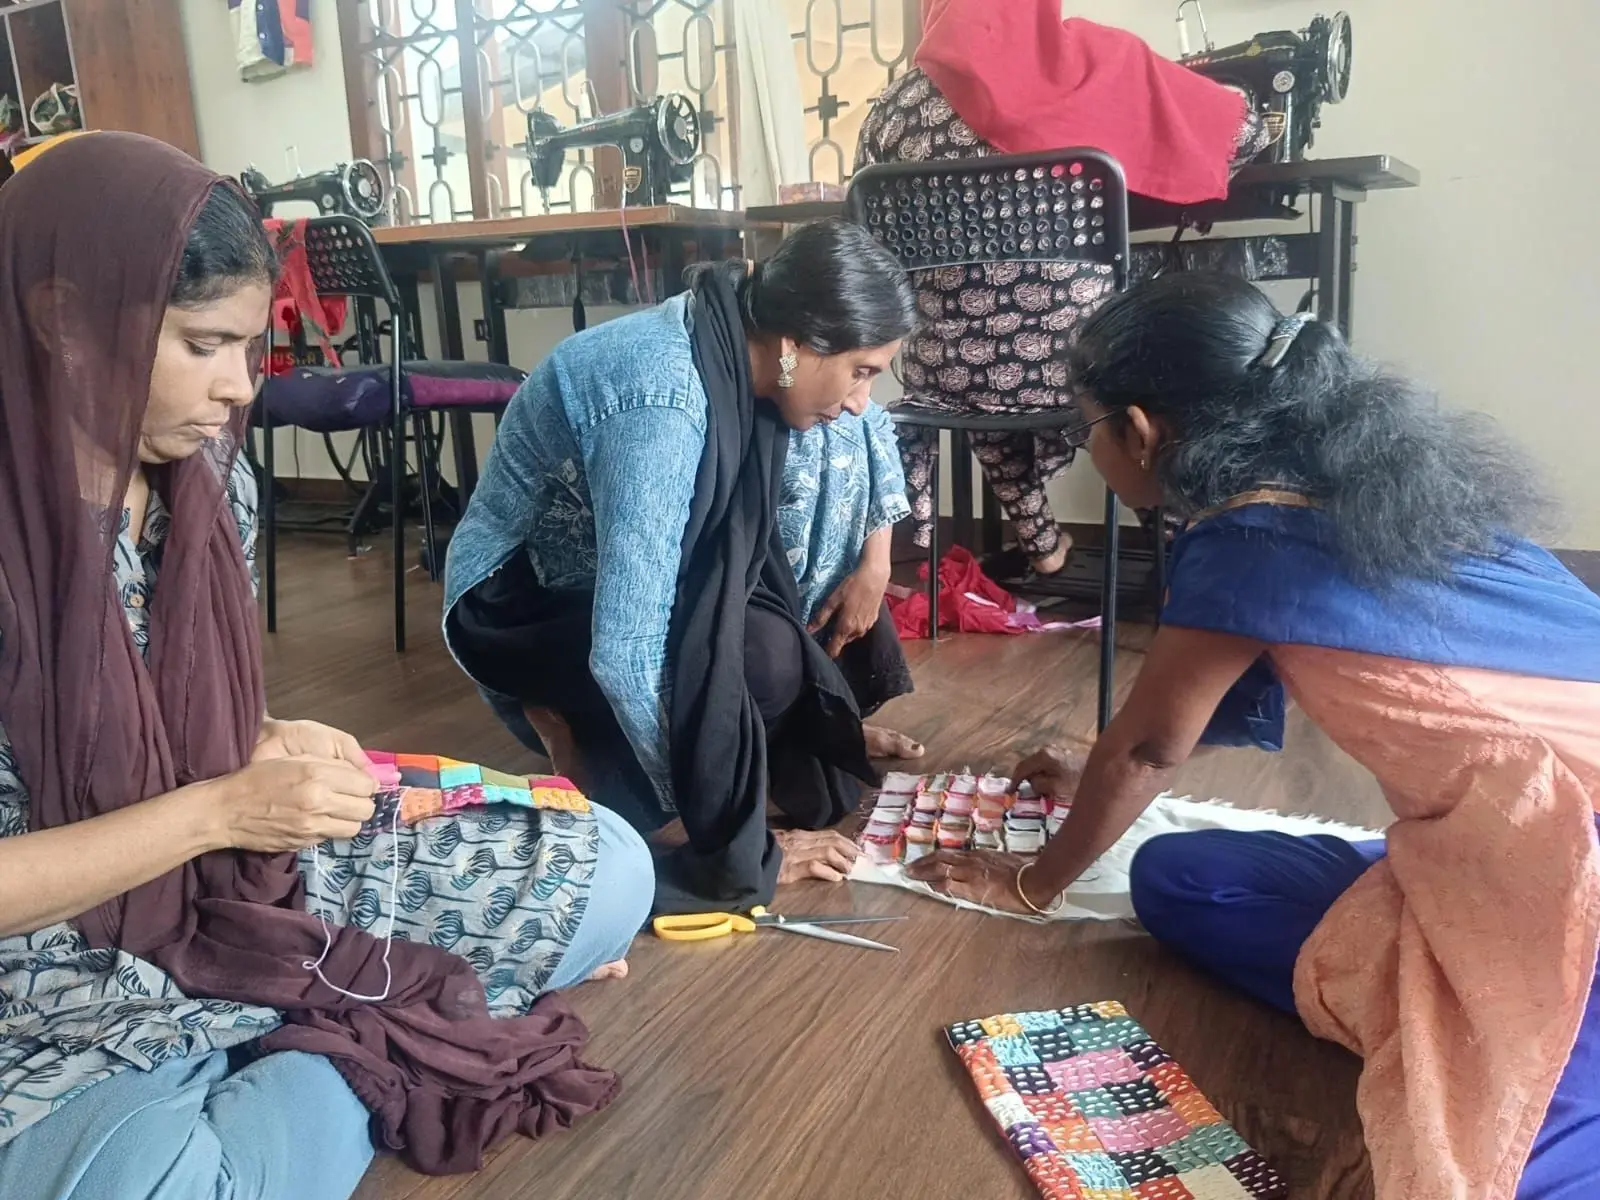
Achieving 4 cm grid precision in Kantha panels
Today in the stitching unit, we achieved clear precision with the 4 cm grid layout and completed an entire Kantha panel without major setbacks. Each craftsperson received a personalized portfolio file to archive their completed trial designs with meticulous care. This structured progress tracking transformed trial errors into visible milestones, instilling deep ownership, pride, and growing mastery across the team.
Refining Precision in Batches: Small-Set Practice for Kantha Alignment
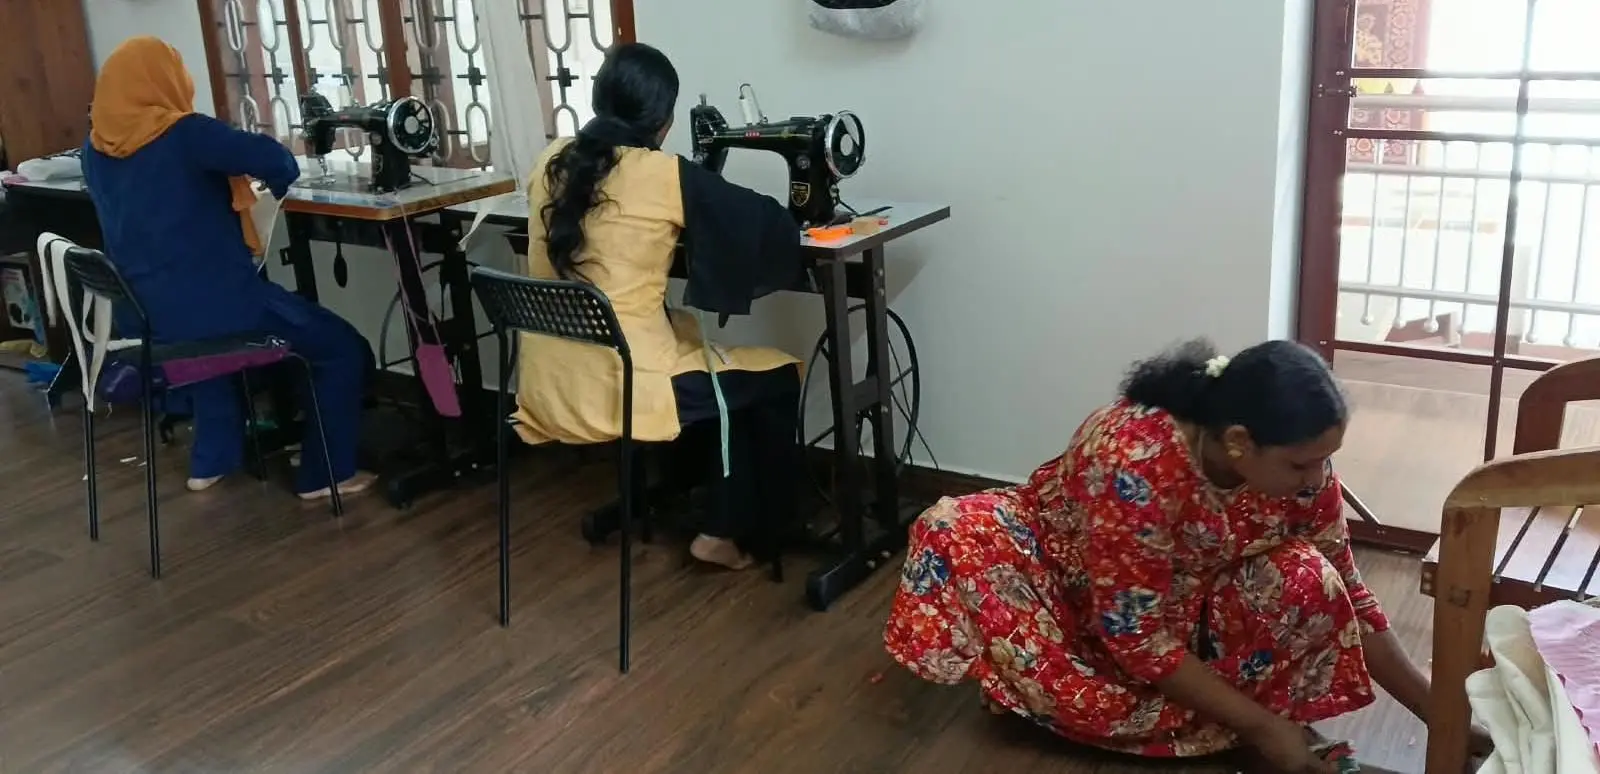
To prevent cumulative alignment errors in full-scale assembly, the team implemented a small-batch testing approach using six-piece clusters. Utilizing 6 cm fabric strips ironed with paper stiffener, each set was stitched and pressed to verify whether the final visible area consistently hit the target 4 cm square. Mastering the technique on smaller sub-assemblies minimized material waste, allowed for real-time technique adjustments, and built the operational confidence needed before scaling up to larger fabric panels.
Community programme leads shared progress and worked through challenges together
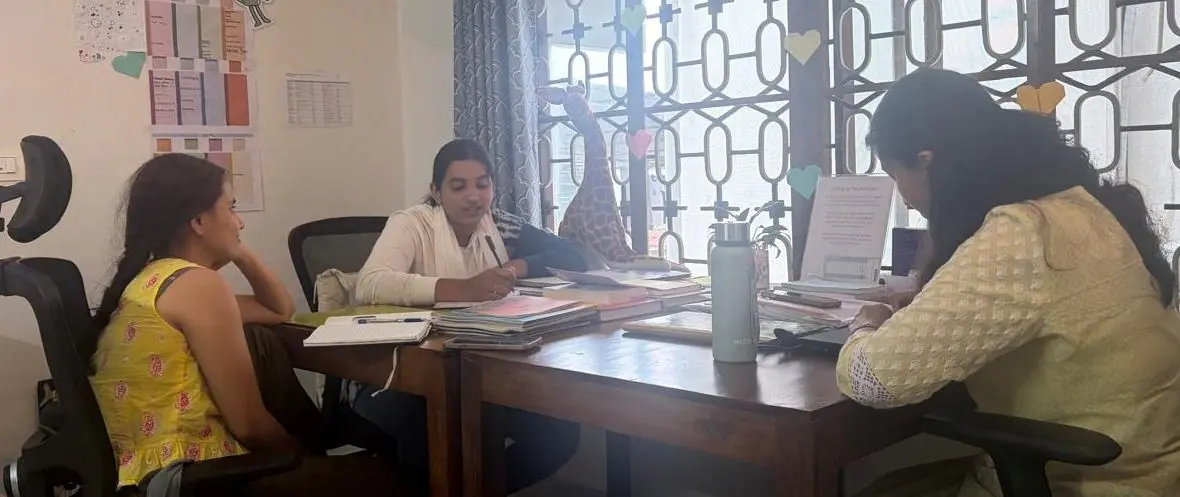
Shabana, who leads the Stitching Club, met with Anjali of Thudippu Dance Foundation and Aarthi of Olimalar Foundation for their weekly check-in at aikyam space. They shared updates on their work so far, spoke about the challenges they faced, helped one another think through possible solutions, and reflected on what they had learned over the past week.
Sprinting Against Time: Completing 50 Tote Bags and Reorganizing Kantha Craft
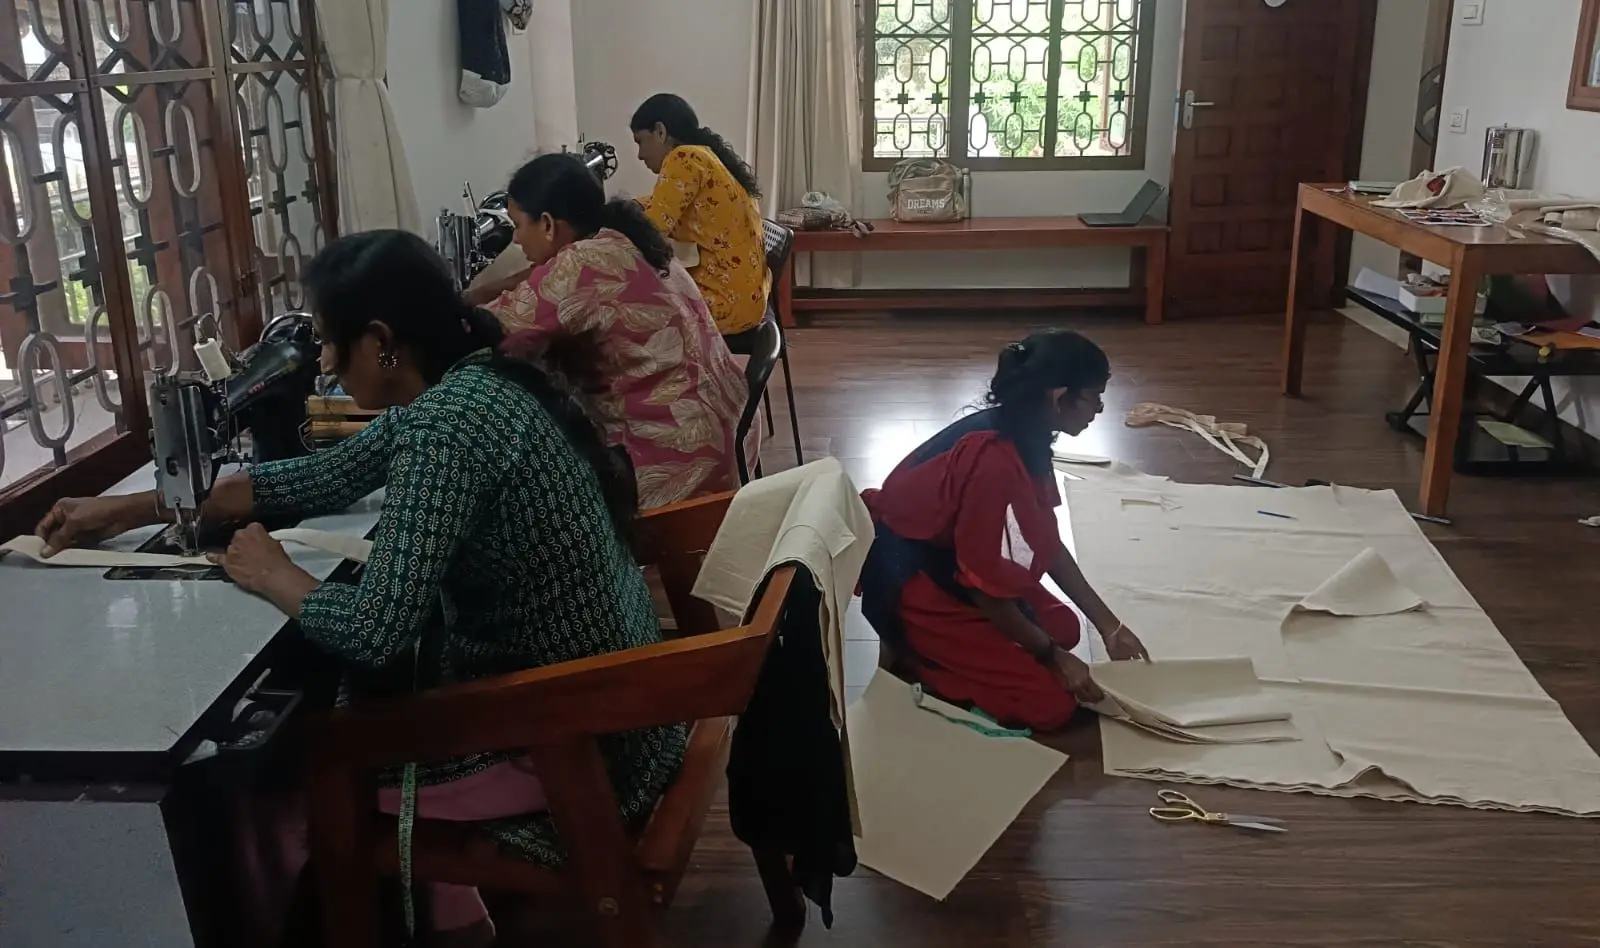
Facing a strict end-of-day deadline, the stitching unit channeled total focus into fulfilling a major 50-unit tote bag order bound for Bangalore. Between 11:00 AM and 5:00 PM, the team maintained an intensive production rhythm, cutting, stitching, and finishing the remaining 15 bags in a single continuous push. Once all 50 completed totes were safely handed over for screen printing, the team immediately transitioned to the Kantha workstation, utilizing the late afternoon hours to systematically sort, measure, and stage raw materials for upcoming stitching trials.
High Volume Meets Craft Experimentation: Constitution Tote Production
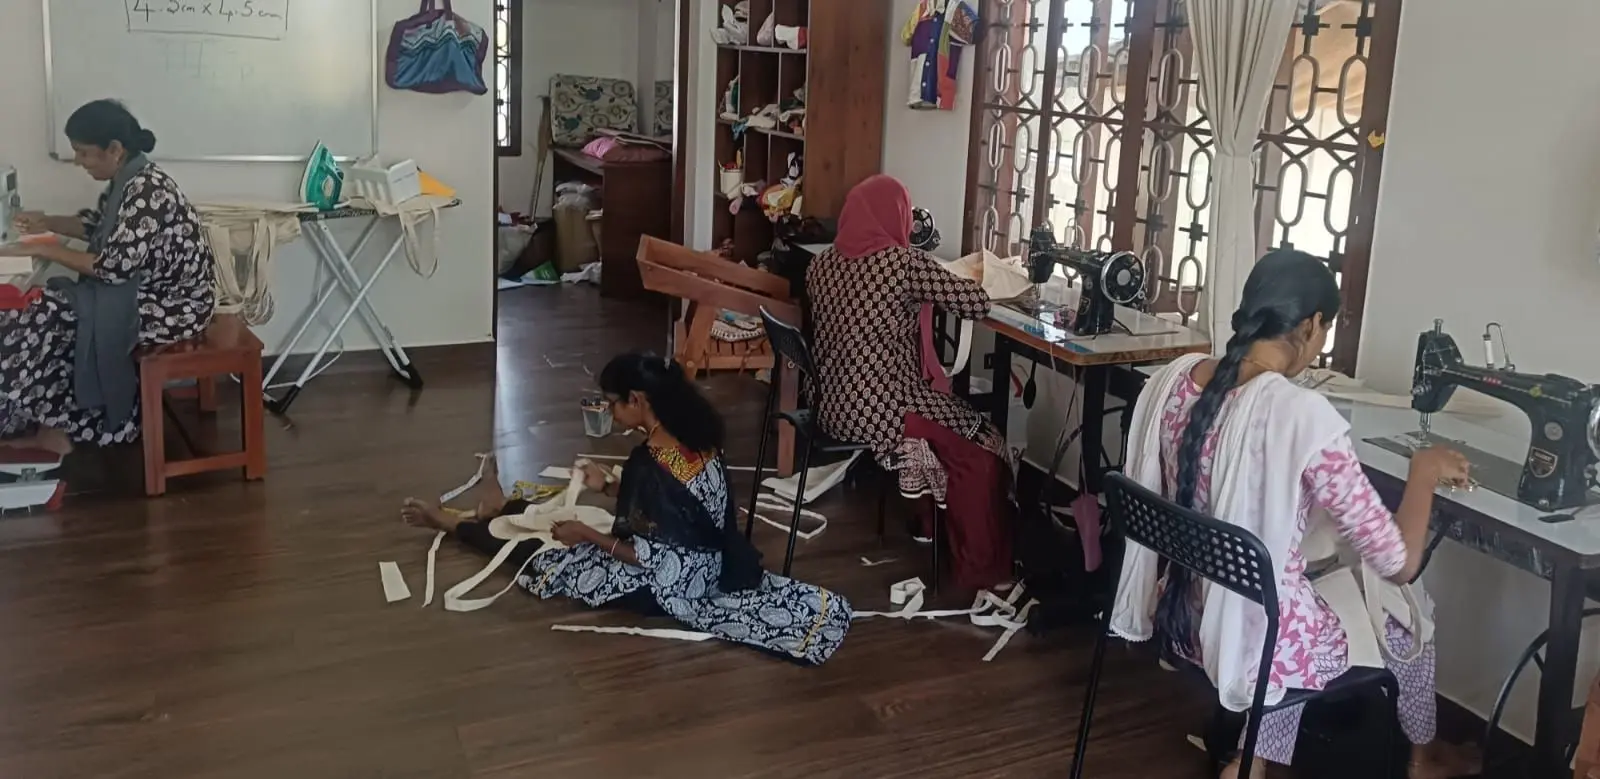
The stitching unit operated at full momentum to fulfil a 50-unit order of Constitution-themed tote bags measuring 17.5" × 16", coordinating precise pattern cutting, printing preparation, and assembly. Parallel to bulk manufacturing, we dedicated targeted intervals to refine Kantha stitching methodologies, testing new adjustments in real time. Balancing structured deadline-driven production with exploratory craft experimentation ensured steady operational output while maintaining continuous technique development.
Breaking the Impasse: Local Artisan Insights Yield a 90% Precision Fit
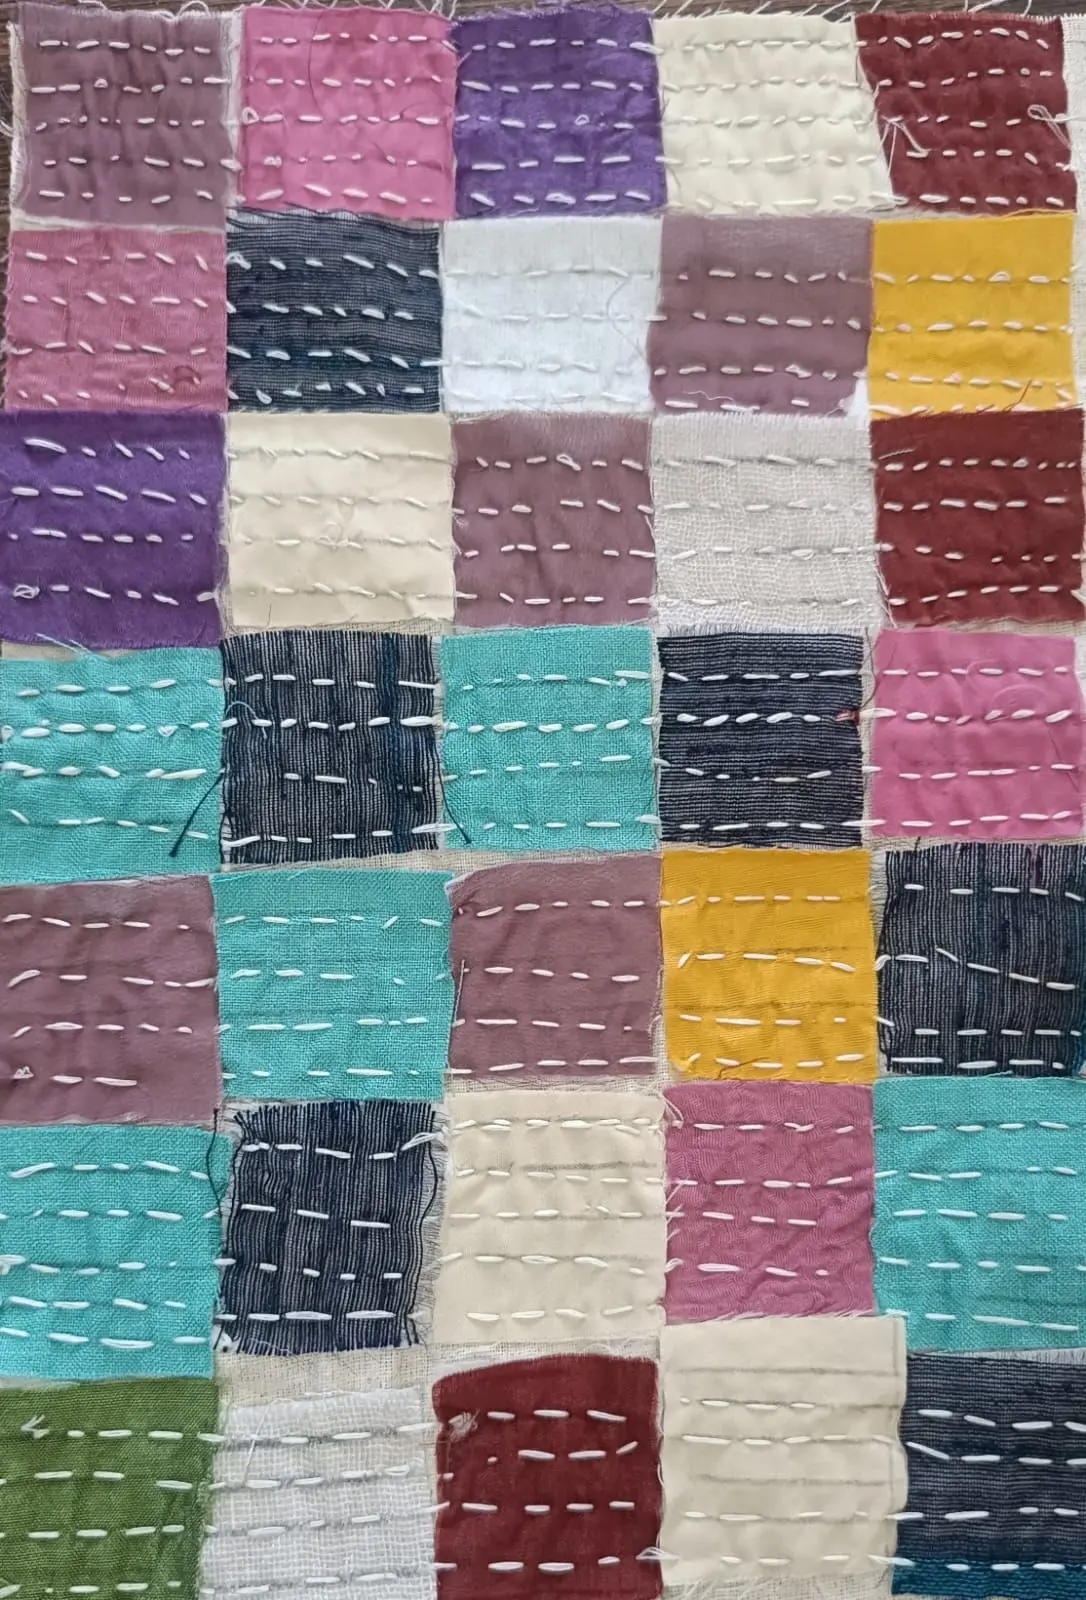
We faced persistent structural issues, so we consulted a seasoned Mattancherry tailor and a textile designer to reassess the Kantha assembly process. Implementing their feedback, we cut fabric strips to 6 cm with internal 4 cm guidelines, then stabilized them with paper and ironed at the overlaps before reverse stitching and trimming. This collaborative adjustment eliminated previous alignment flaws, yielding a clean, highly precise finish that brings the project within 90% of its final targeted design standard.
Adjustments to fabric seam margins
Direct 4 cm cuts lacking overlap caused severe fraying. We increased the fabric to 6 cm to provide necessary seam margins for structural stability. To eliminate unwanted pencil guidelines on the final product, we introduced a custom 4 cm wooden block as a tactile placement guide. Placing this template directly over the 6 cm fabric strips allowed precise 4 cm spacing and controlled overlap during Kantha stitching, resulting in significantly cleaner, mark-free finishes.
Transitioning to a 6 cm fabric base
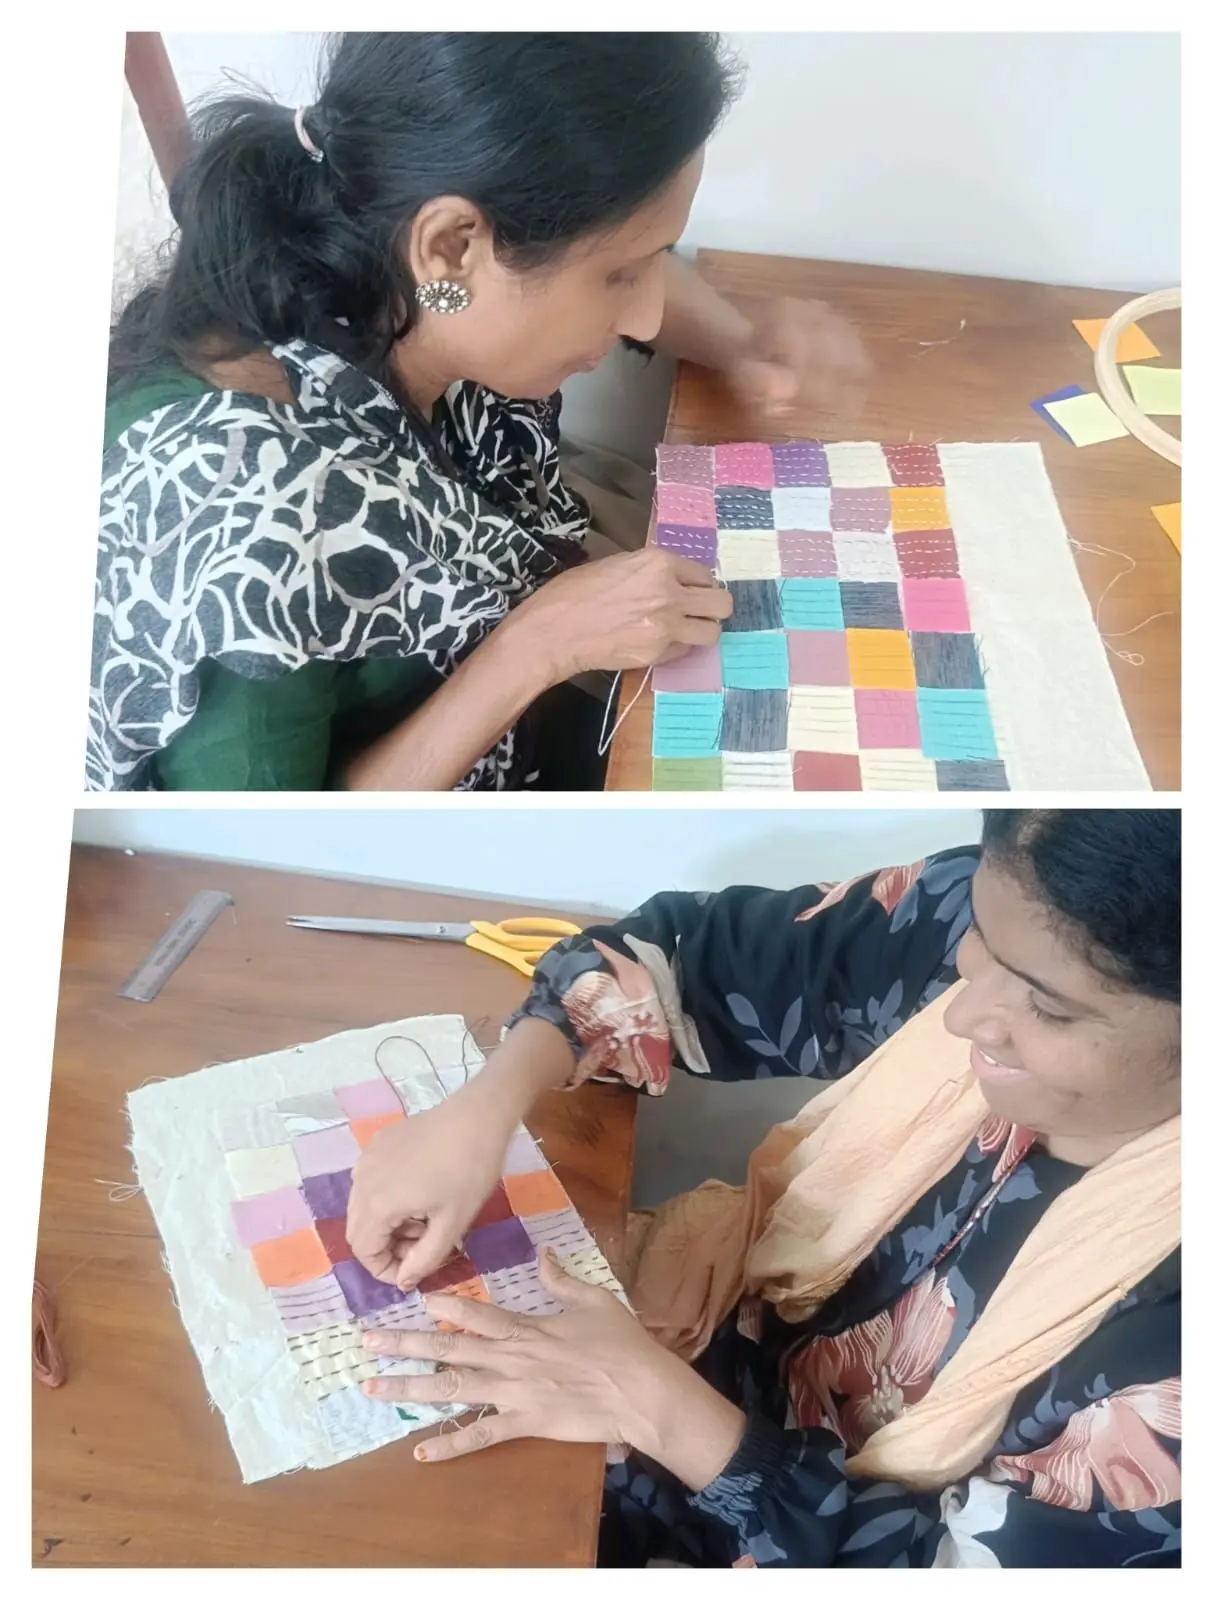
Despite initial optimism using paper stiffening for exact base cuts, full assembly revealed critical friction: needle resistance strained execution and direct 4 cm cutting left insufficient seam margin, causing severe edge fraying. To resolve structural breakdown during stitching, we transitioned to a 6 cm fabric base with an internal 4 cm guide mark. Overlapping these wider margins before stitching ensures sufficient anchor space, preventing fraying while preserving exact 4 cm visible grid lines.
Fabric construction for precise 4cm × 4cm squares
We achieved precise 4cm × 4cm base squares by ironing fabric onto stiff paper with adhesive backing, which provided structural consistency for assembly. Combining handloom fabric with canvas and paper layers created dense material resistance, making needle penetration difficult with standard hand tools. To maintain precision without straining the assembly, future iterations will explore finer needles and lightweight primary fabrics, reserving heavy handloom textiles exclusively for the final outer layers.
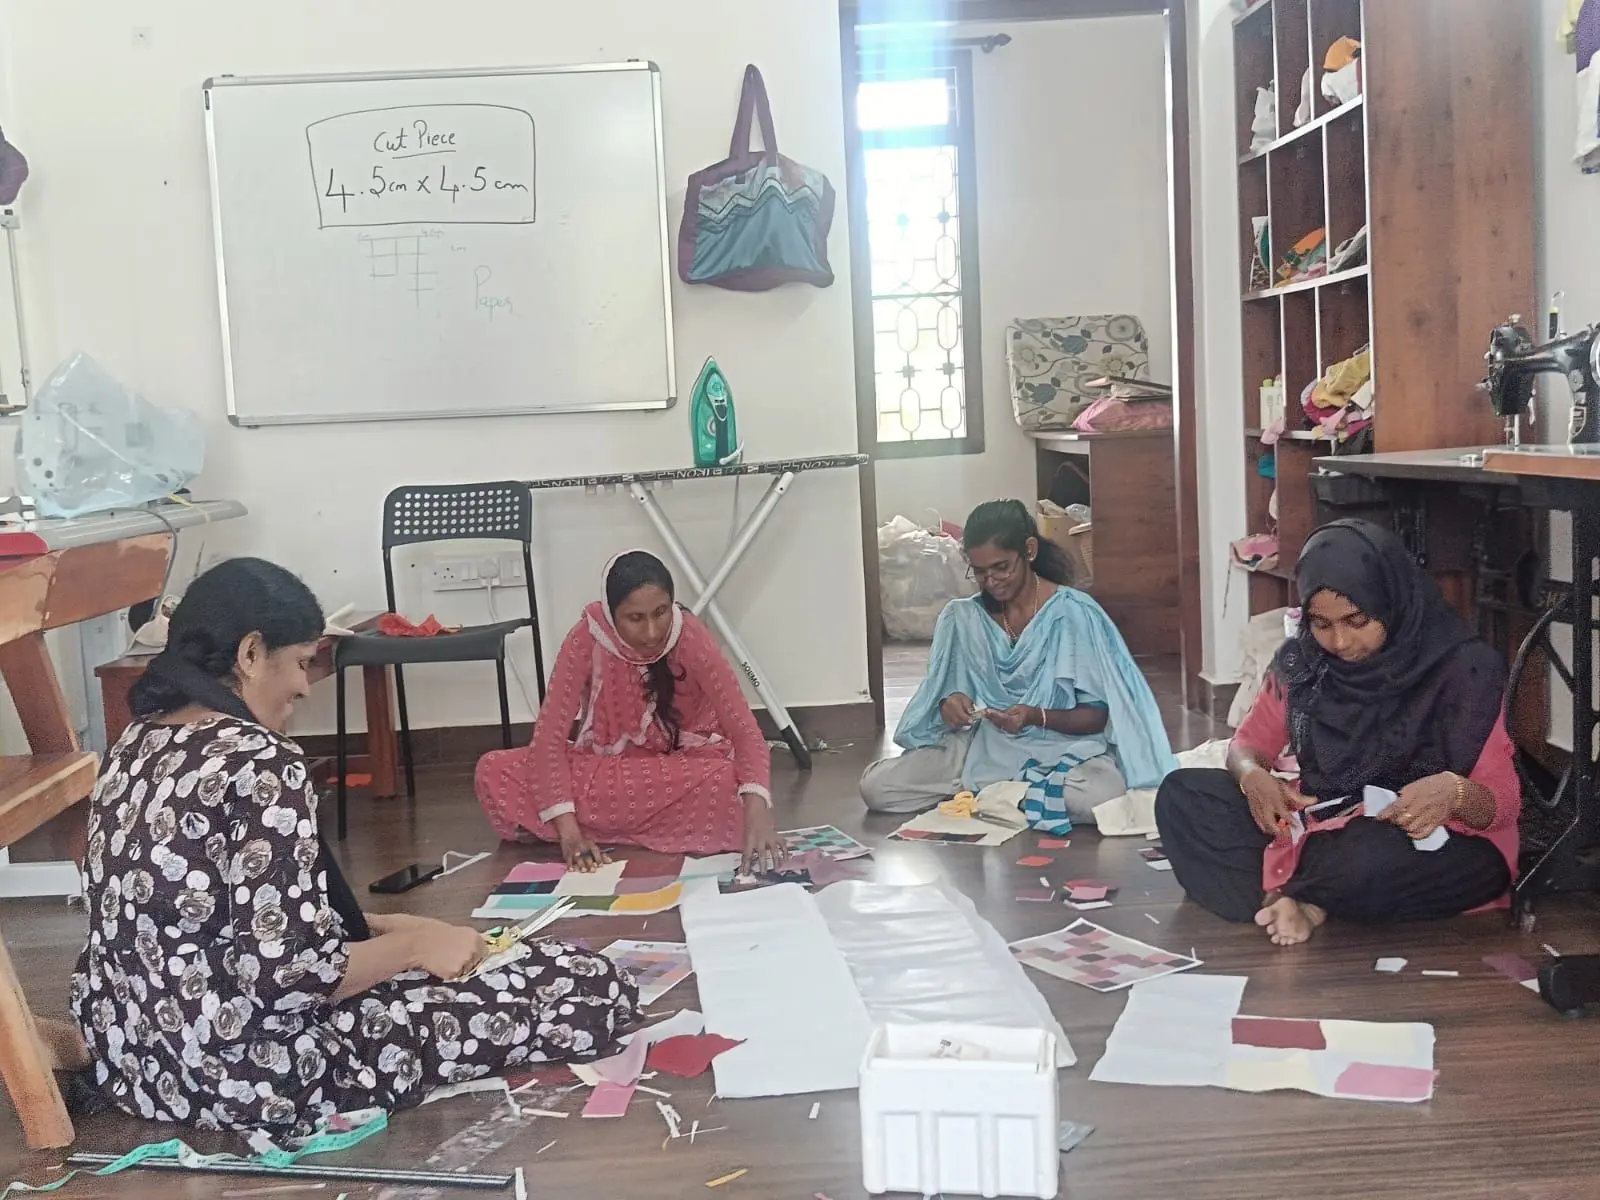
Precision cutting and Kantha joining techniques
To achieve exact square dimensions, we ironed fabric directly onto stiff paper, establishing a stable foundation for precise cutting. Further experiments in joining individual Kantha pieces revealed that working without pre-stitching required intense focus, as minor movements risked disturbing the entire alignment. Despite these balance challenges, completing 70% of the work demonstrated that continuous technique refinement is essential for mastering high-precision craft assembly.
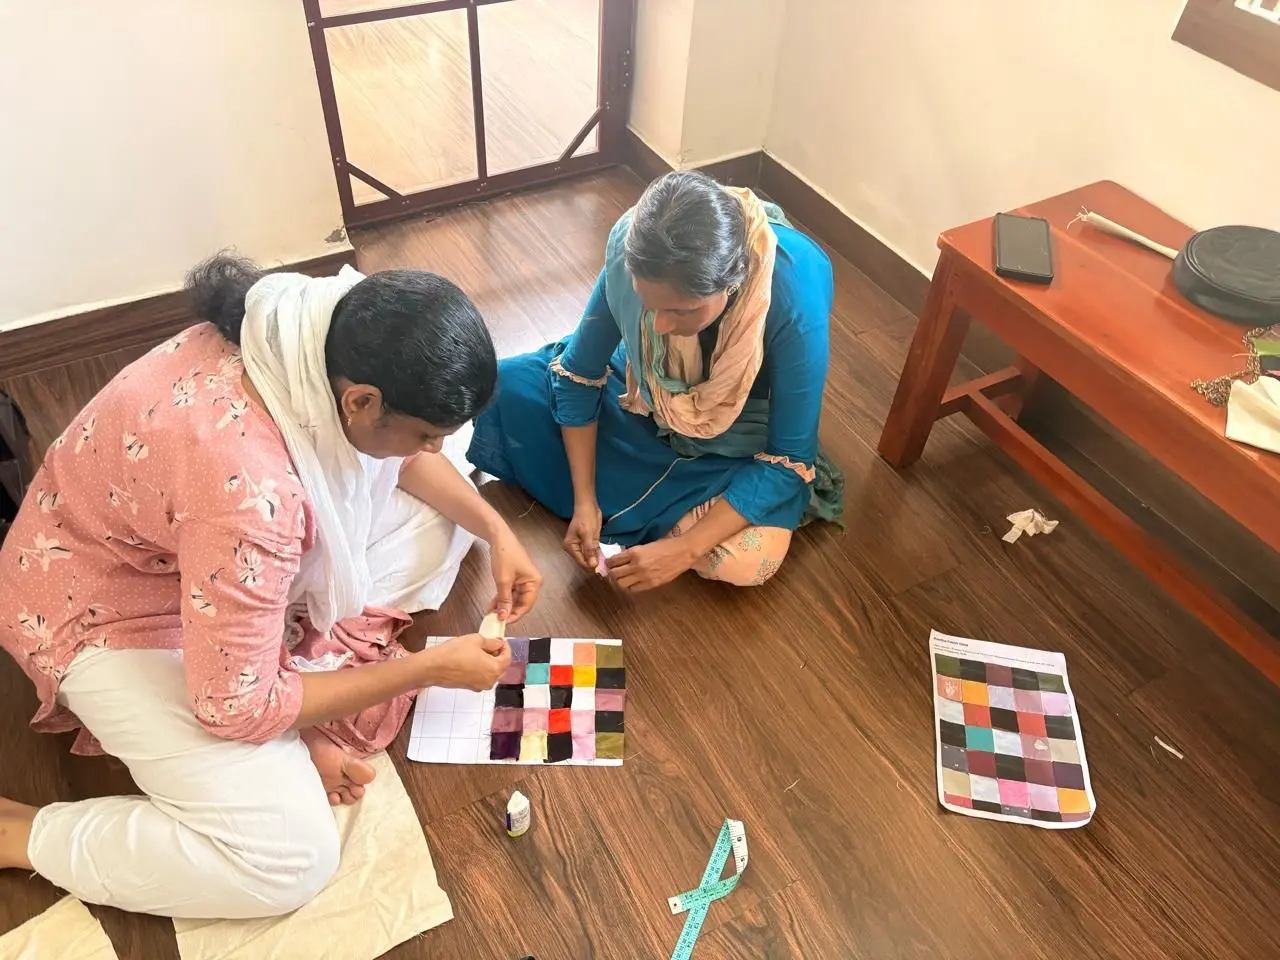
Improving Cutting Accuracy Through Fabric Stabilization
We ironed the fabric onto stiff paper to stop it from stretching and keep the squares accurate when we cut it. This stopped the material from moving about, so we could cut the shapes properly and get consistent sizes on every piece. Then we tested joining the pieces directly versus pre-joining them first, and it showed how important preparing the fabric is for getting the stitching straight.
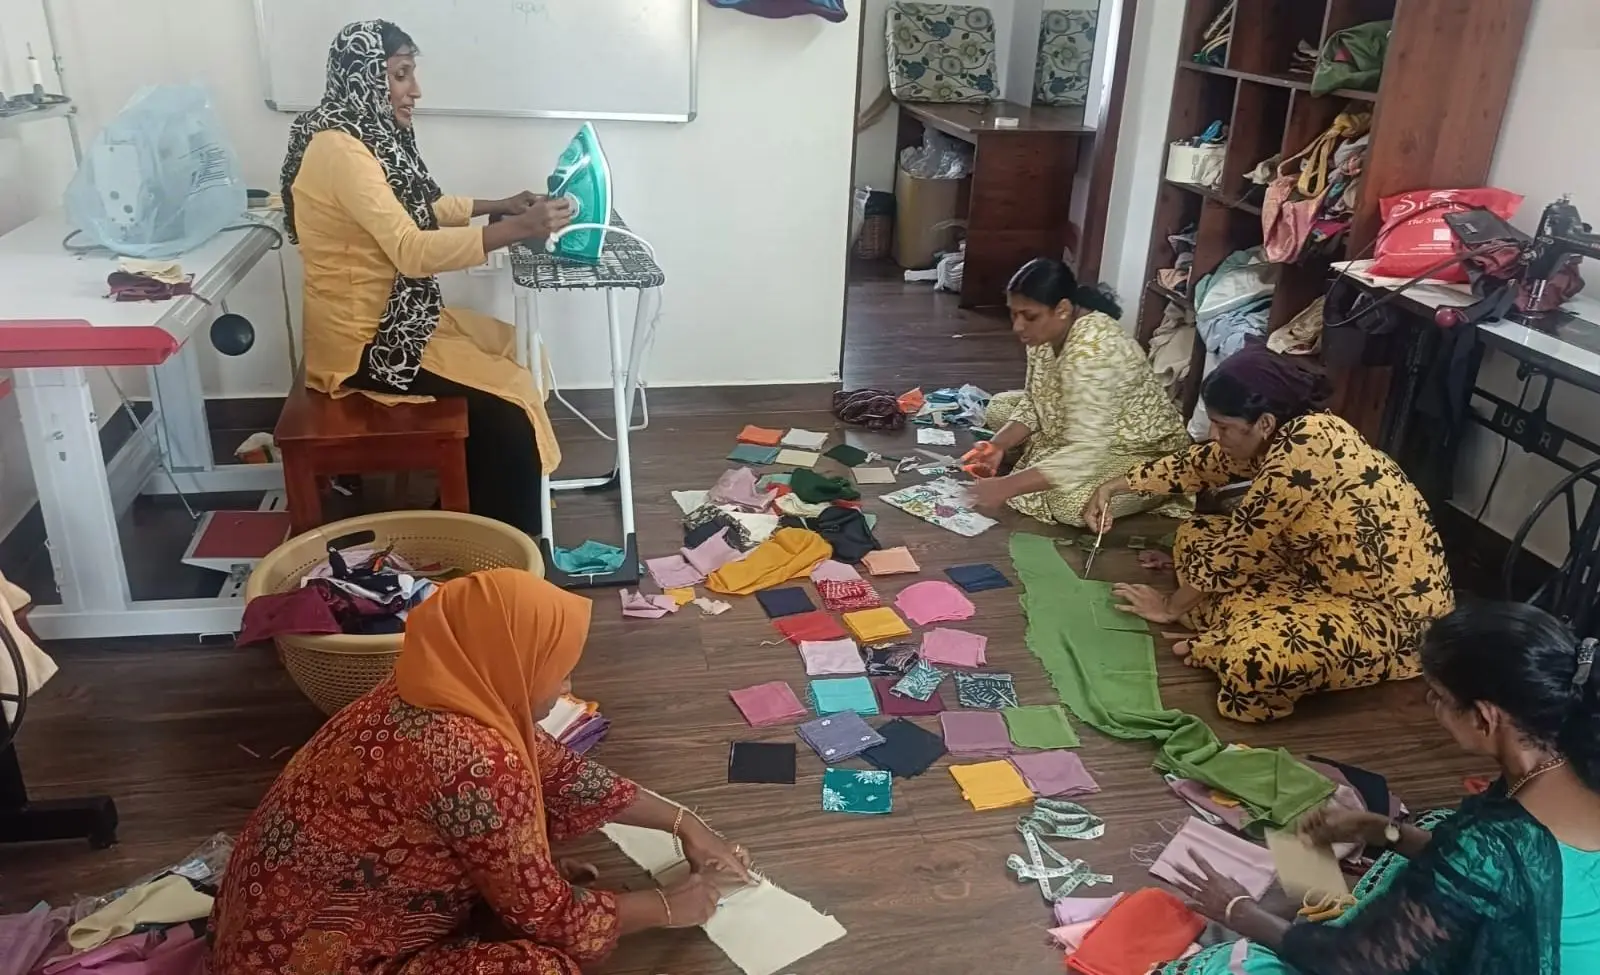
Stitching Unit Update: Fabric Cutting and Template Size Correction
Today in the stitching unit, we completed cutting all the remaining fabrics from yesterday using the templates after ironing them. When we randomly measured a few cut pieces to check accuracy, we noticed a size discrepancy because the thickness of the cardboard templates caused the marked size to increase from 4.5 cm to about 5 cm on the fabric. To achieve the correct size, we adjusted and reduced the template size to 4.1 cm, which successfully yielded the required 4.5 cm fabric pieces. Following this, we corrected all the remaining pieces that had been cut at 5 cm down to 4.5 cm. Finally, we mixed and matched the cut fabric pieces to verify that the colors, designs, and cutting patterns coordinated and matched as intended.
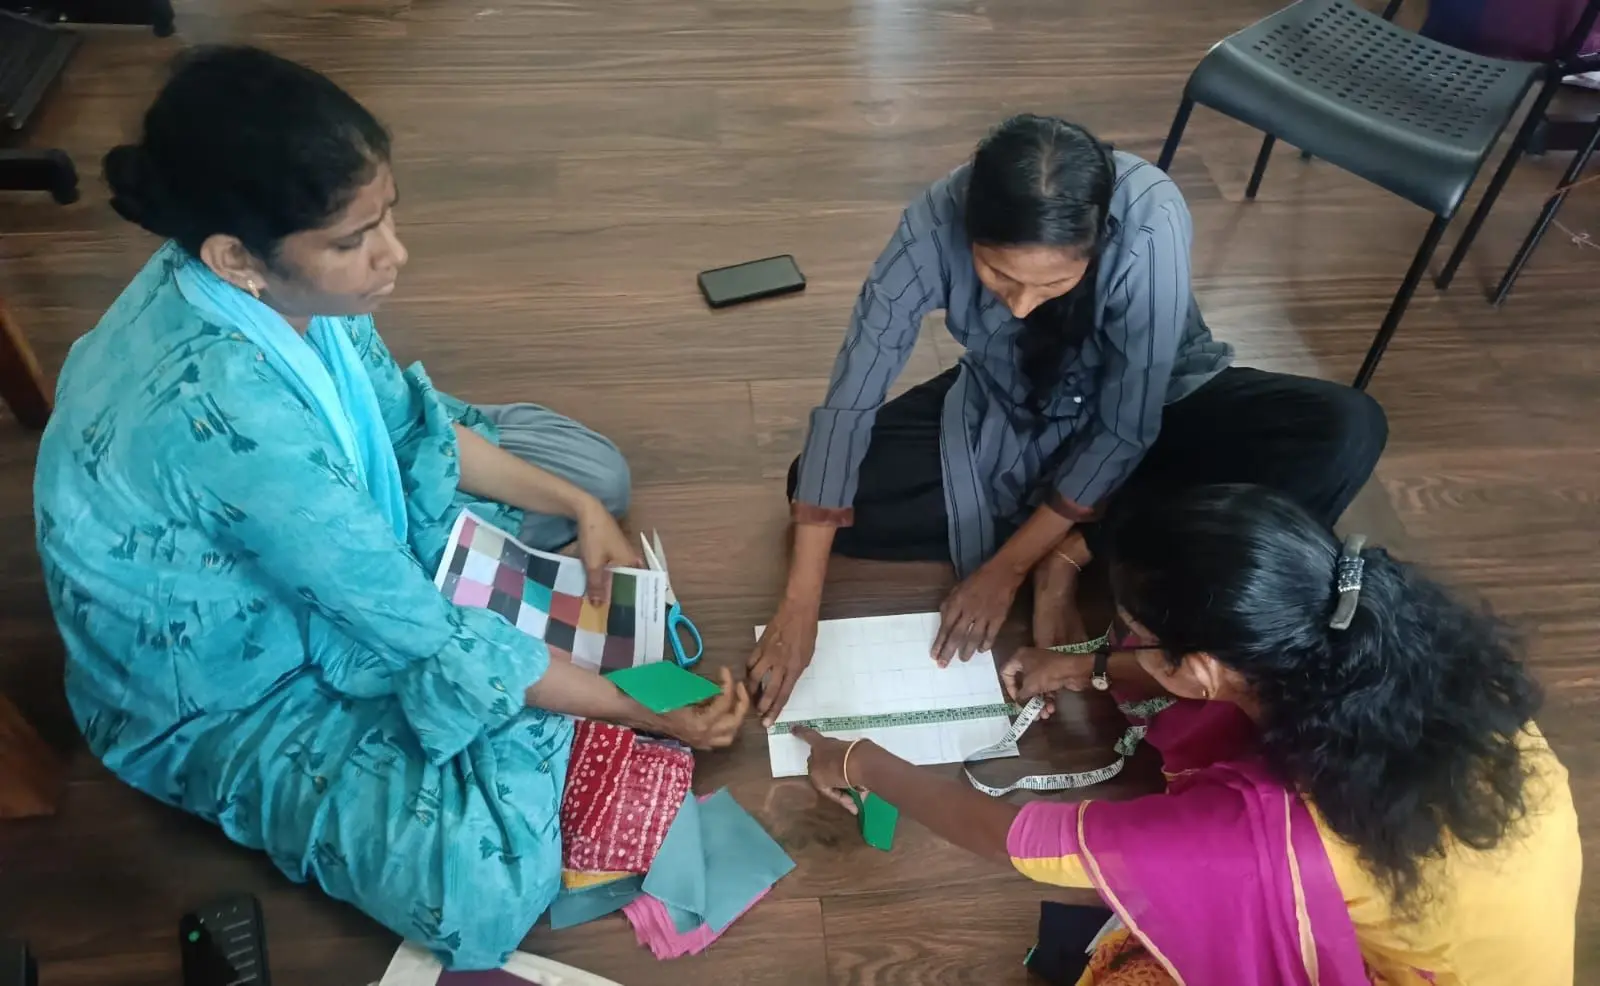
Correction of 4.5 cm to 4.5 inches fabric
During the stitching process, a critical discrepancy occurred when 4.5 cm paper templates were mistakenly converted to 4.5 inches during fabric cutting due to standard industry habits. This dimensional error was discovered when the cut pieces failed to fit the target design model, prompting a collaborative review of the templates and layout metrics. The team resolved the issue by creating precise new templates, recutting the fabric to 4.5 cm, and completing the assembly. Always cross-check the unit before cutting. The templates were 4.5 cm; read as 4.5 inches, a whole batch of fabric was cut to the wrong size and had to be recut.
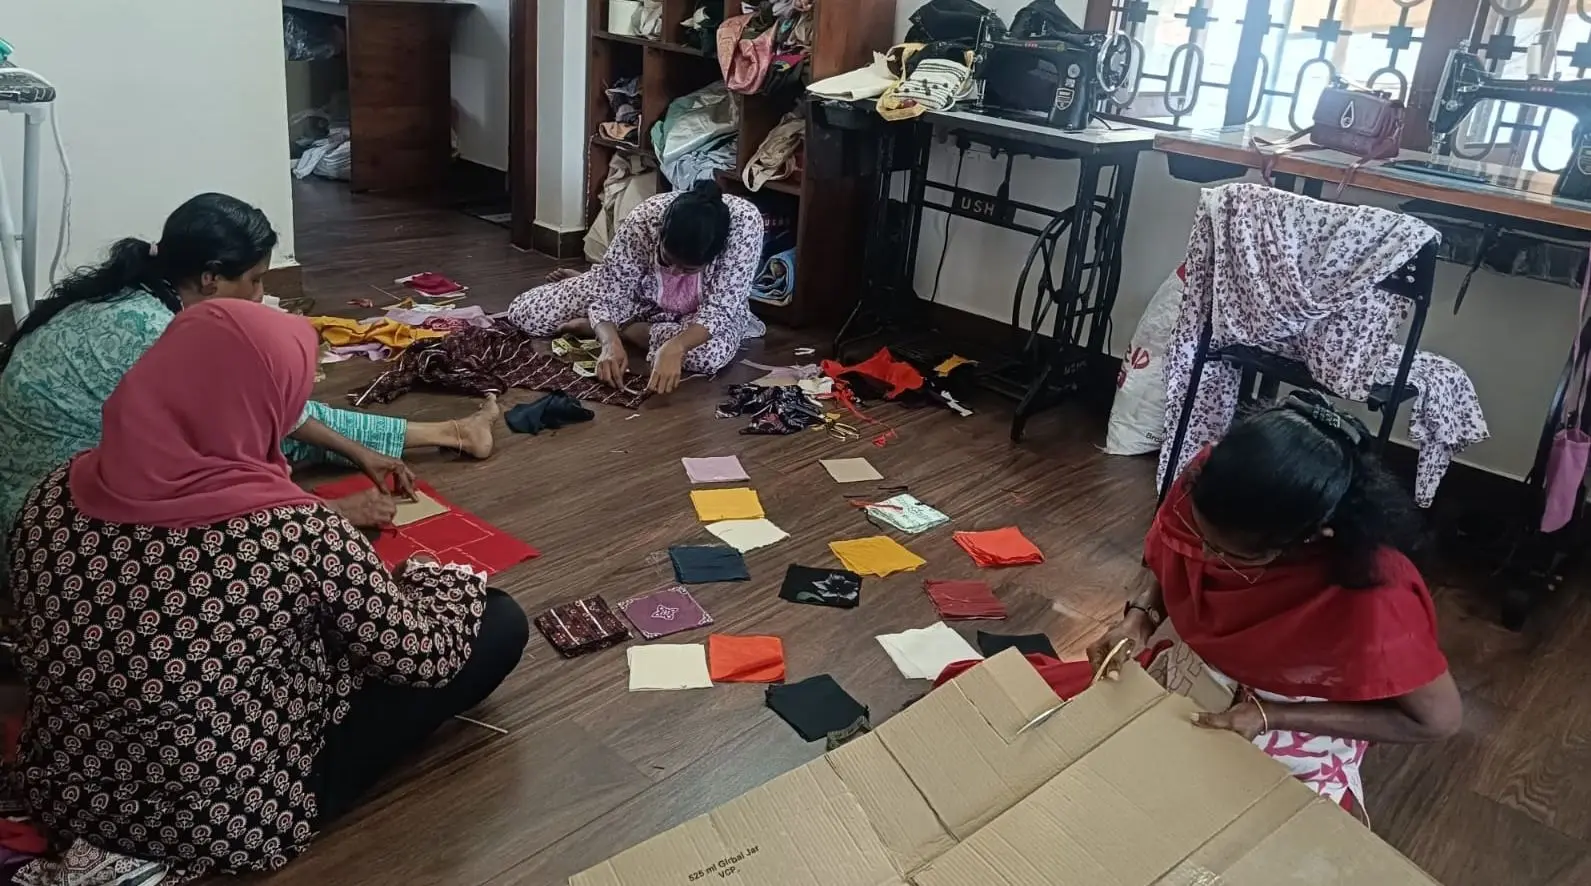
Techniques for balancing puzzle pieces
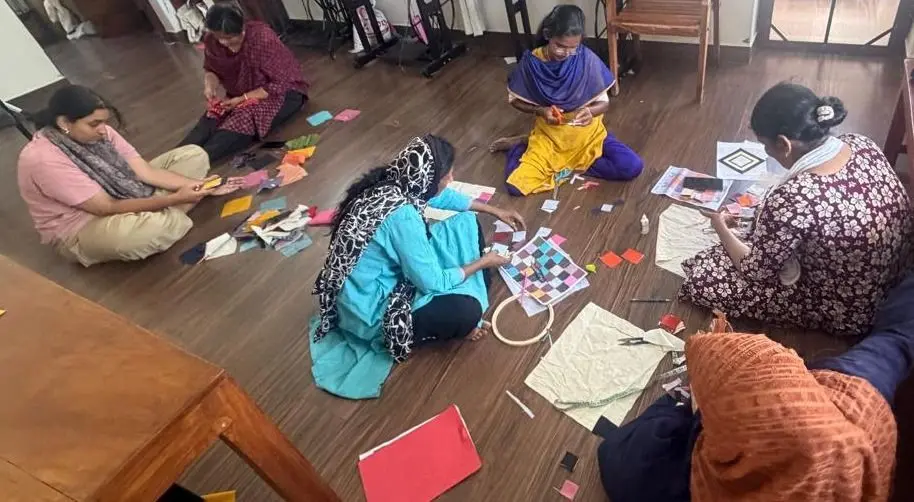
During the Kantha workshop, the team faced challenges in aligning puzzle pieces, which led to experimenting with black and white contrasts as well as dark and light shades to achieve proper layout balance. Once the layout was finalized, participants developed technical precision by systematically ironing, cutting fabrics into 4.5 cm pieces, and sorting them by color palette. Lay the pieces out on paper before cutting fabric. Small differences in shade change how the whole layout reads, and paper is the cheap place to find that out.