- What went in
- Washed cotton fabrics, iron box, fabric markers, shears, embroidery frames, Kantha needles, thread
- Time
- 5 hours
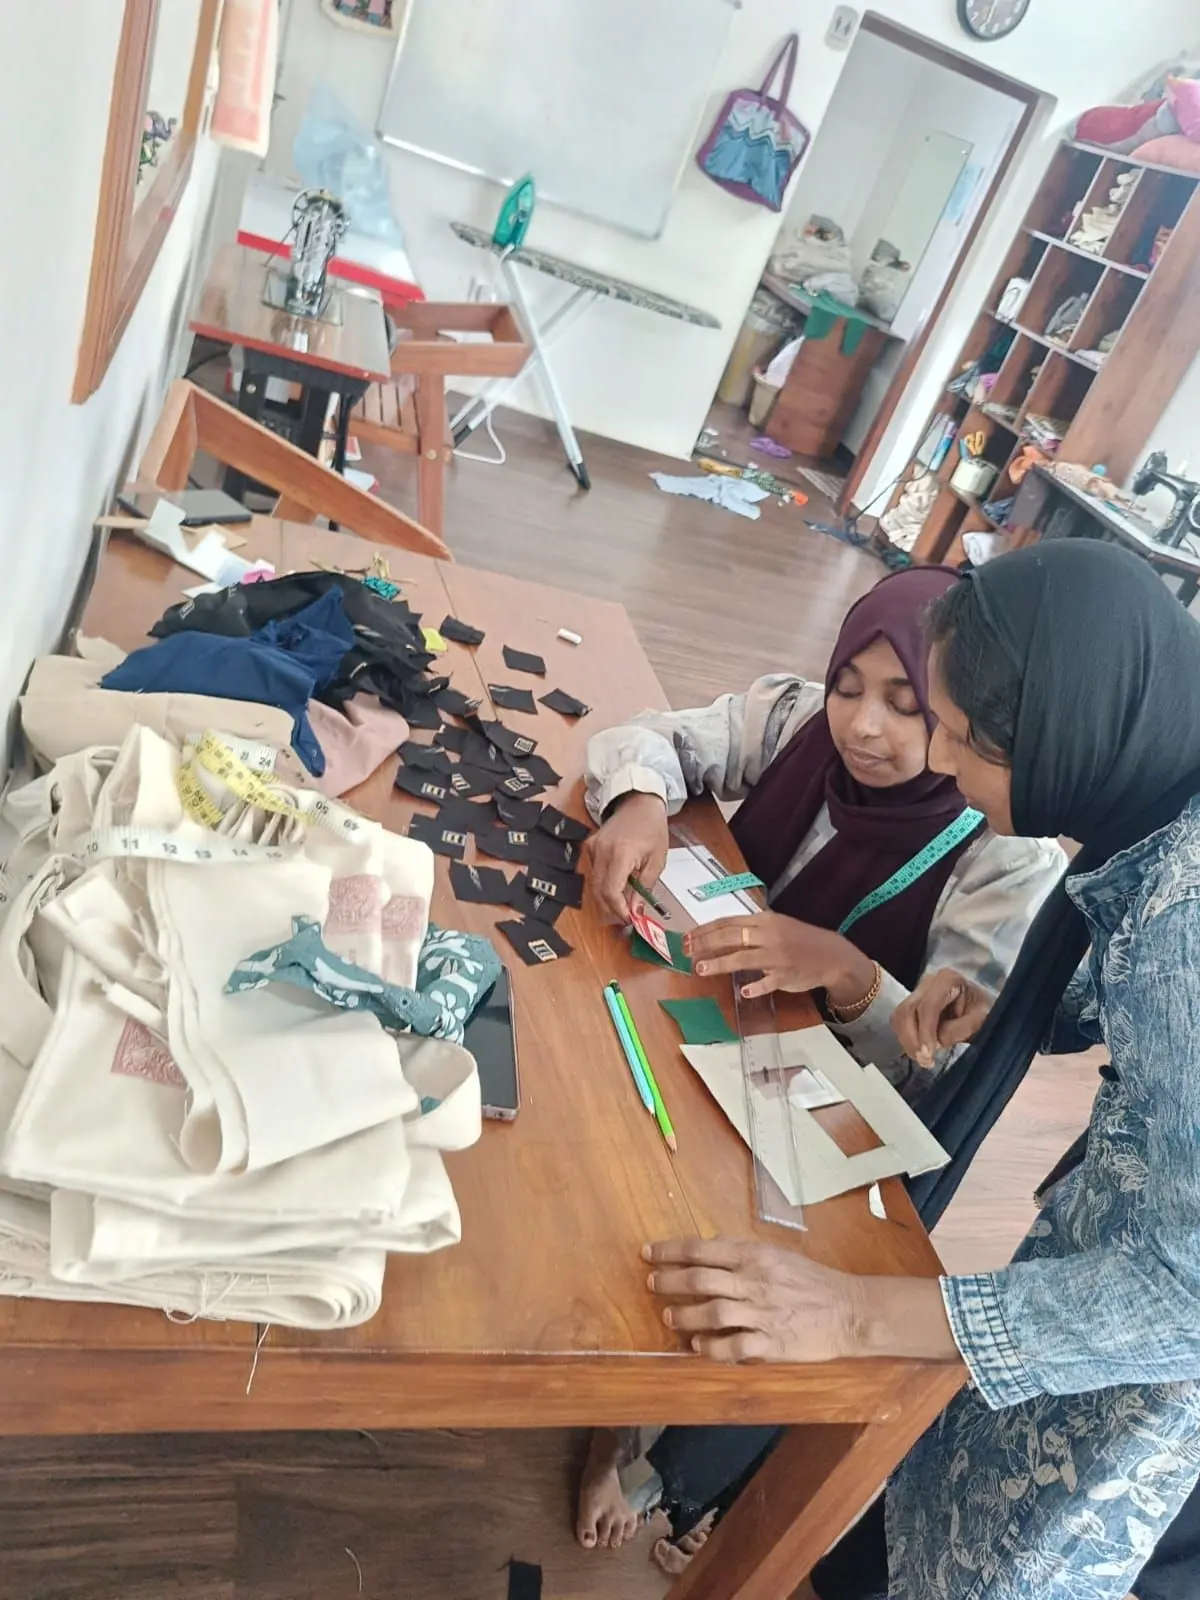
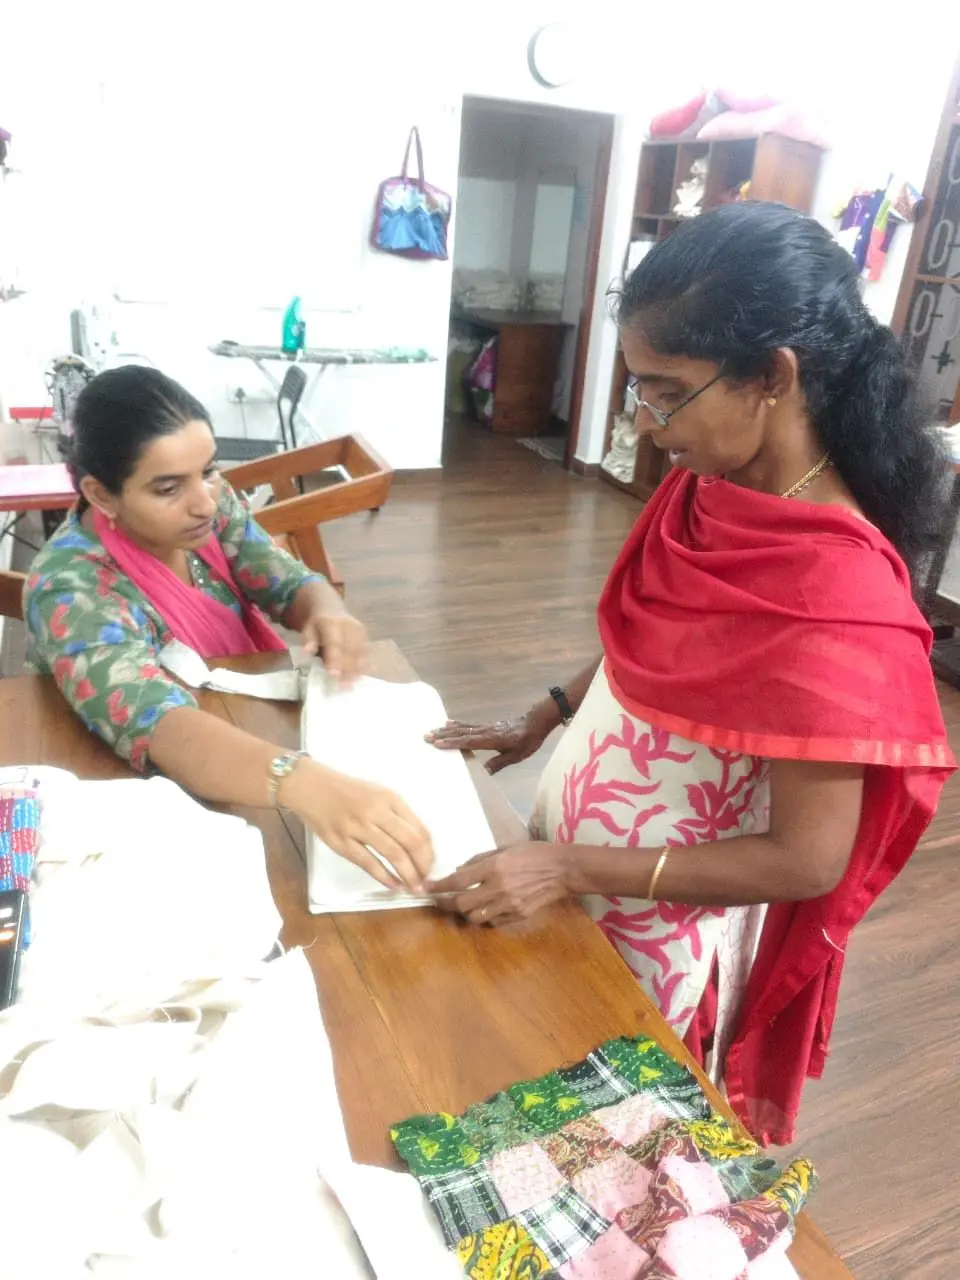
Today began with choosing suitable fabric pieces for Kantha work. The team washed and laid out the pieces for future use.
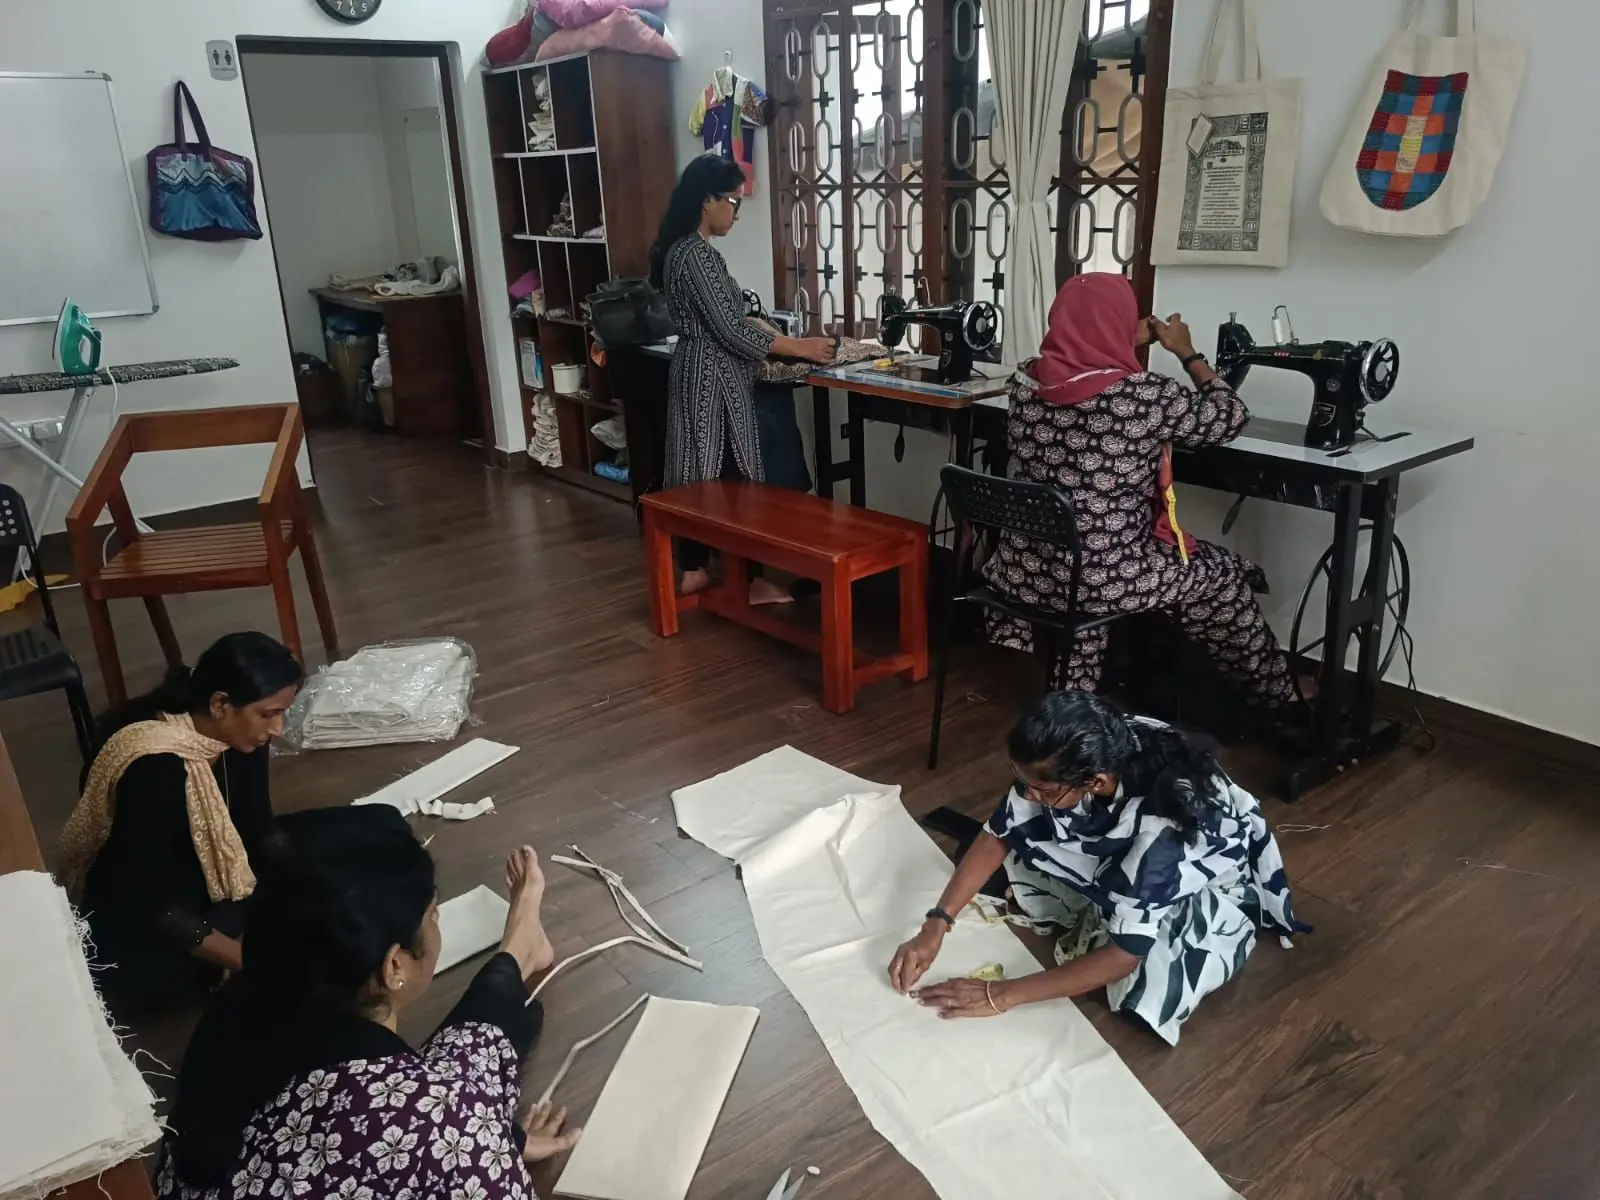
The team then took yesterday’s pre-washed fabrics. They ironed them smooth, marked them precisely, cut them, and stitched them together to prepare fresh base panels for hand embroidery.
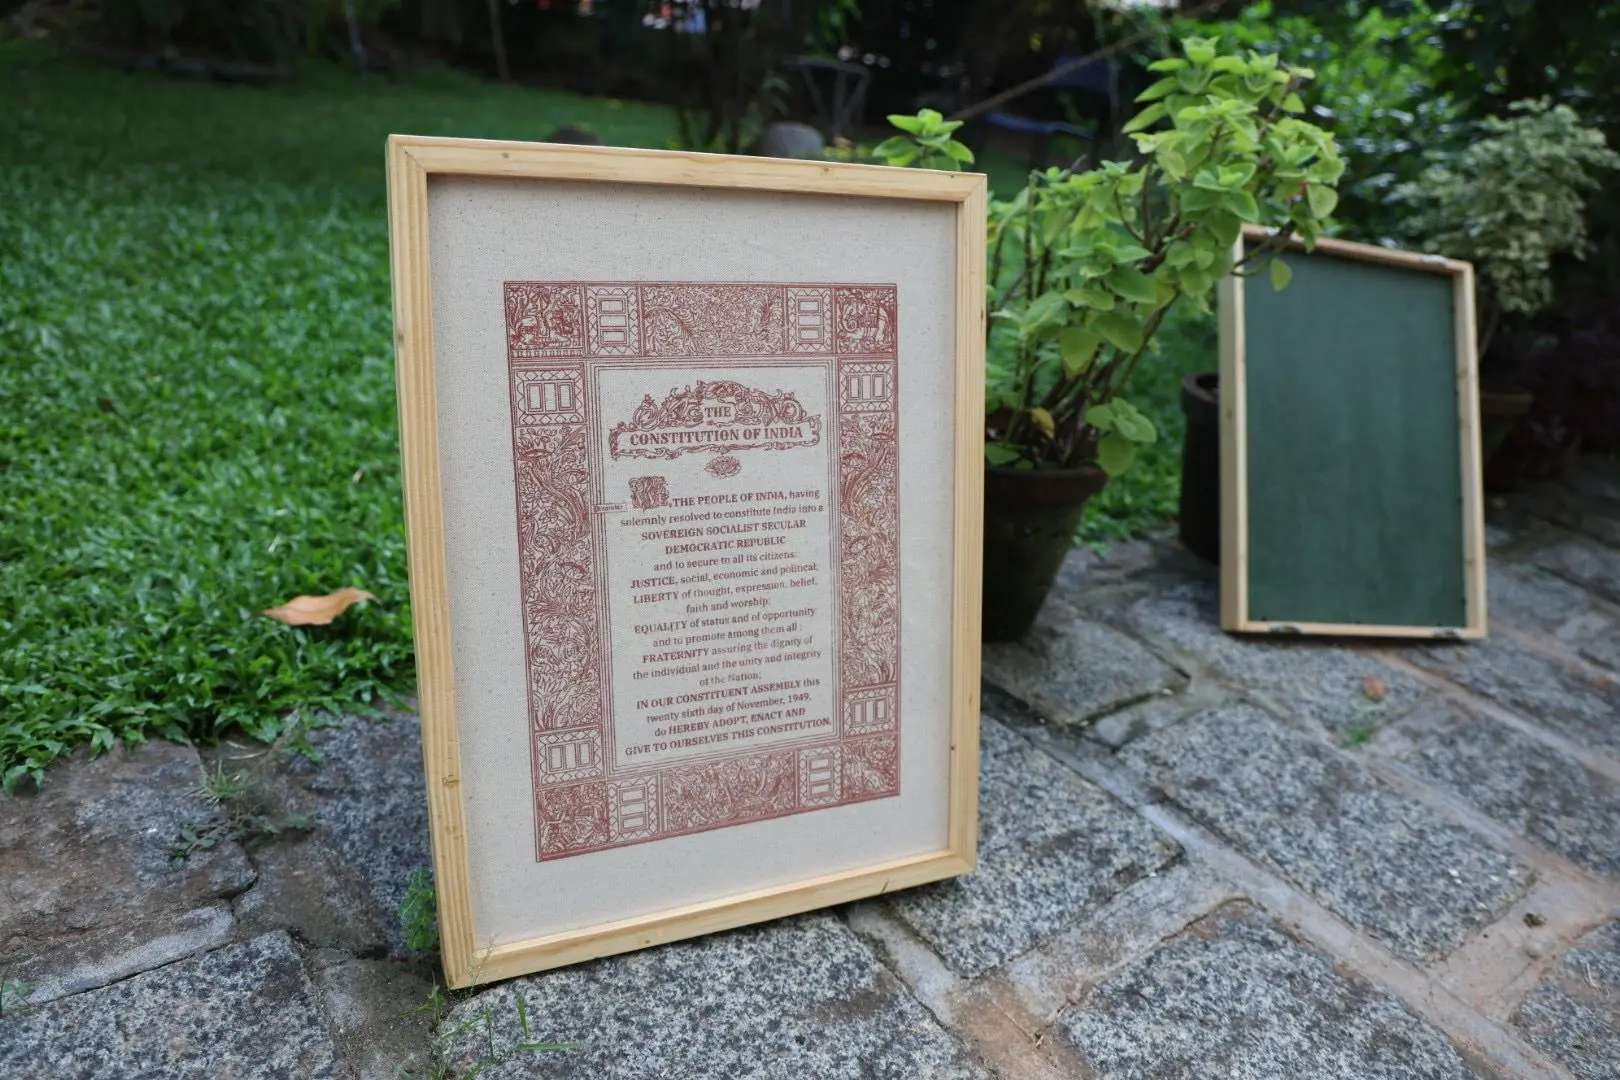
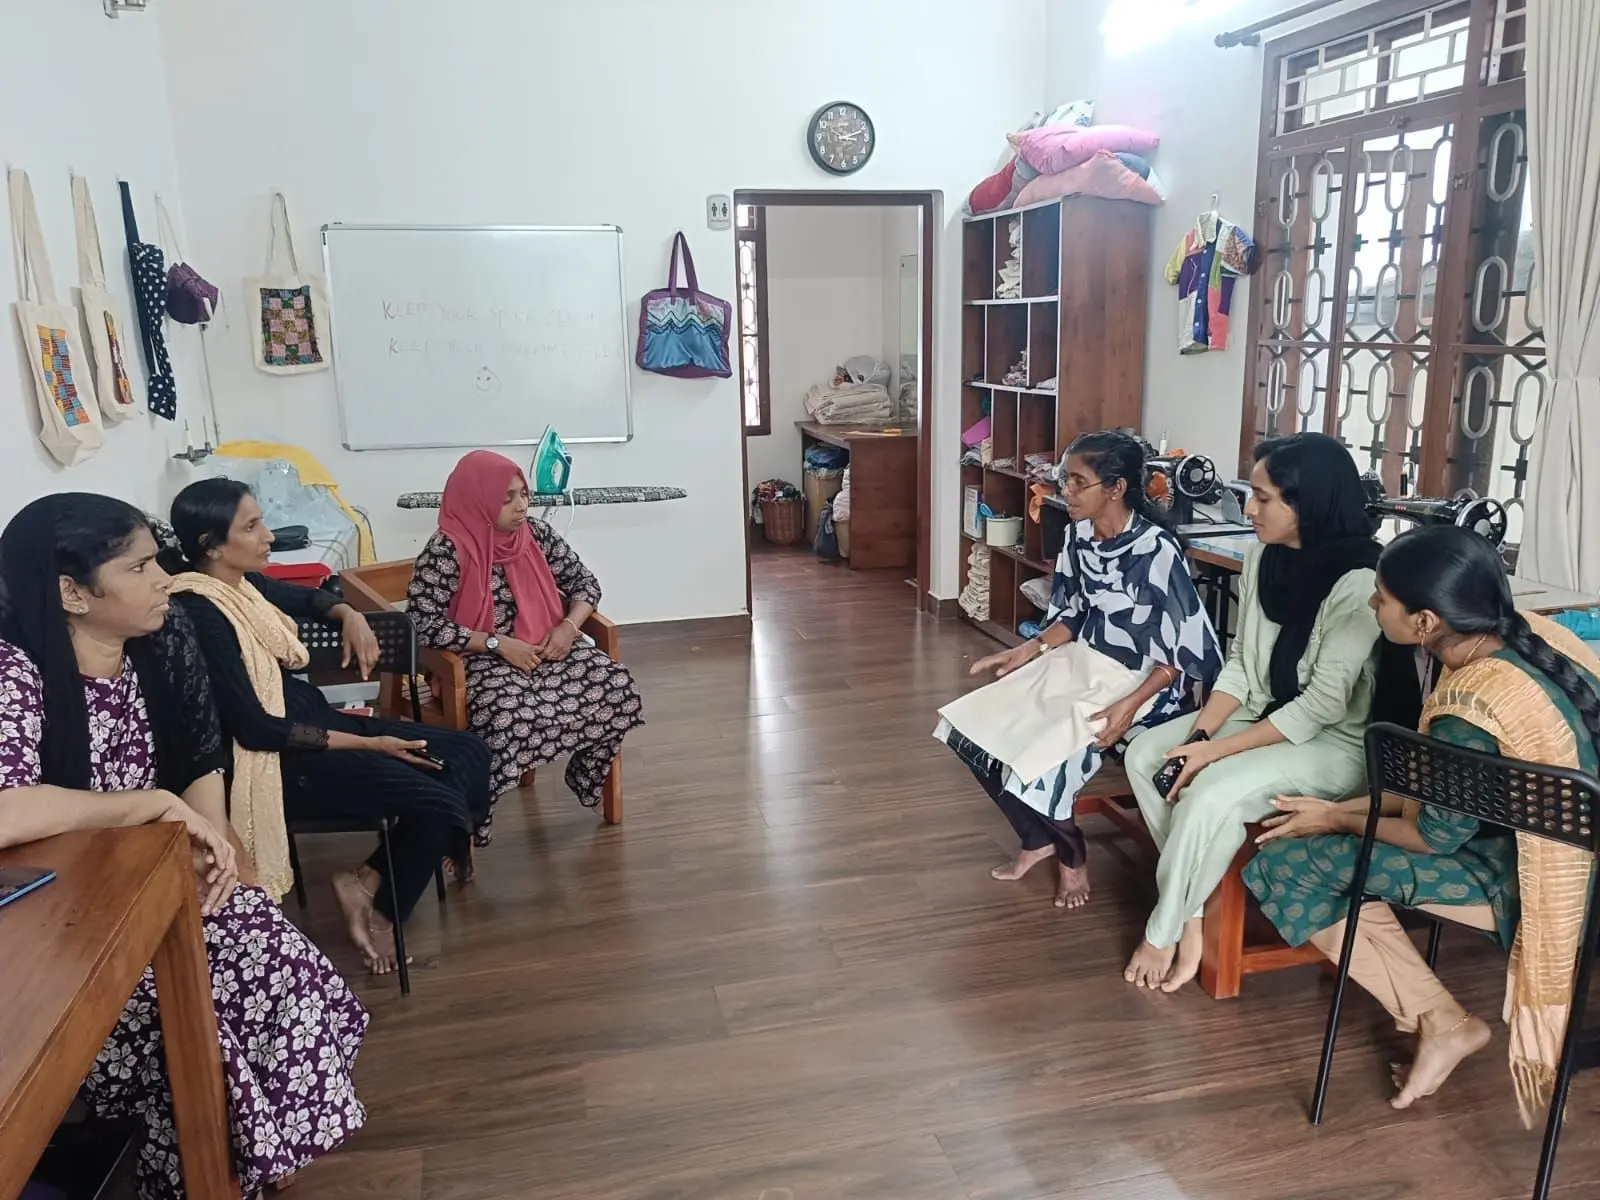
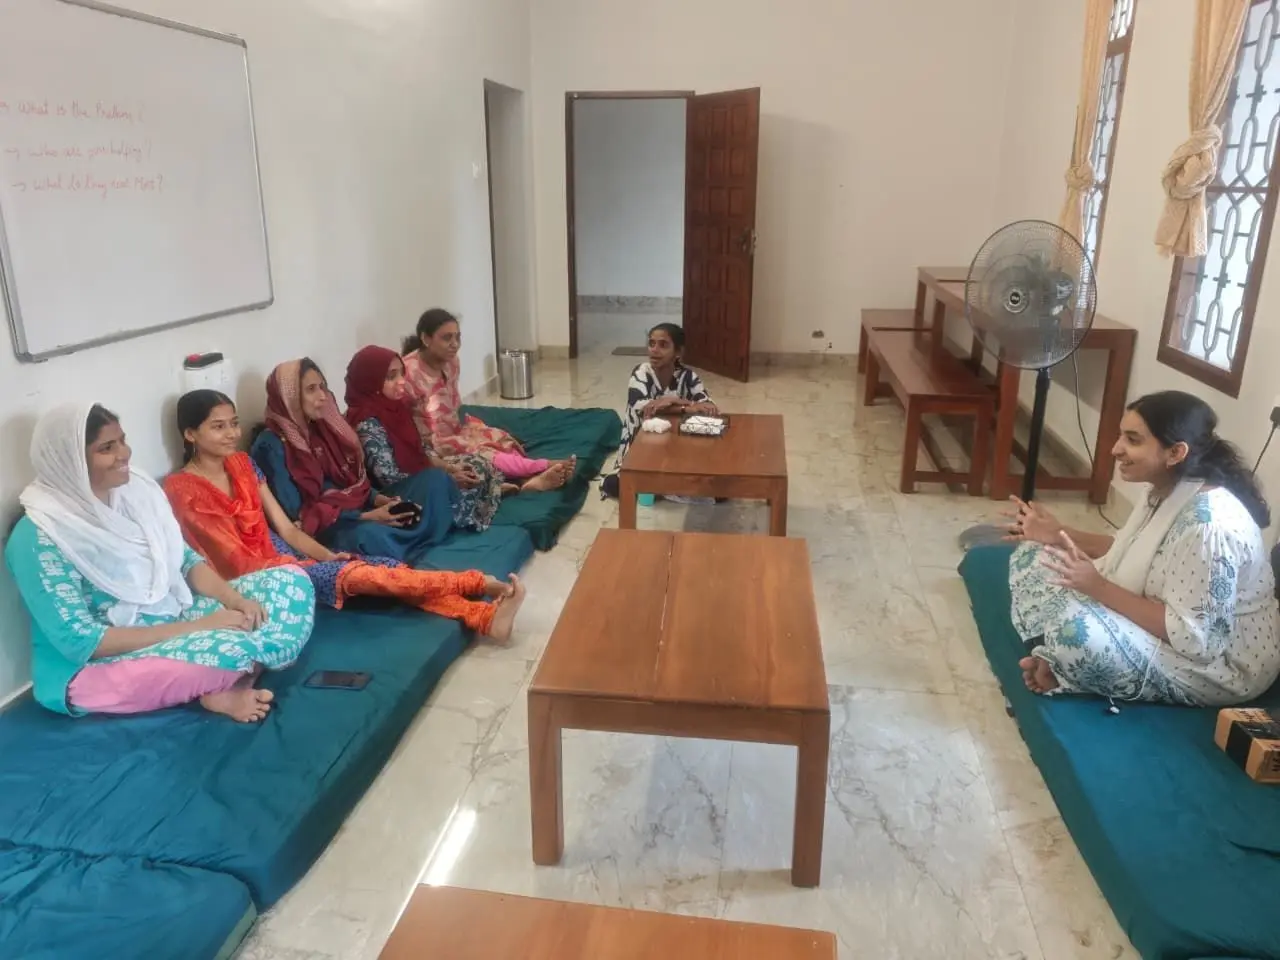
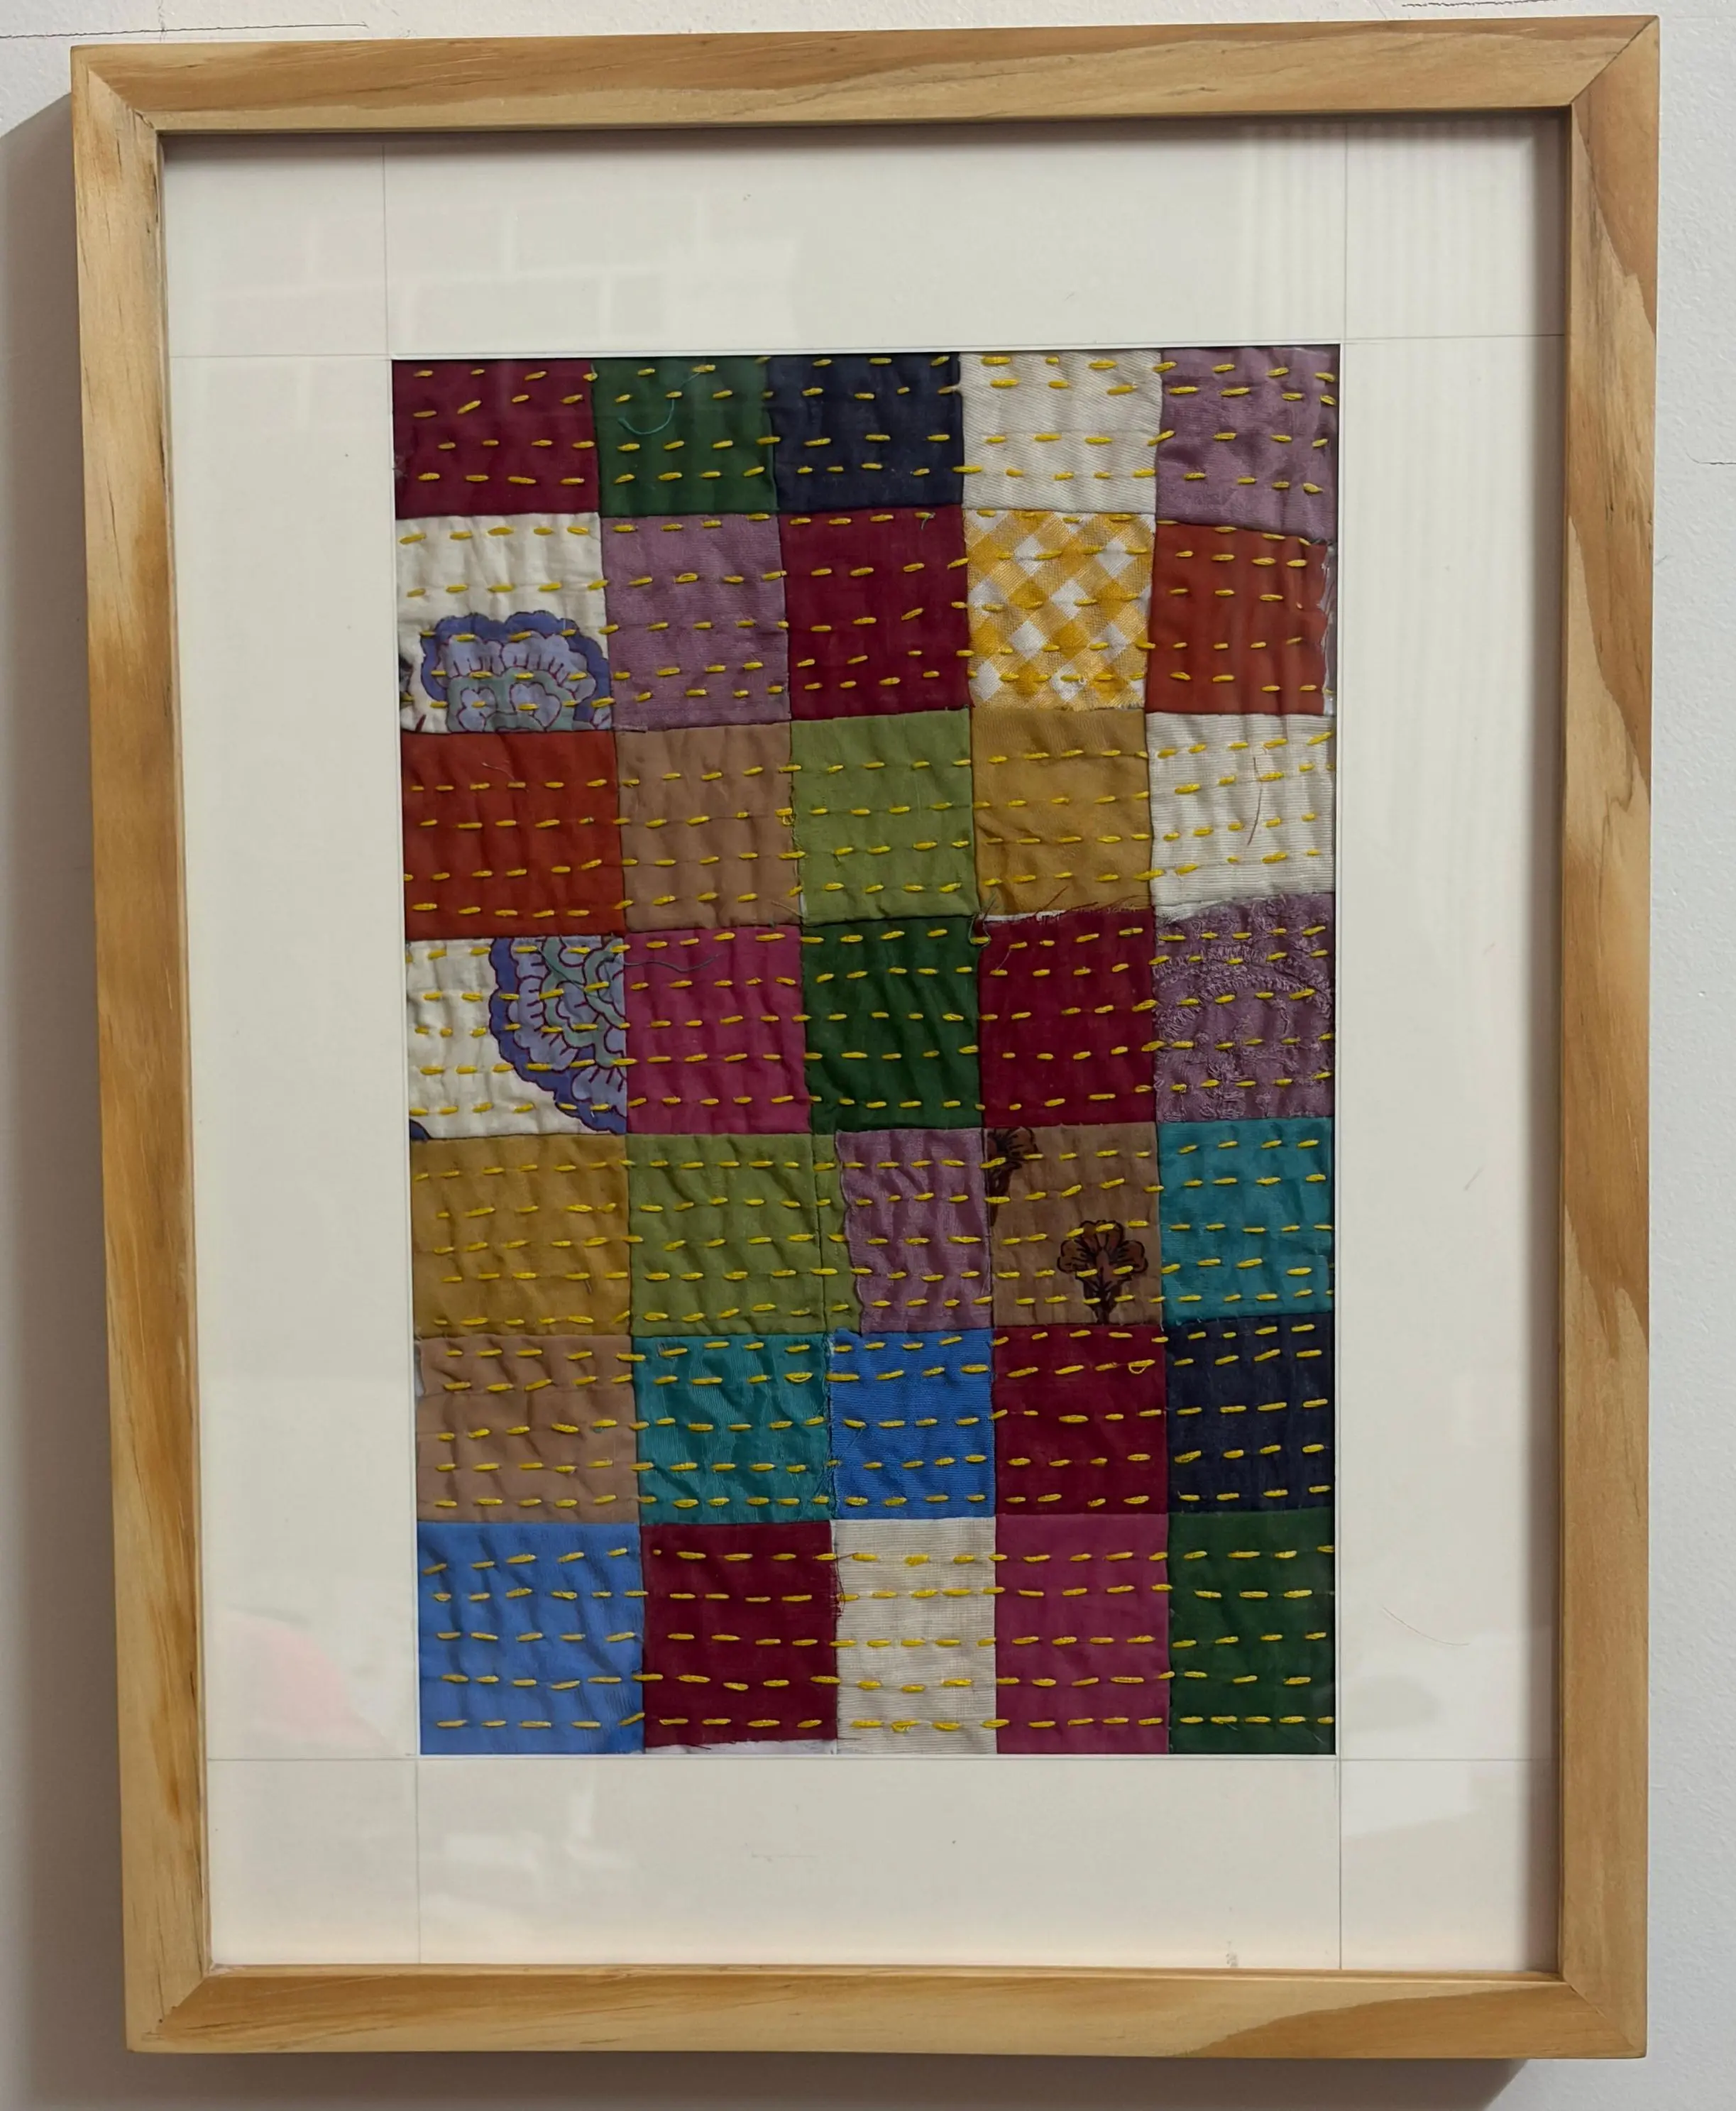
As the work progressed, the accurate stitching of two artisans stood out. Their Kantha stitches were neat, quick, and confident. We mounted their finished pieces into wooden embroidery frames and shared them with the rest of the unit. The display sparked an encouraging group discussion, with everyone examining the sample stitches and analyzing technique details.
Seeing such quick progress was more than we expected. To build on this progress, the team agreed that the advanced artisans will mentor others by sharing their insights. Before wrapping up, the artisans collectively planned dedicated group practice sessions to learn from one another and refine their craft as a unit.
- 3 Washed & ironed 6 cm cut panels, framed exemplar Kantha stitch samples
Peer recognition shifted group dynamics. By framing and showcasing high-quality samples, the team developed a shared benchmark for quality and naturally initiated a peer-led mentorship model.
(Participants told us)
Showcasing artisan samples creates positive peer inspiration. Scheduling dedicated group practice sessions also helps bridge skill gaps across the entire stitching unit.
Run this activity yourself. You are free to copy, change and share this write-up, as long as you credit aikyam space. Photos are not included. (Creative Commons licence CC BY 4.0)