Production progress
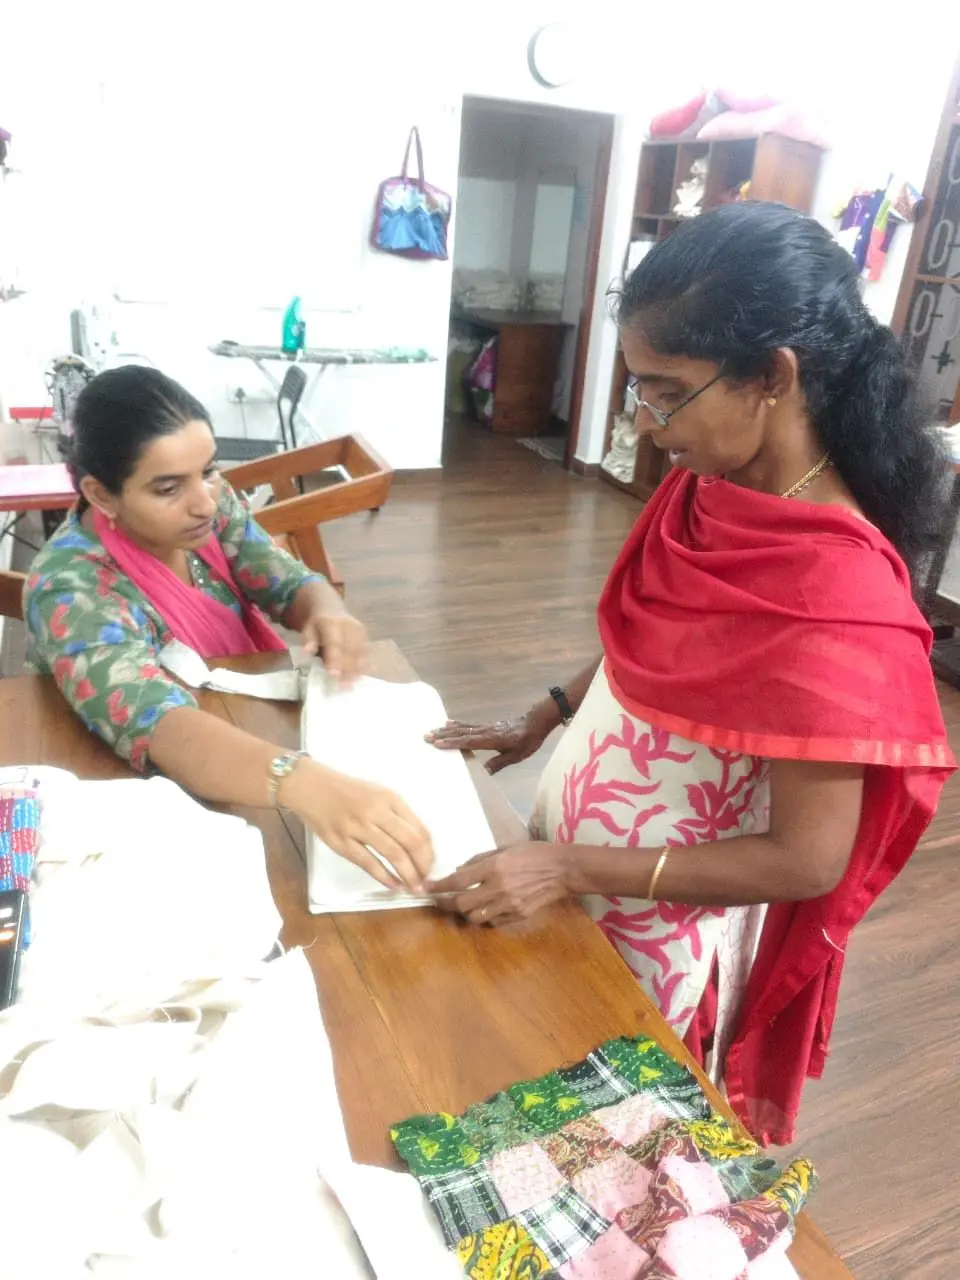
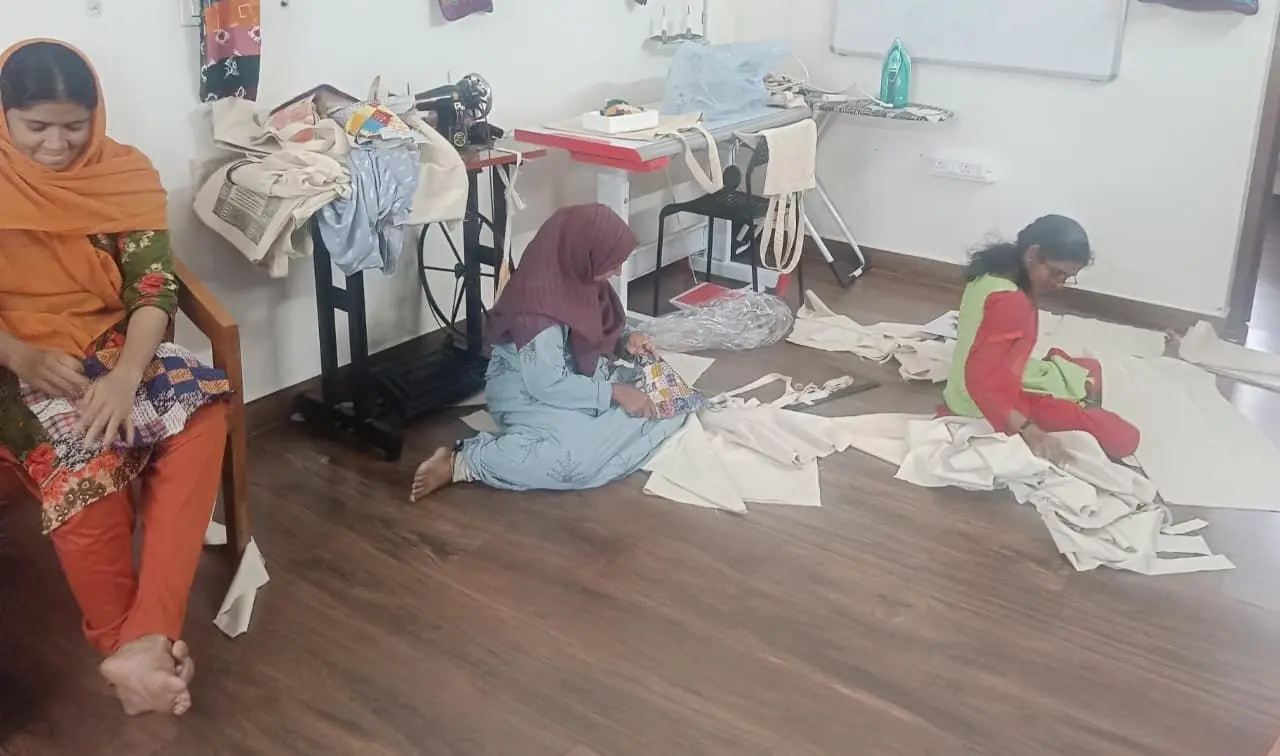
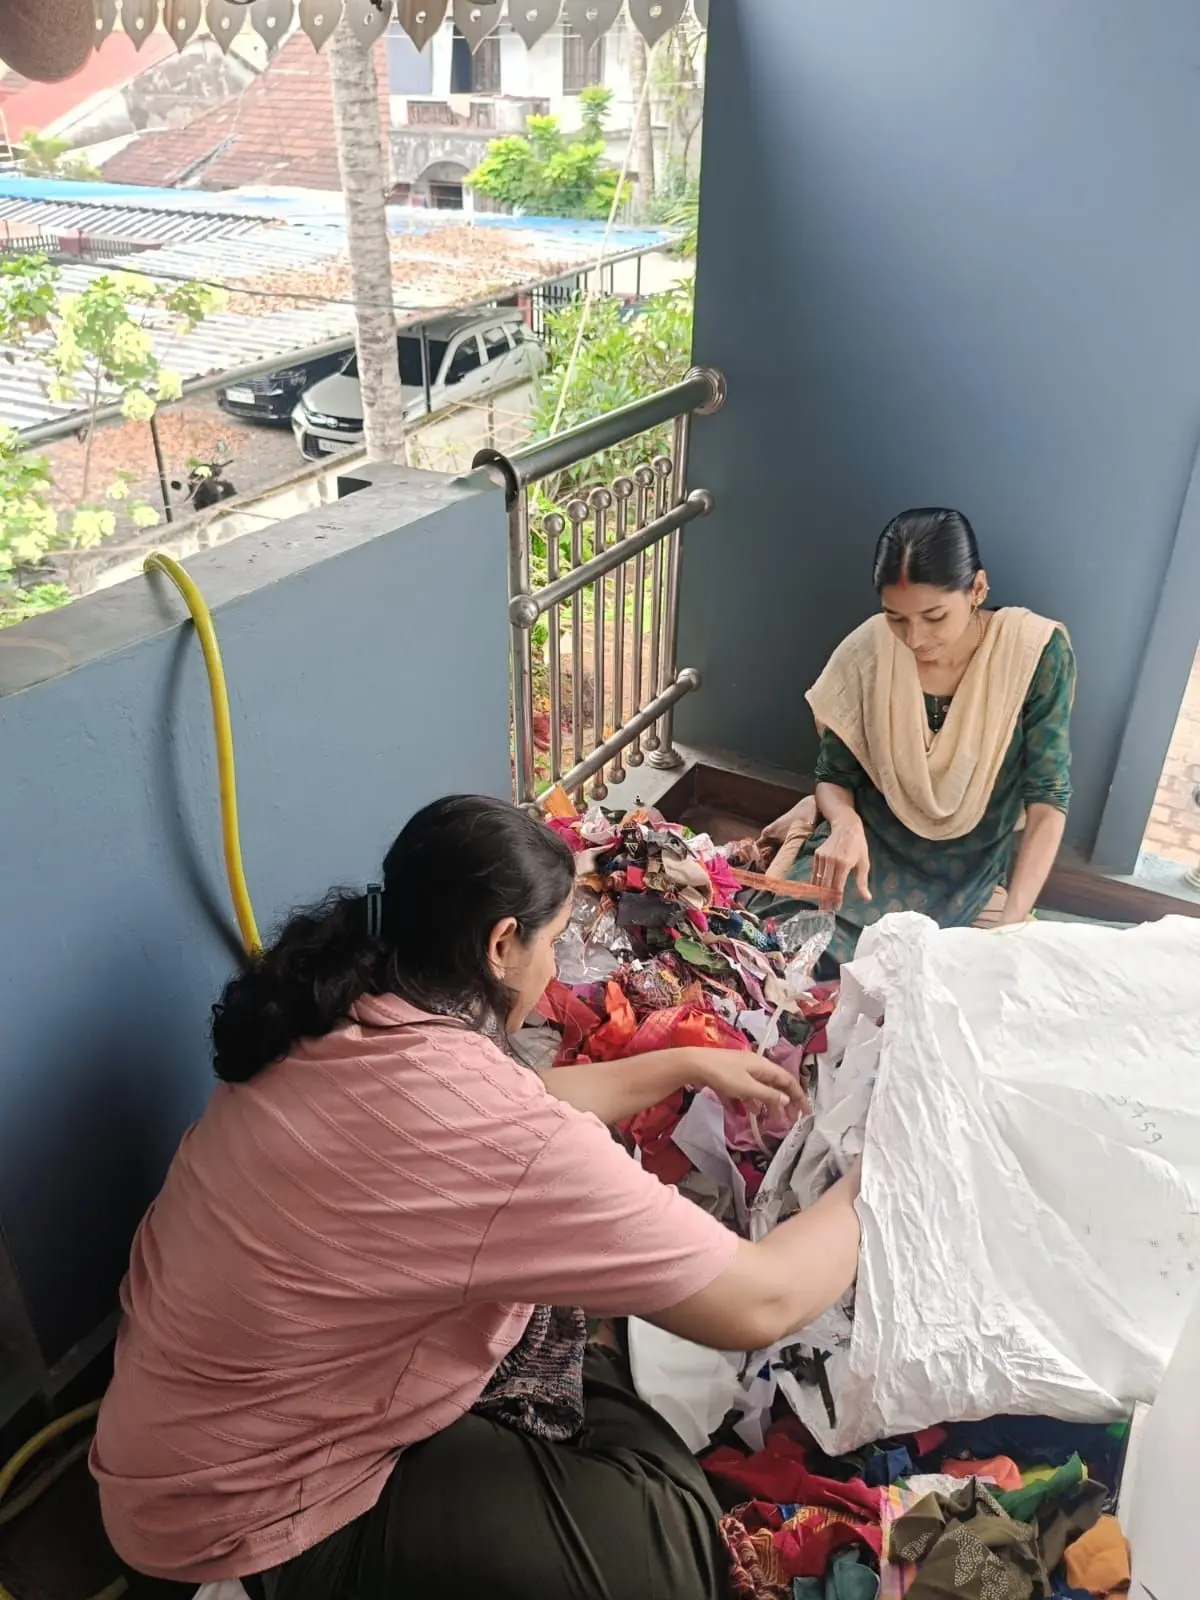
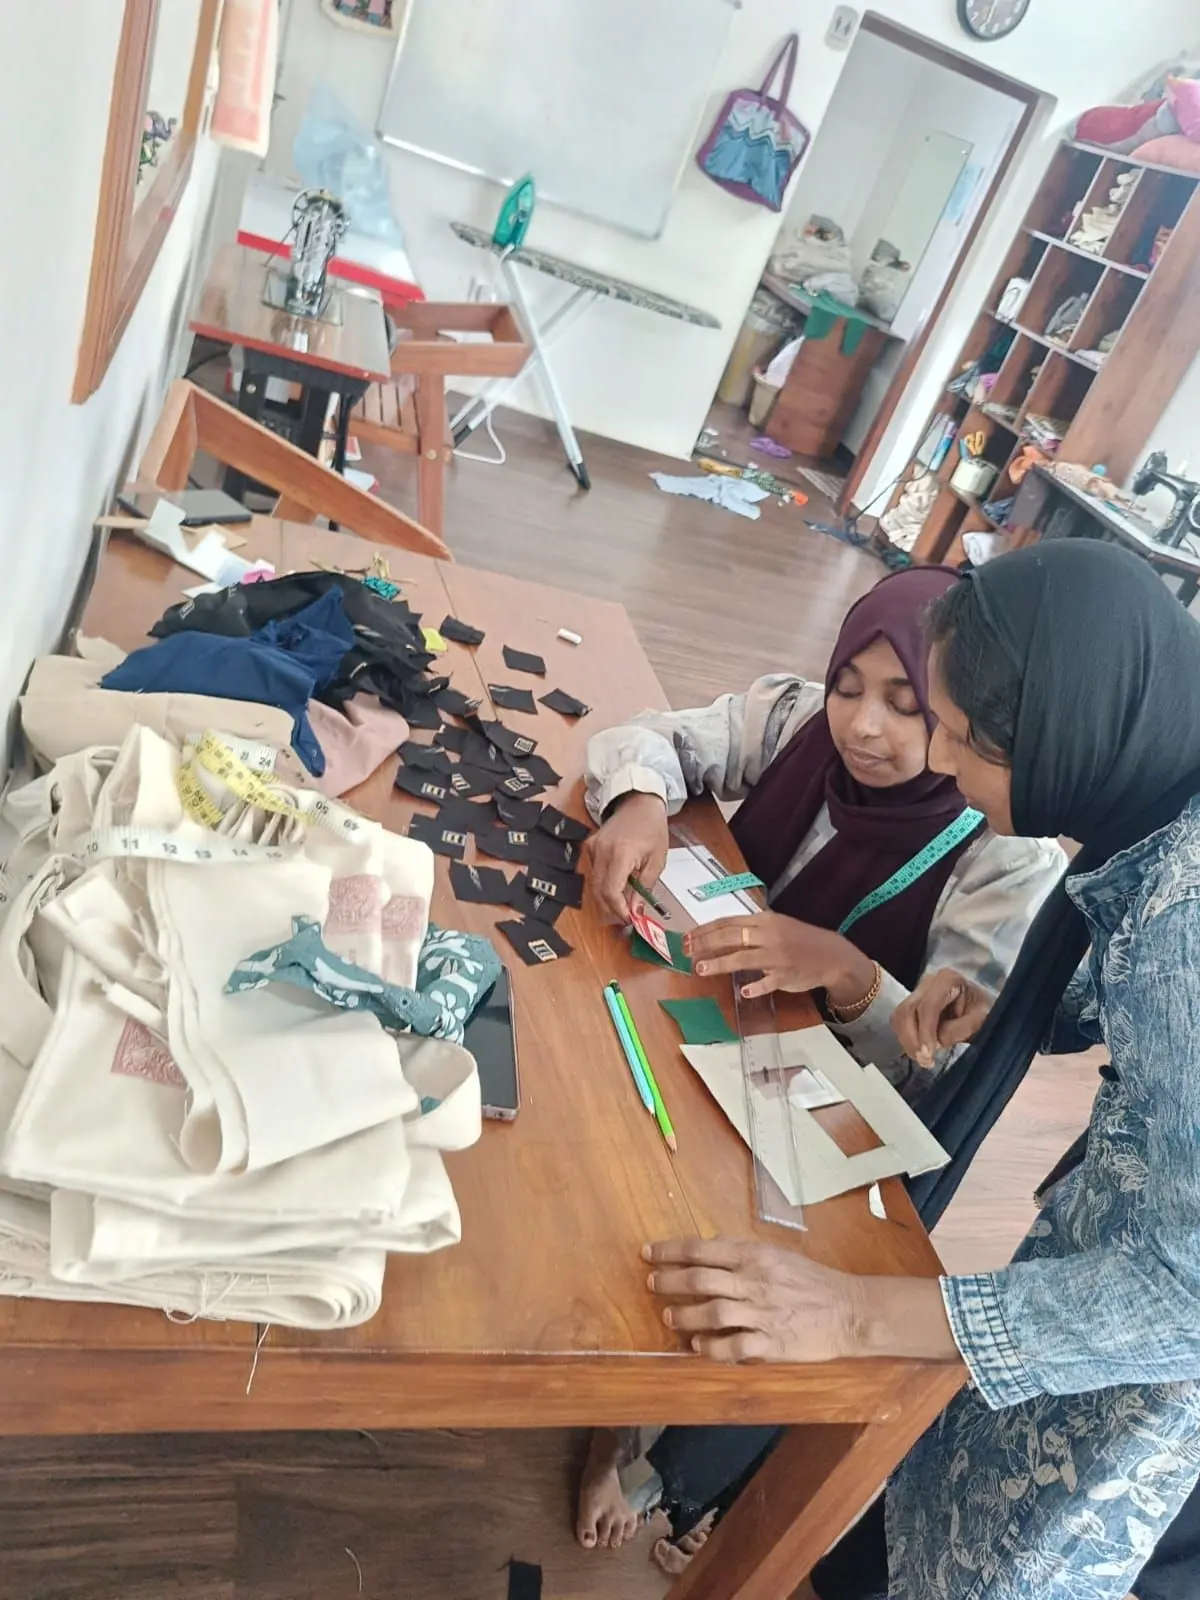
We had a busy and productive day. We continued our production sprint for our store launch. The launch needs an initial inventory of 400 to 500 different Kantha designs. As a team, we completed the full pre-treatment and sizing process. This included washing, drying, and ironing the cotton fabrics. Then we cut them into precise 6 × 6 inch squares. With teamwork, we finished about 350 cut squares in two days. We also photographed the pattern designs for cataloging. We kept steady progress on our Kantha embroidery panels.
Challenges and solutions
Scaling up our cutting volume created technical challenges. Managing bulk fabric was difficult. Keeping dimensional precision was hard. Even after thorough pressing, large stacks of fabric wrinkled again during handling. This required secondary ironing before final assembly. Folding and cutting too many layers at once caused inner layers to shift or bunch up. This led to uneven dimensions. To fix these errors, we used rigid cutting templates. We limited cutting stacks to one to three layers at a time. This ensured uniform 6 × 6 inch squares across the batch. We continued our daily Kantha stitching work.
Achieved 70% to 87% of our initial store launch fabric square target while establishing a standardized, high-accuracy cutting protocol for bulk production. How we know: Verified through physical piece counts, dimensional spot-checks using templates, and direct observation of the revised multi-layer cutting workflow.
(Participants told us)
What worked: Using rigid 6 × 6 inch cutting templates and limiting cutting stacks to a maximum of two or three layers stopped inner-layer shifting. This ensured consistent square dimensions.
What was difficult: Managing large quantities of pressed cotton caused fabrics to re-wrinkle before cutting finished. Cutting thick stacks led to measurement errors.
Changes for next time: Store freshly ironed fabric flat in smaller, manageable batches. Strictly follow the two-to-three-layer cutting limit using templates. This will avoid double-ironing and material waste.
Run this activity yourself. You are free to copy, change and share this write-up, as long as you credit aikyam space. Photos are not included. (Creative Commons licence CC BY 4.0)