Input
- What went in
- ndividual attention and revision of Nattadavu 1, 2 and 3 Teacher-created hand gestures for aramandi, samam and muzhu mandi Demonstrations and visual cues during individual and group practice
- Time
- 1.3 hours
Activity
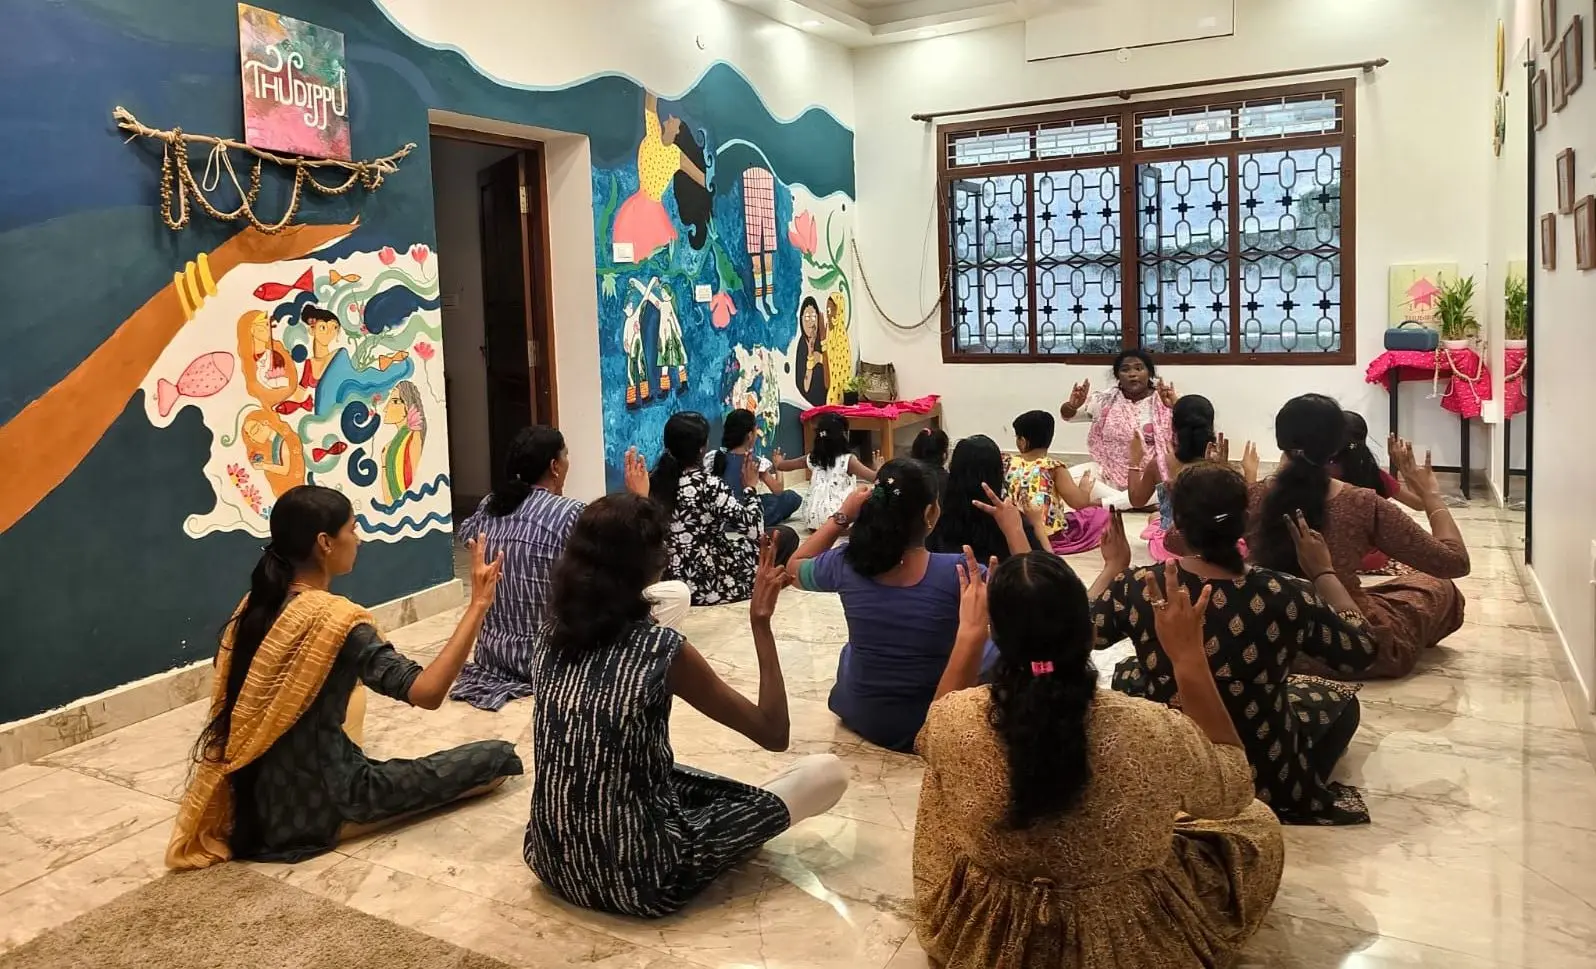
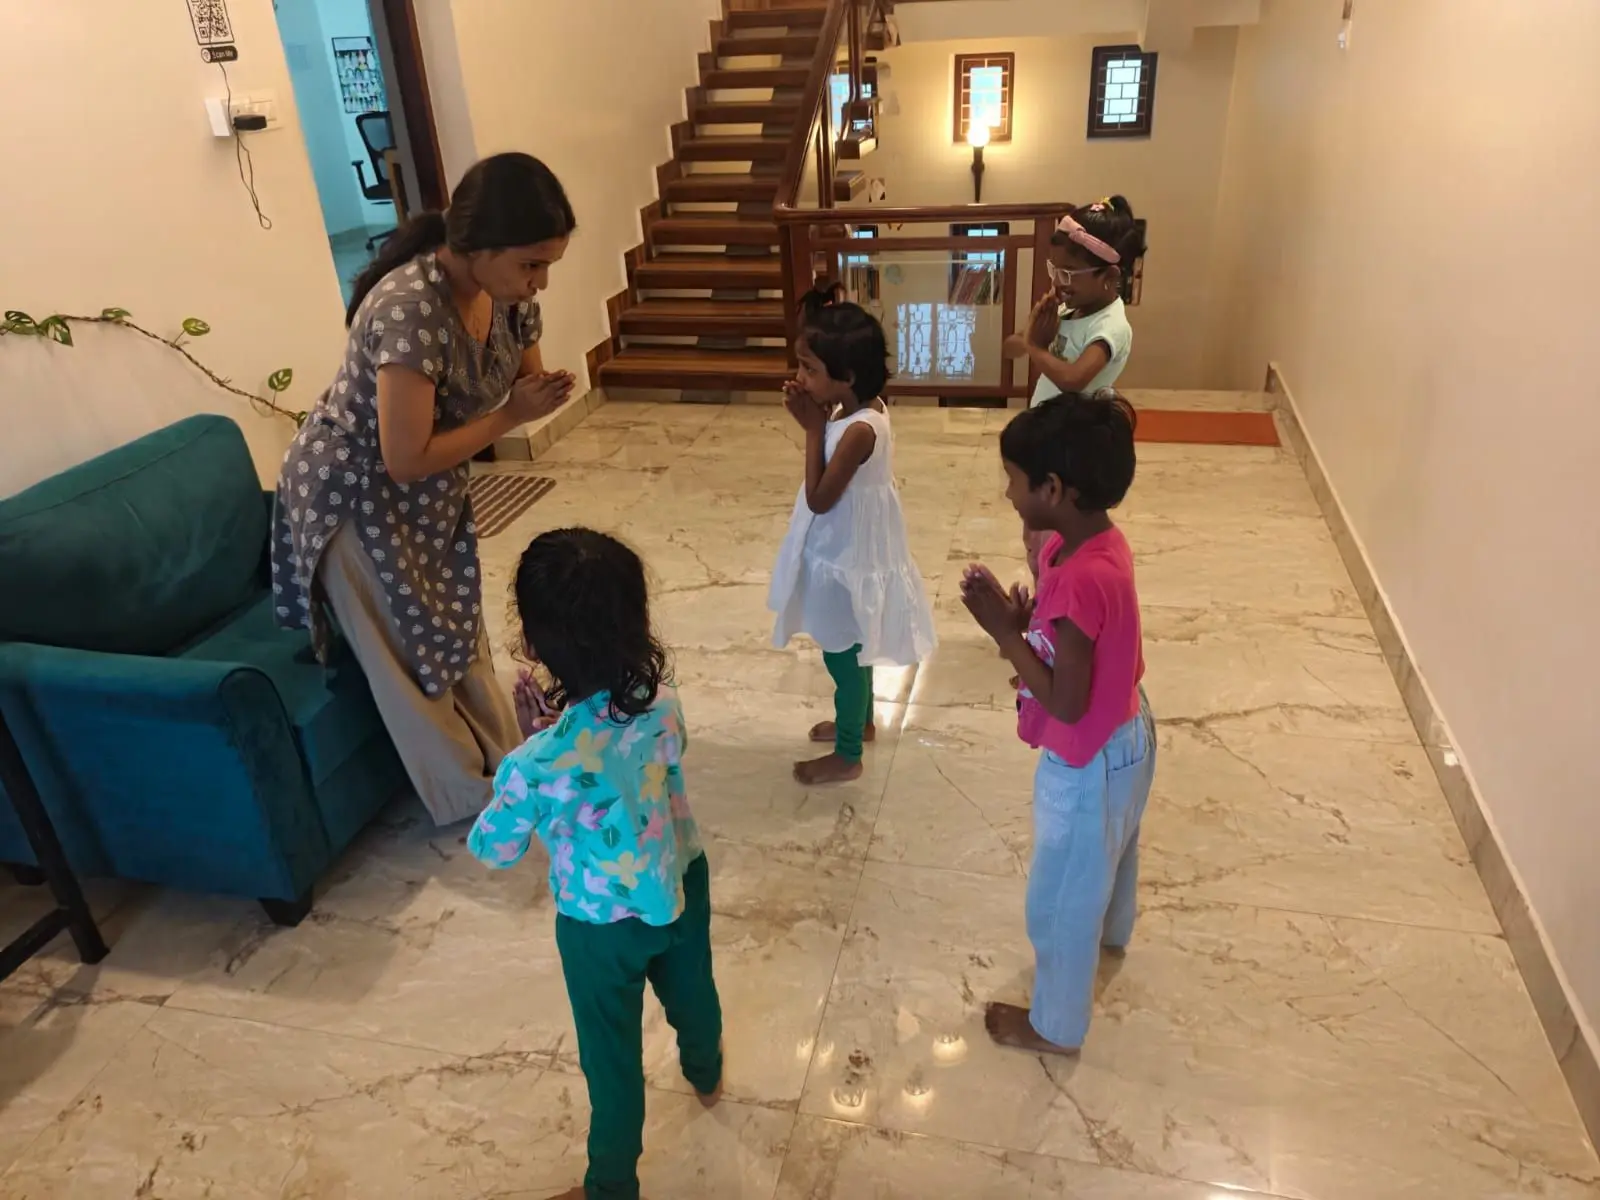
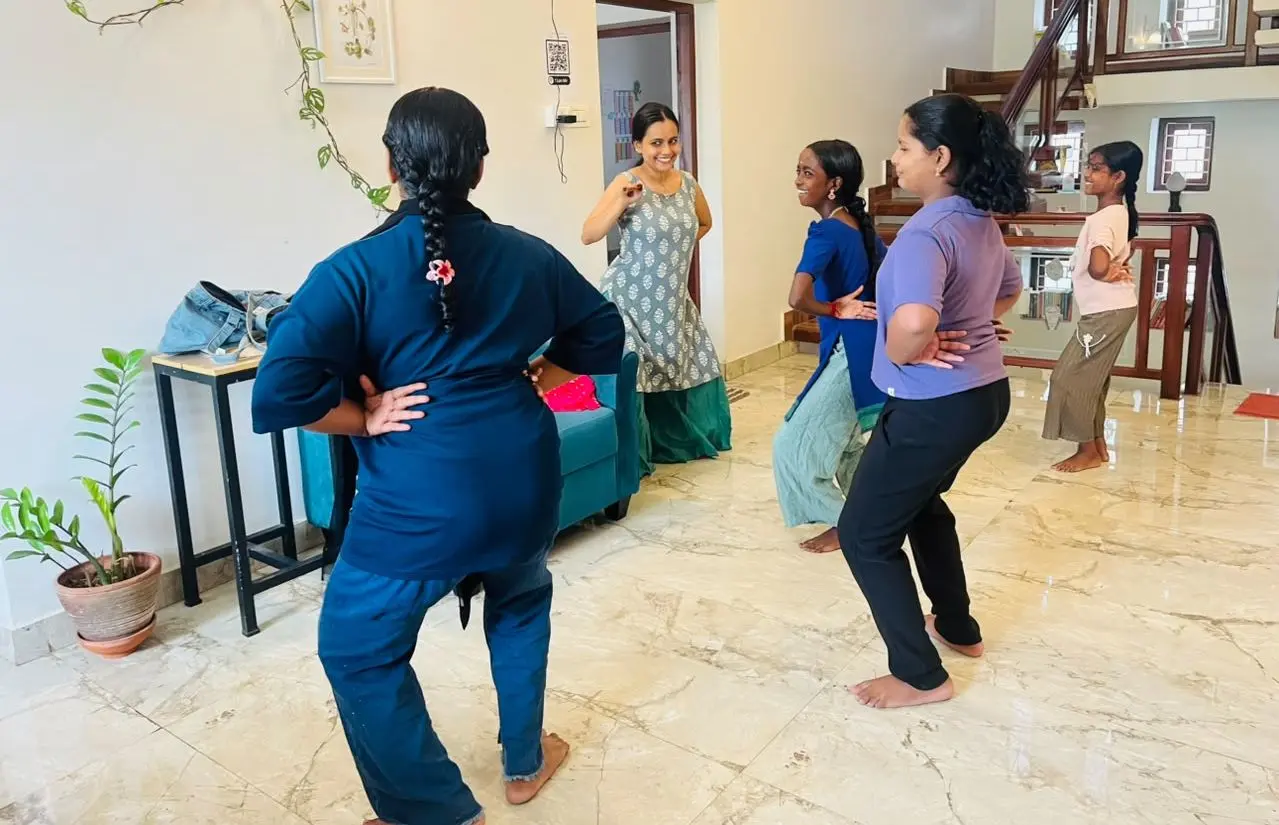
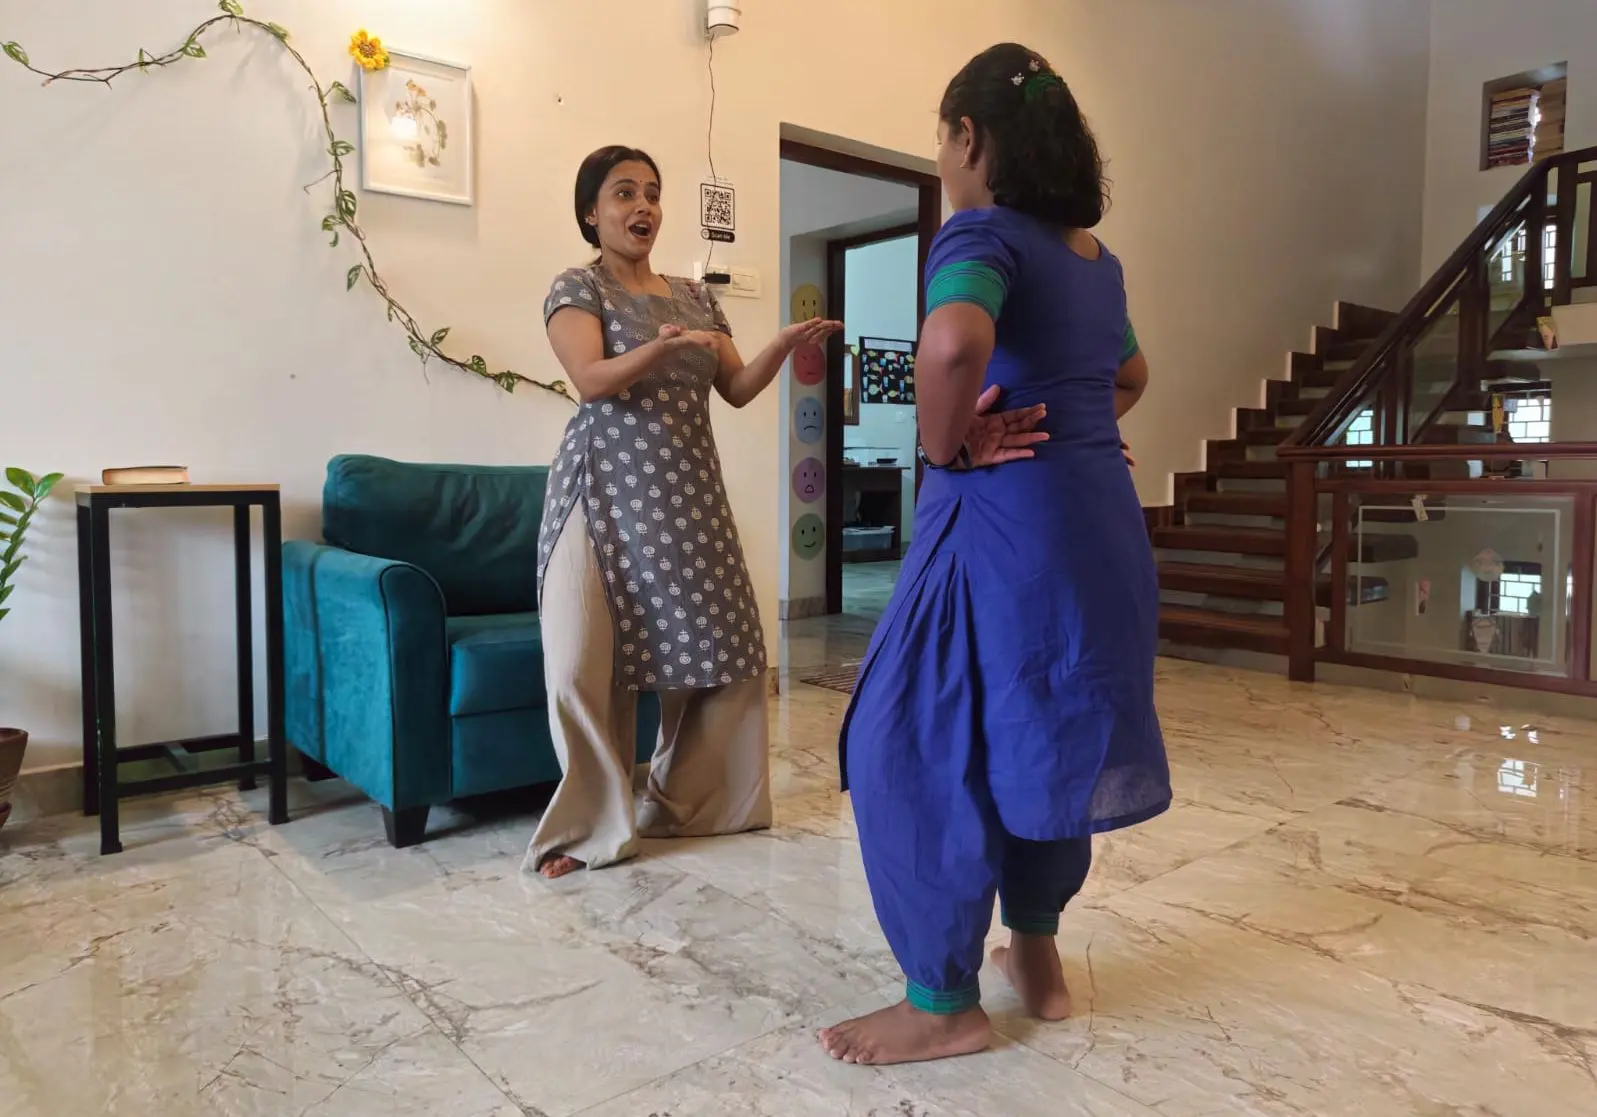
Only one student attended today’s class for children with hearing difficulties, as the others were unwell. I gave her individual attention and revised Nattadavu 1, 2 and 3 from the previous class.
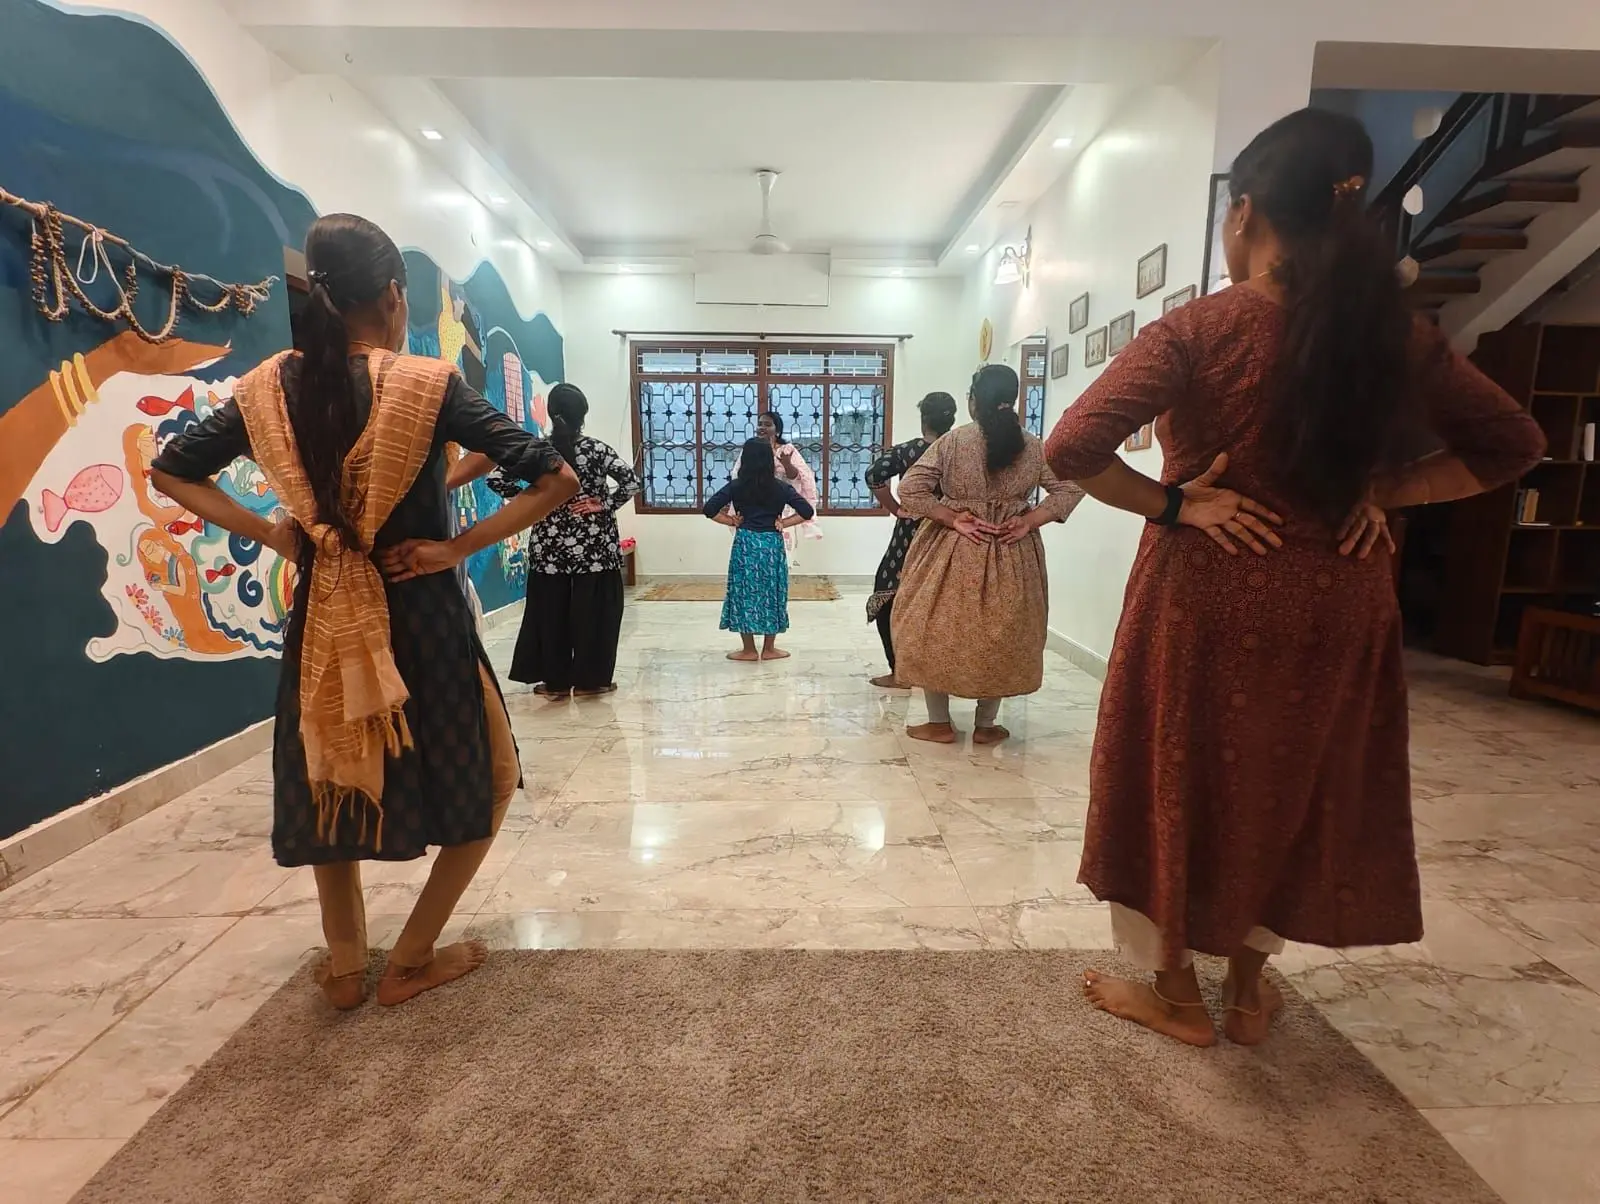
Today, I began creating my own hand gestures for dance terms and positions such as aramandi (half-sitting), samam (standing) and muzhu mandi (full-sitting). These gestures were not already part of our teaching method; I developed and introduced them to make dance instructions more accessible for my these students. Instead of relying on spoken reminders, I showed the student each gesture and explained the position it represented. She understood the gestures and responded by moving into the corresponding positions.
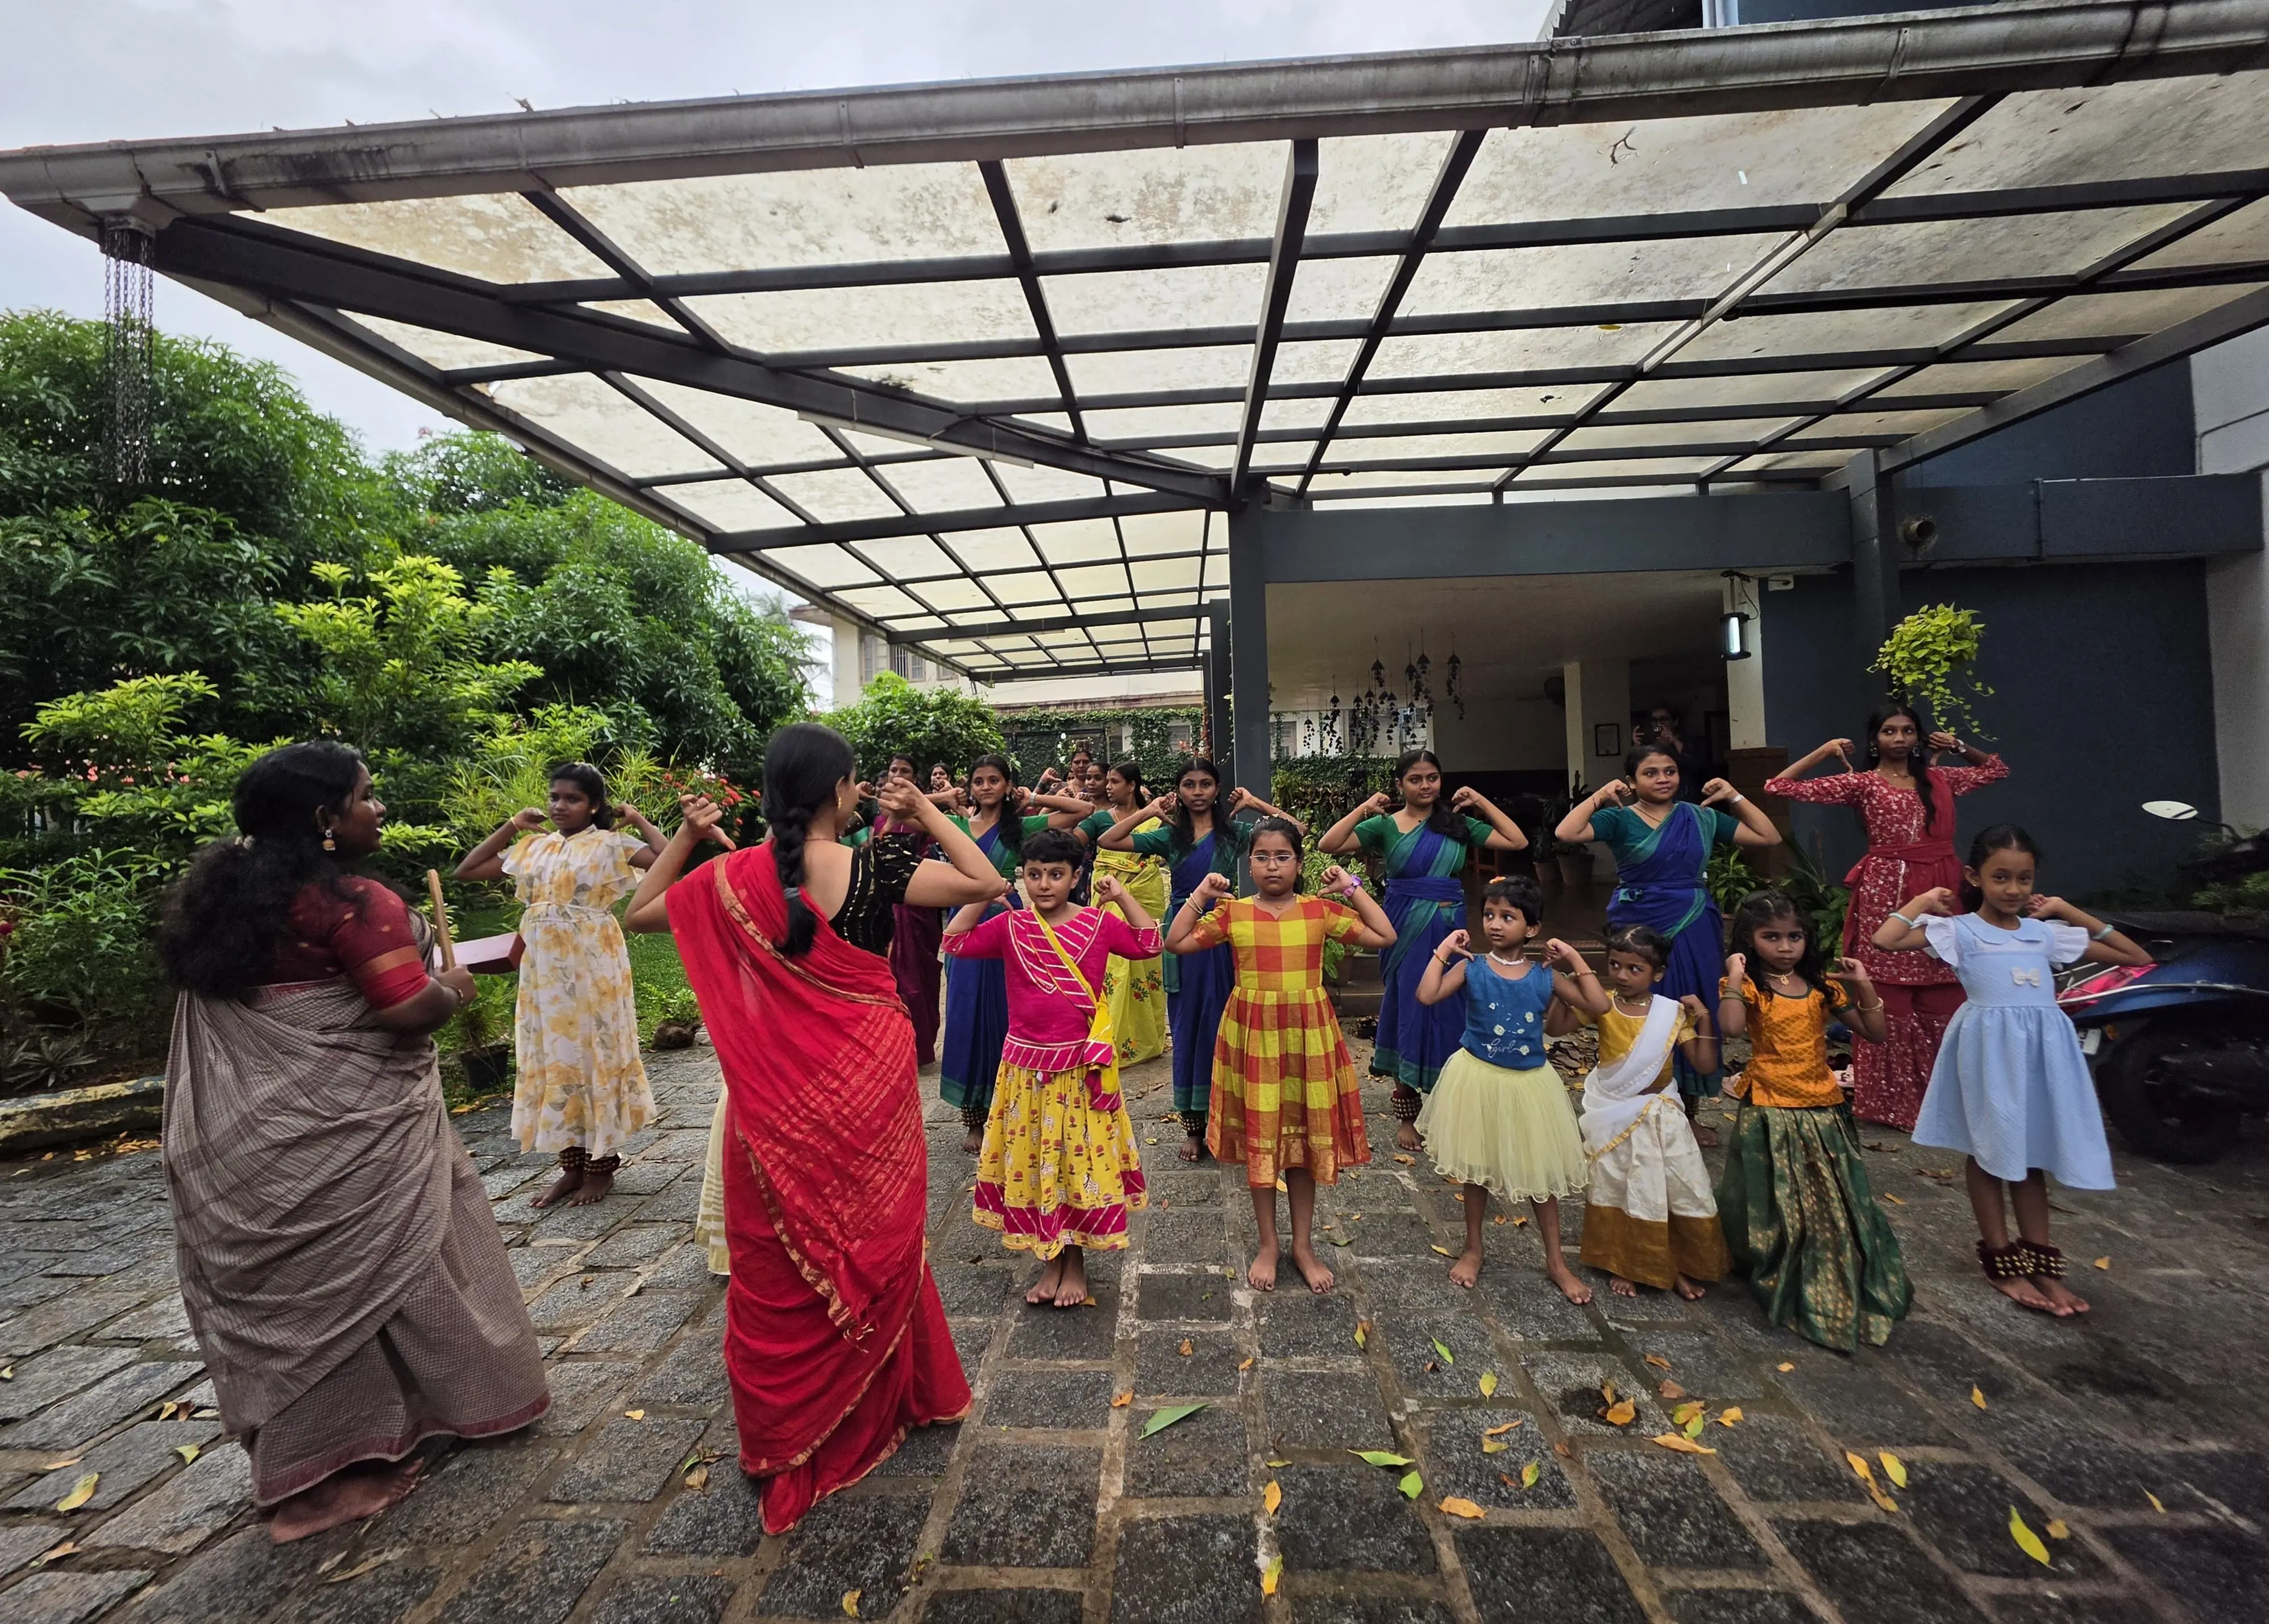
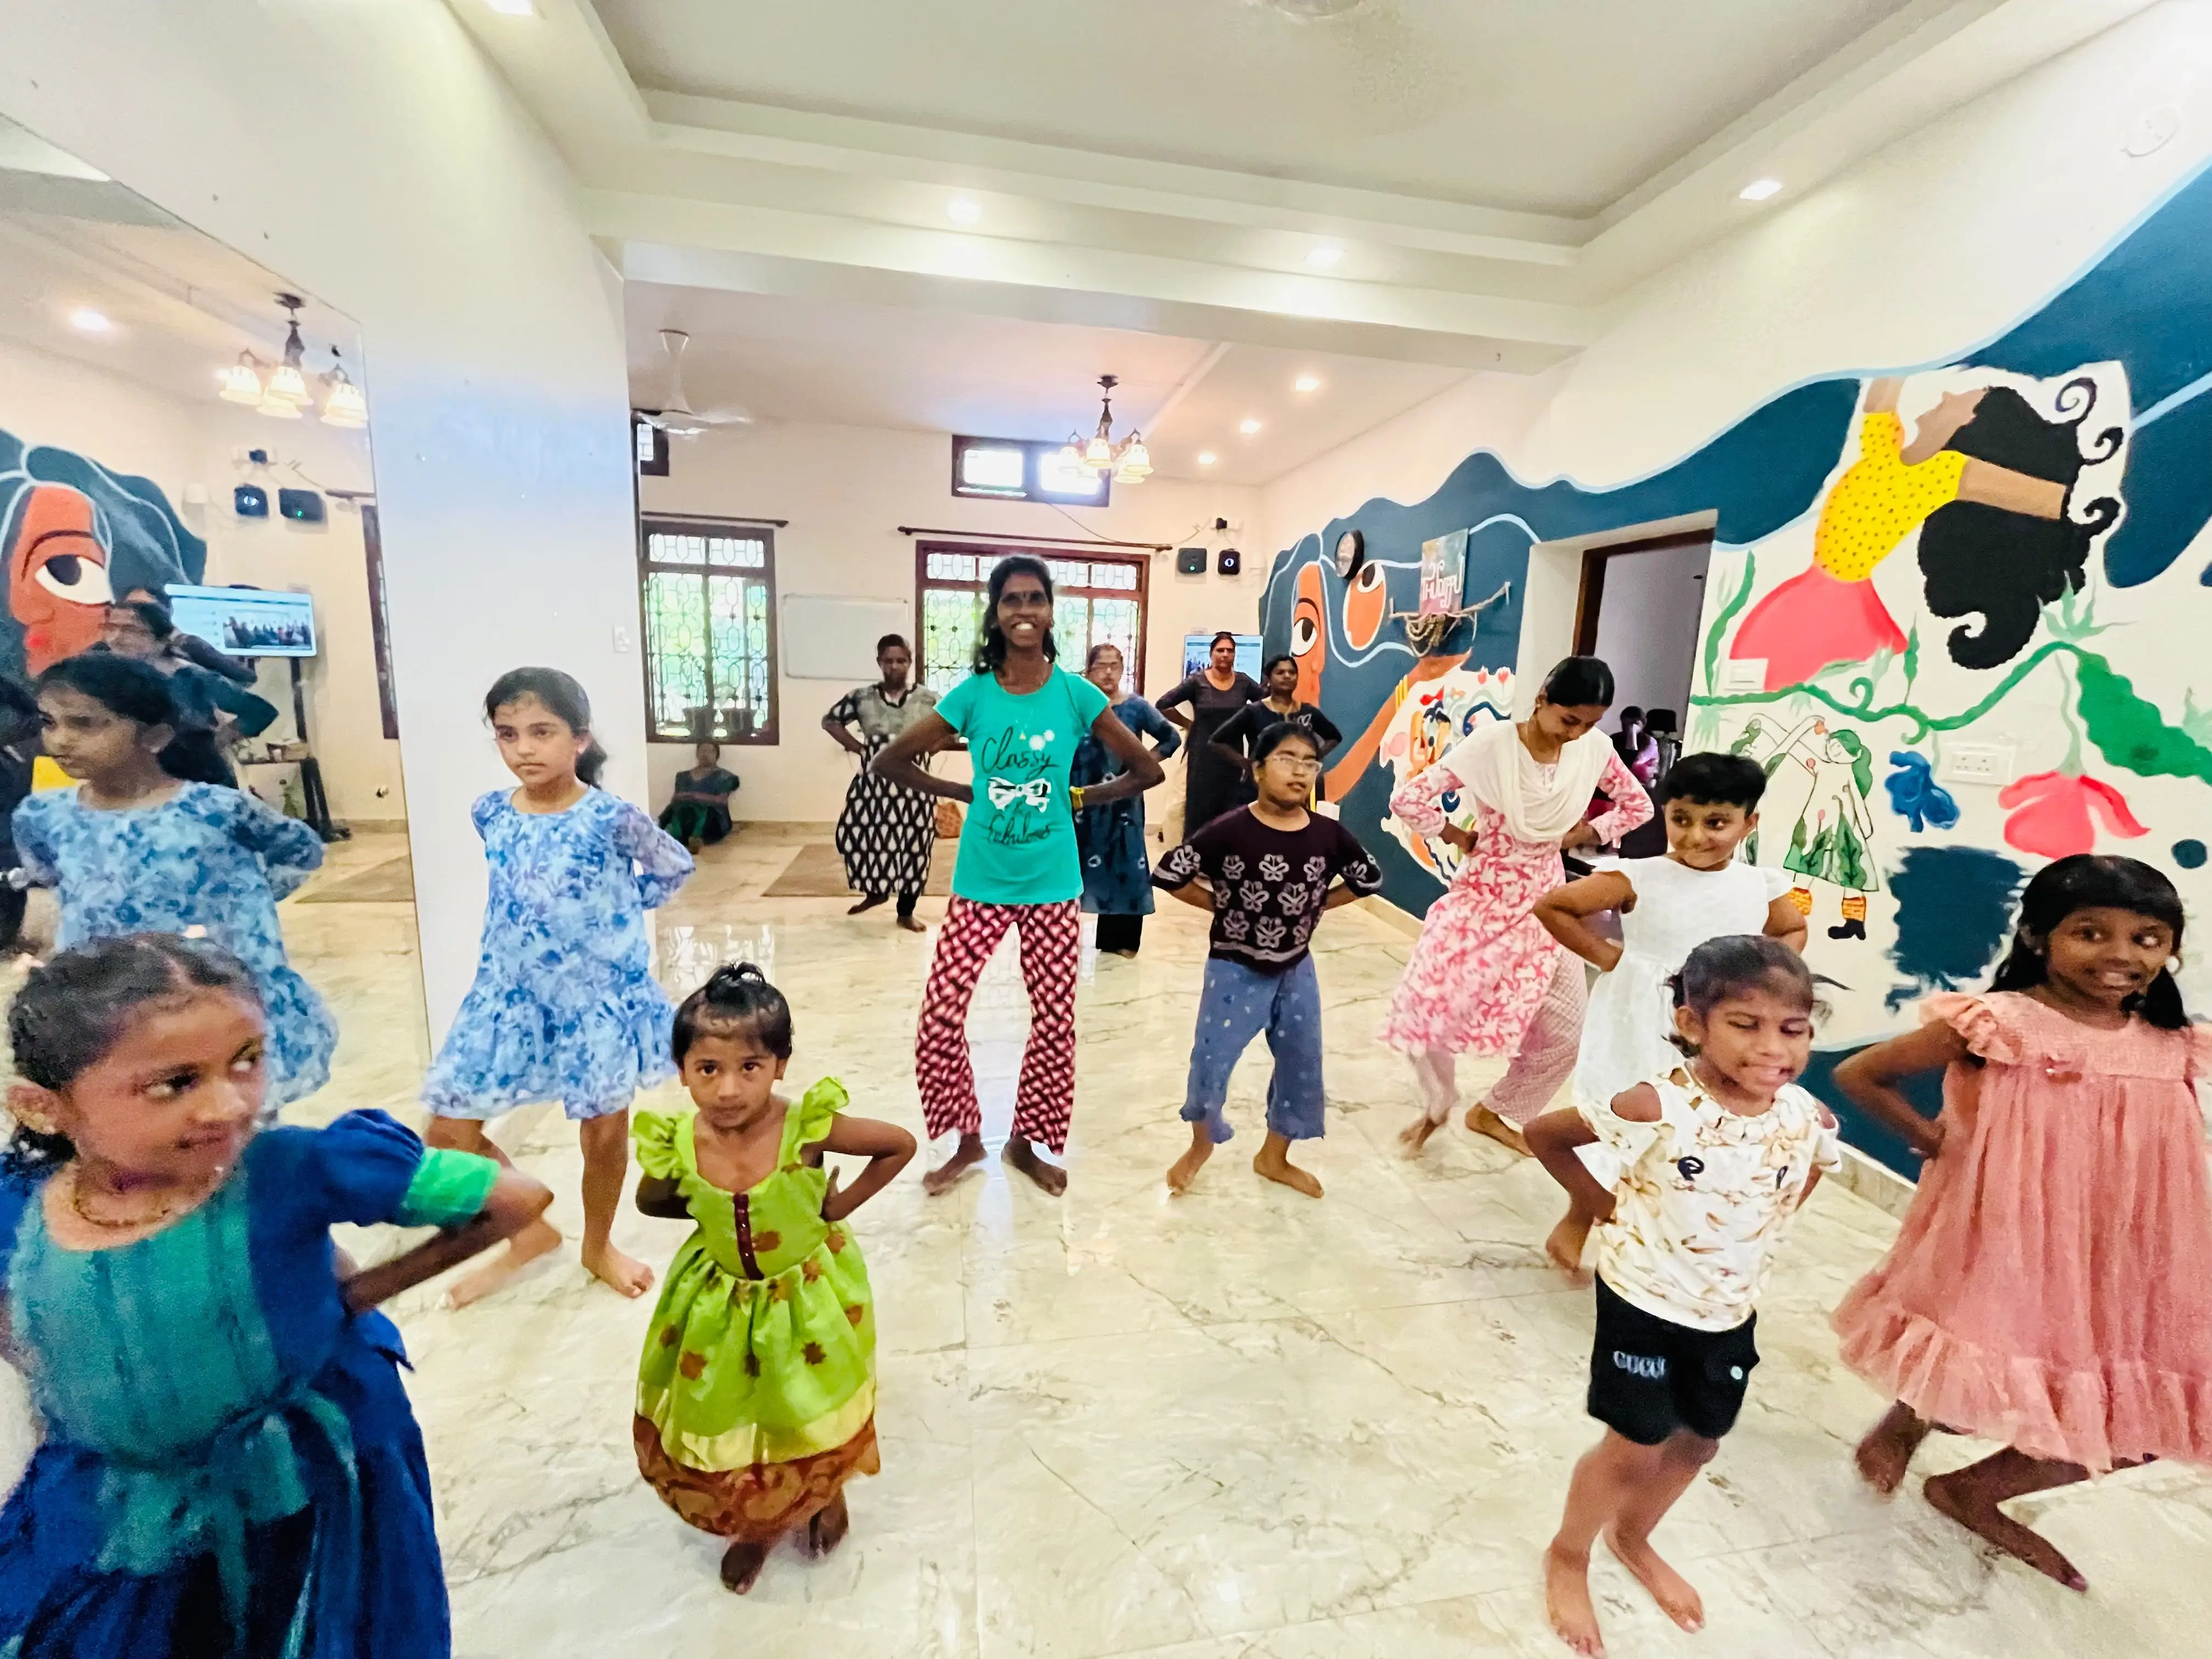
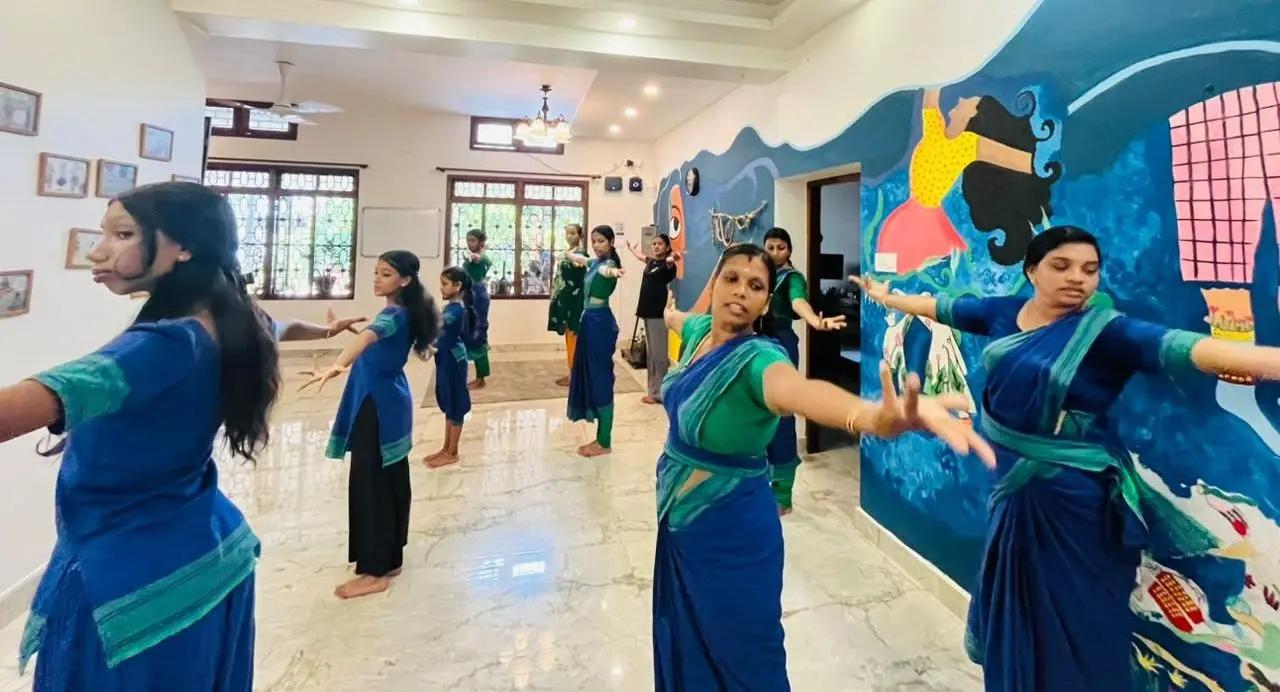
For the last 15 minutes, she joined the other children’s batch to practise the Adavus. I stood near her and gave visual cues as she tried to follow along and dance with the group.
Outcome
The student responded to the newly created gestures by moving into the positions they represented. When she joined the other batch, she tried to follow the visual cues and practise alongside the children. This showed that the gestures helped her understand the instructions and take part in the class.
(We observed it)
Learnings
As a teacher, I learned that creating clear visual gestures for technical dance terms can make learning more accessible for students with hearing difficulties.These cues can help students understand instructions and participate in practice without relying on spoken reminders.
Run this activity yourself. You are free to copy, change and share this write-up, as long as you credit aikyam space. Photos are not included. (Creative Commons licence CC BY 4.0)