Input
- What went in
- Batteries, LEDs, aluminium tape (copper tape could not be found), sellotape, a short game and a digital simulation
Activity
We usually begin Curiosity Club with a question rather than an explanation.
This week, holding up a battery and a small LED, we asked:
“What do you think we need to do to make this light turn on?”
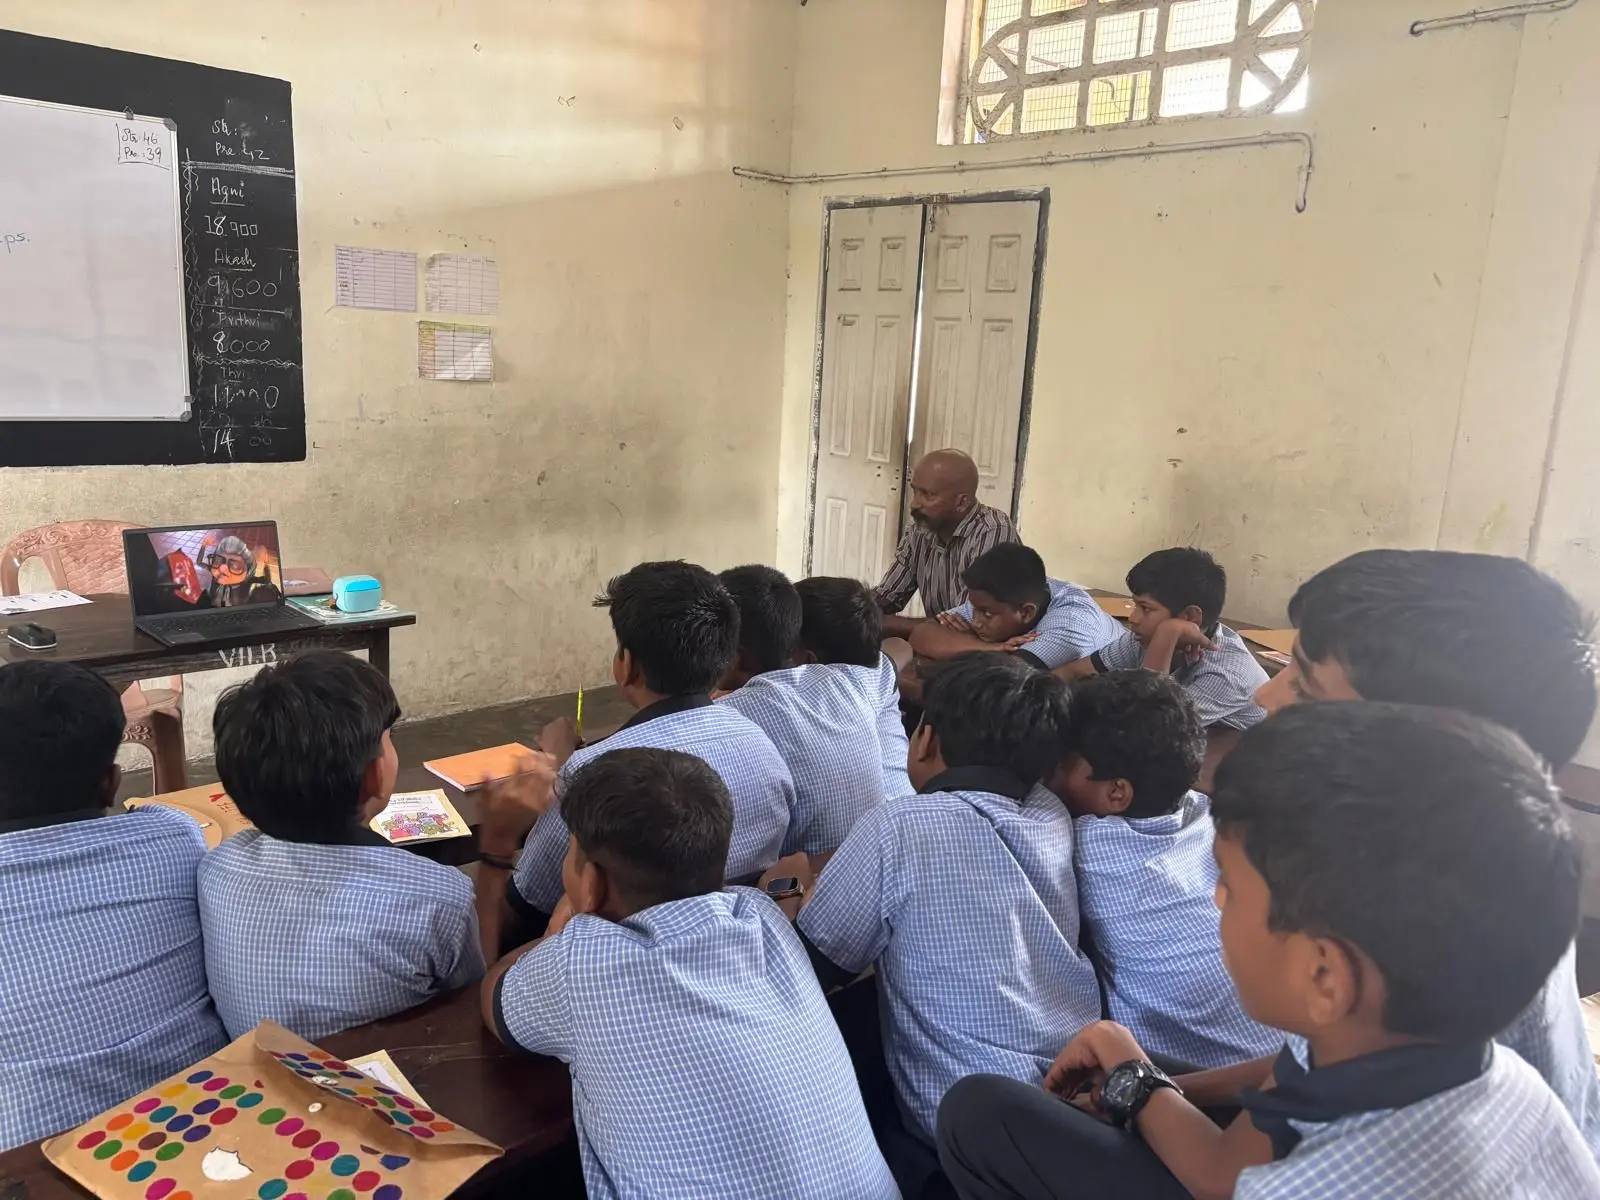
The children shared their ideas first, and from there we introduced a few simple concepts around atoms, electrons and circuits. We used a short game and a digital simulation to help make the invisible parts of electricity a little easier to imagine.
Then came the real test: could they make the light turn on themselves?
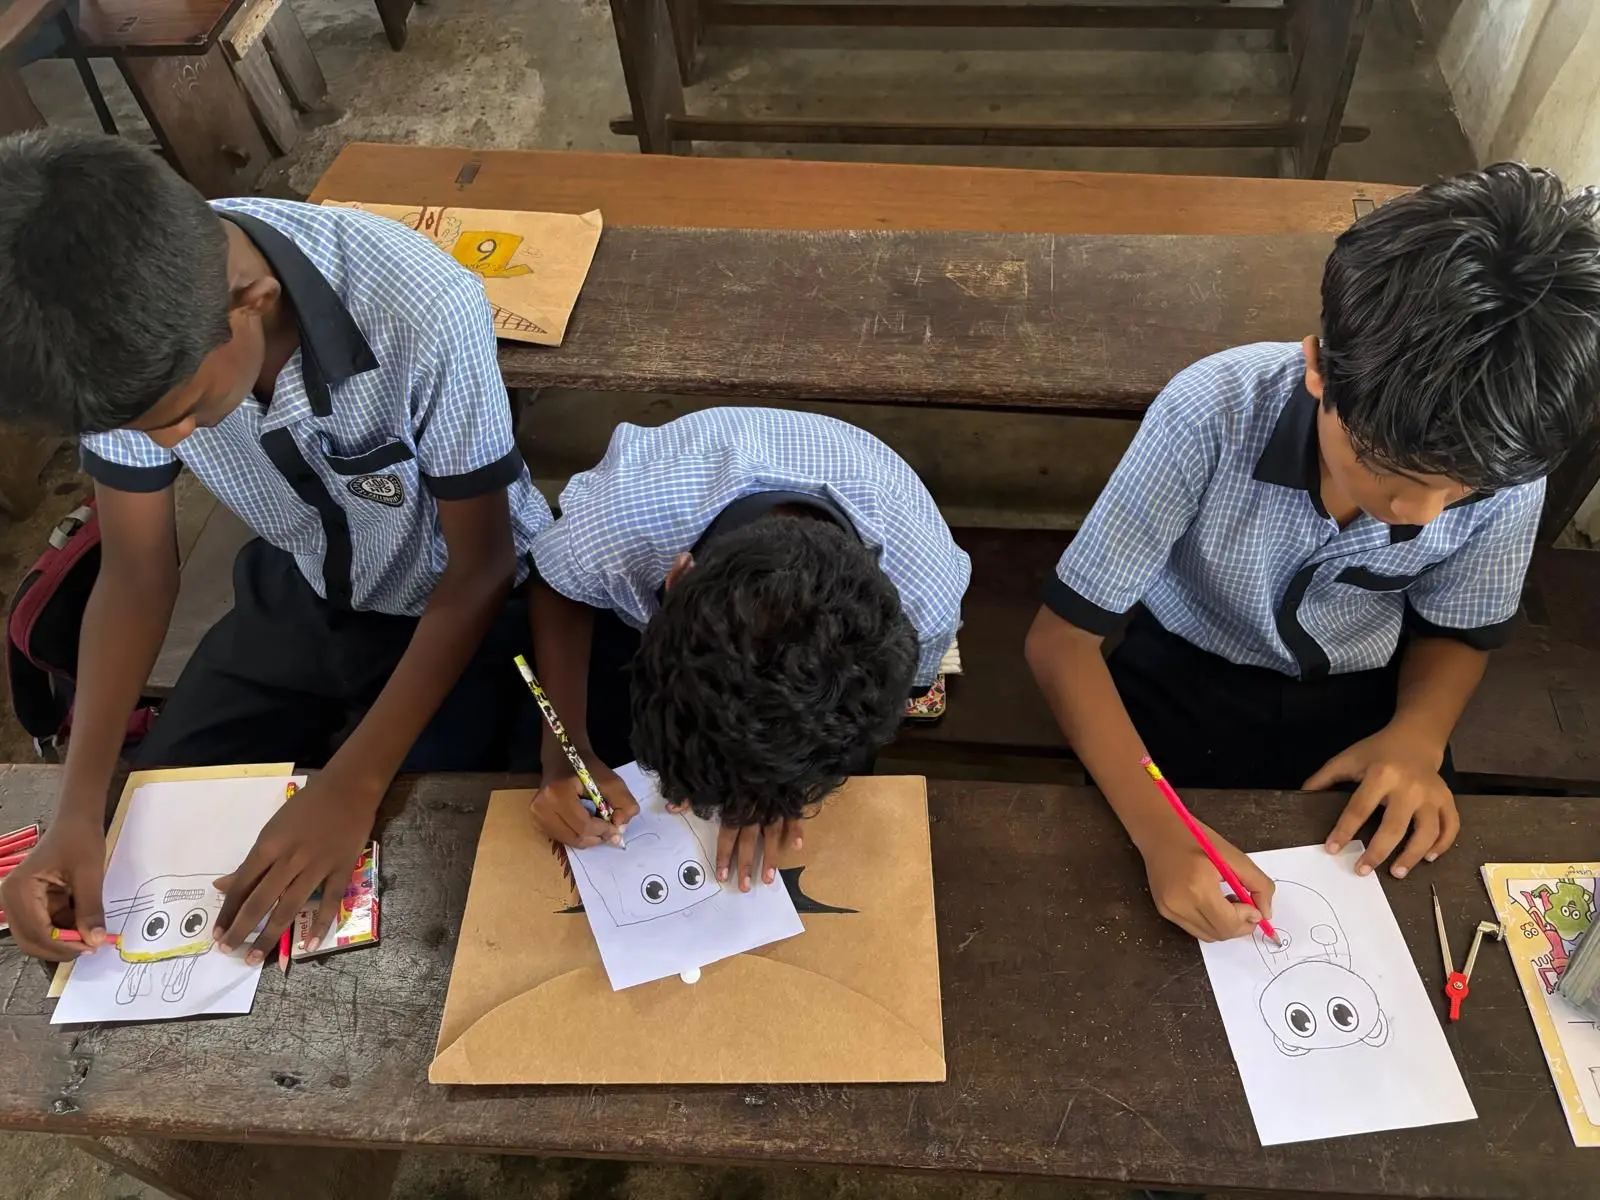
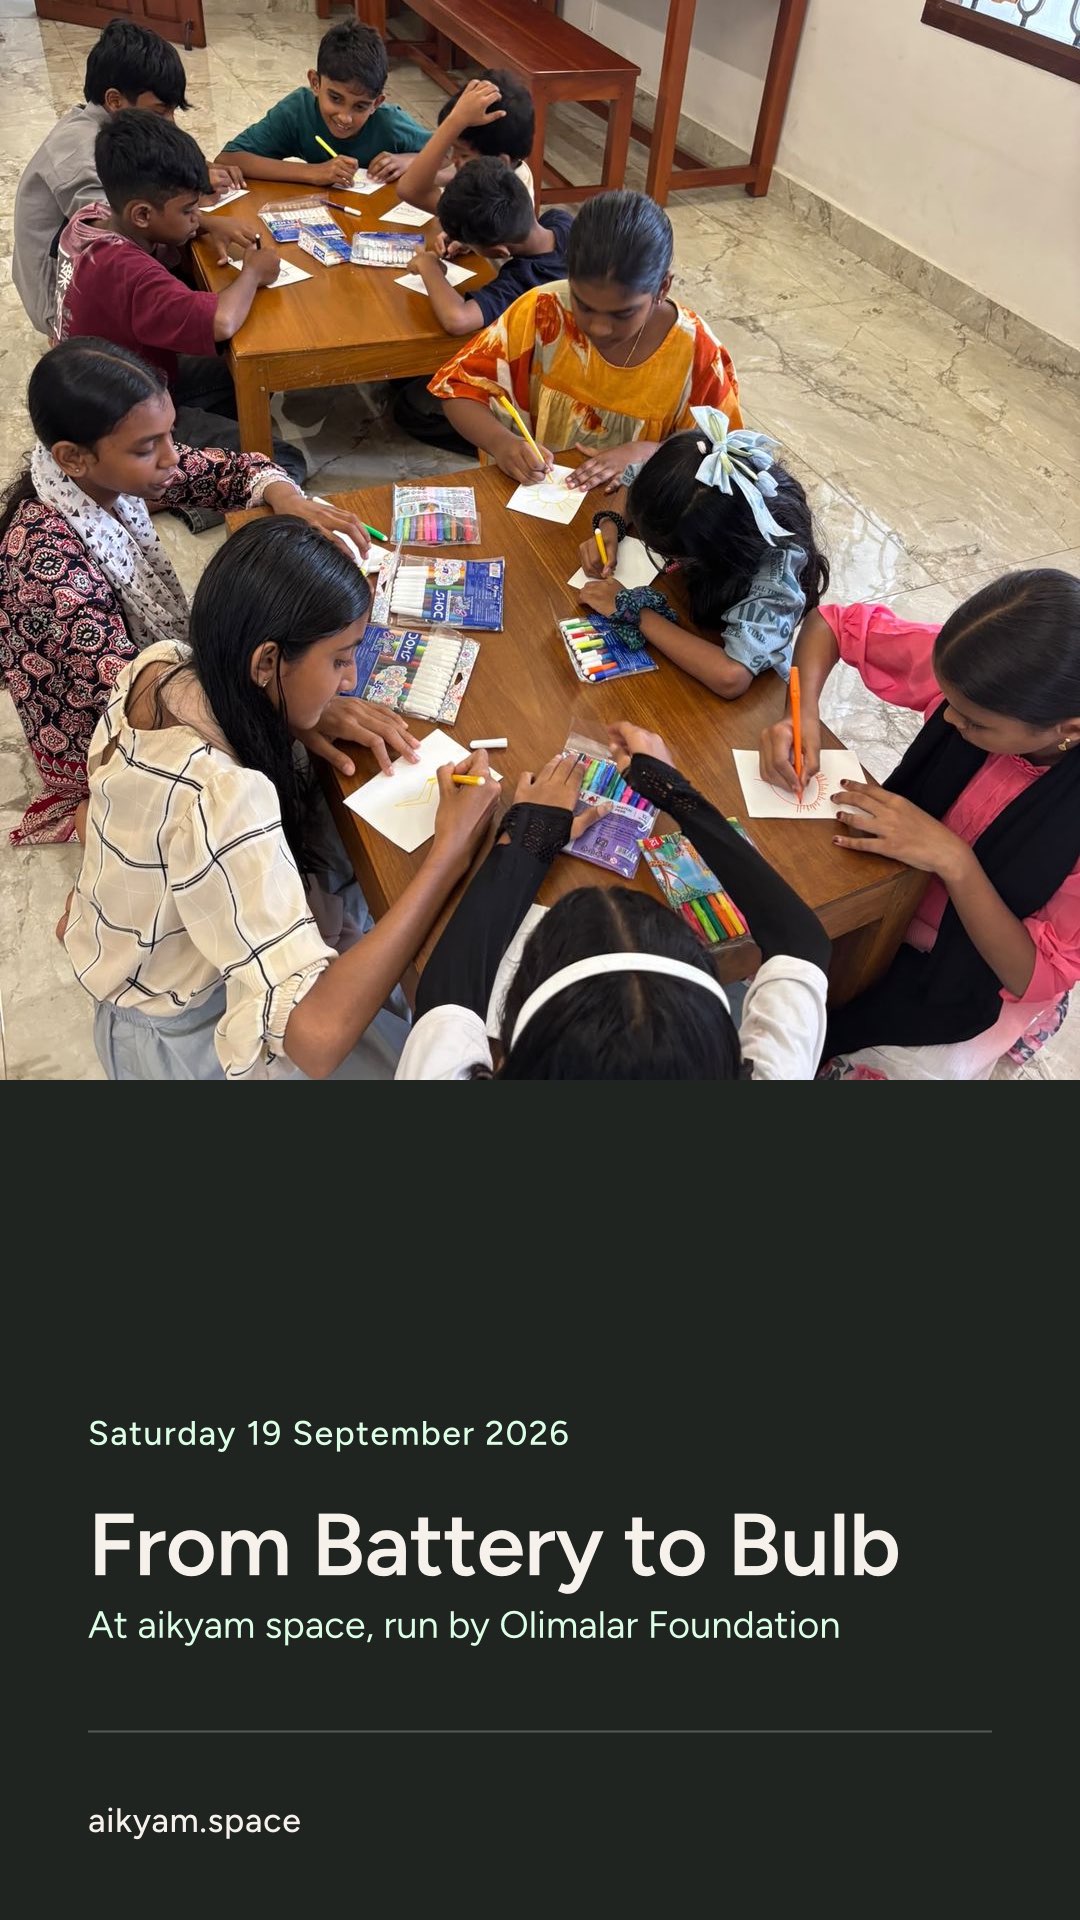
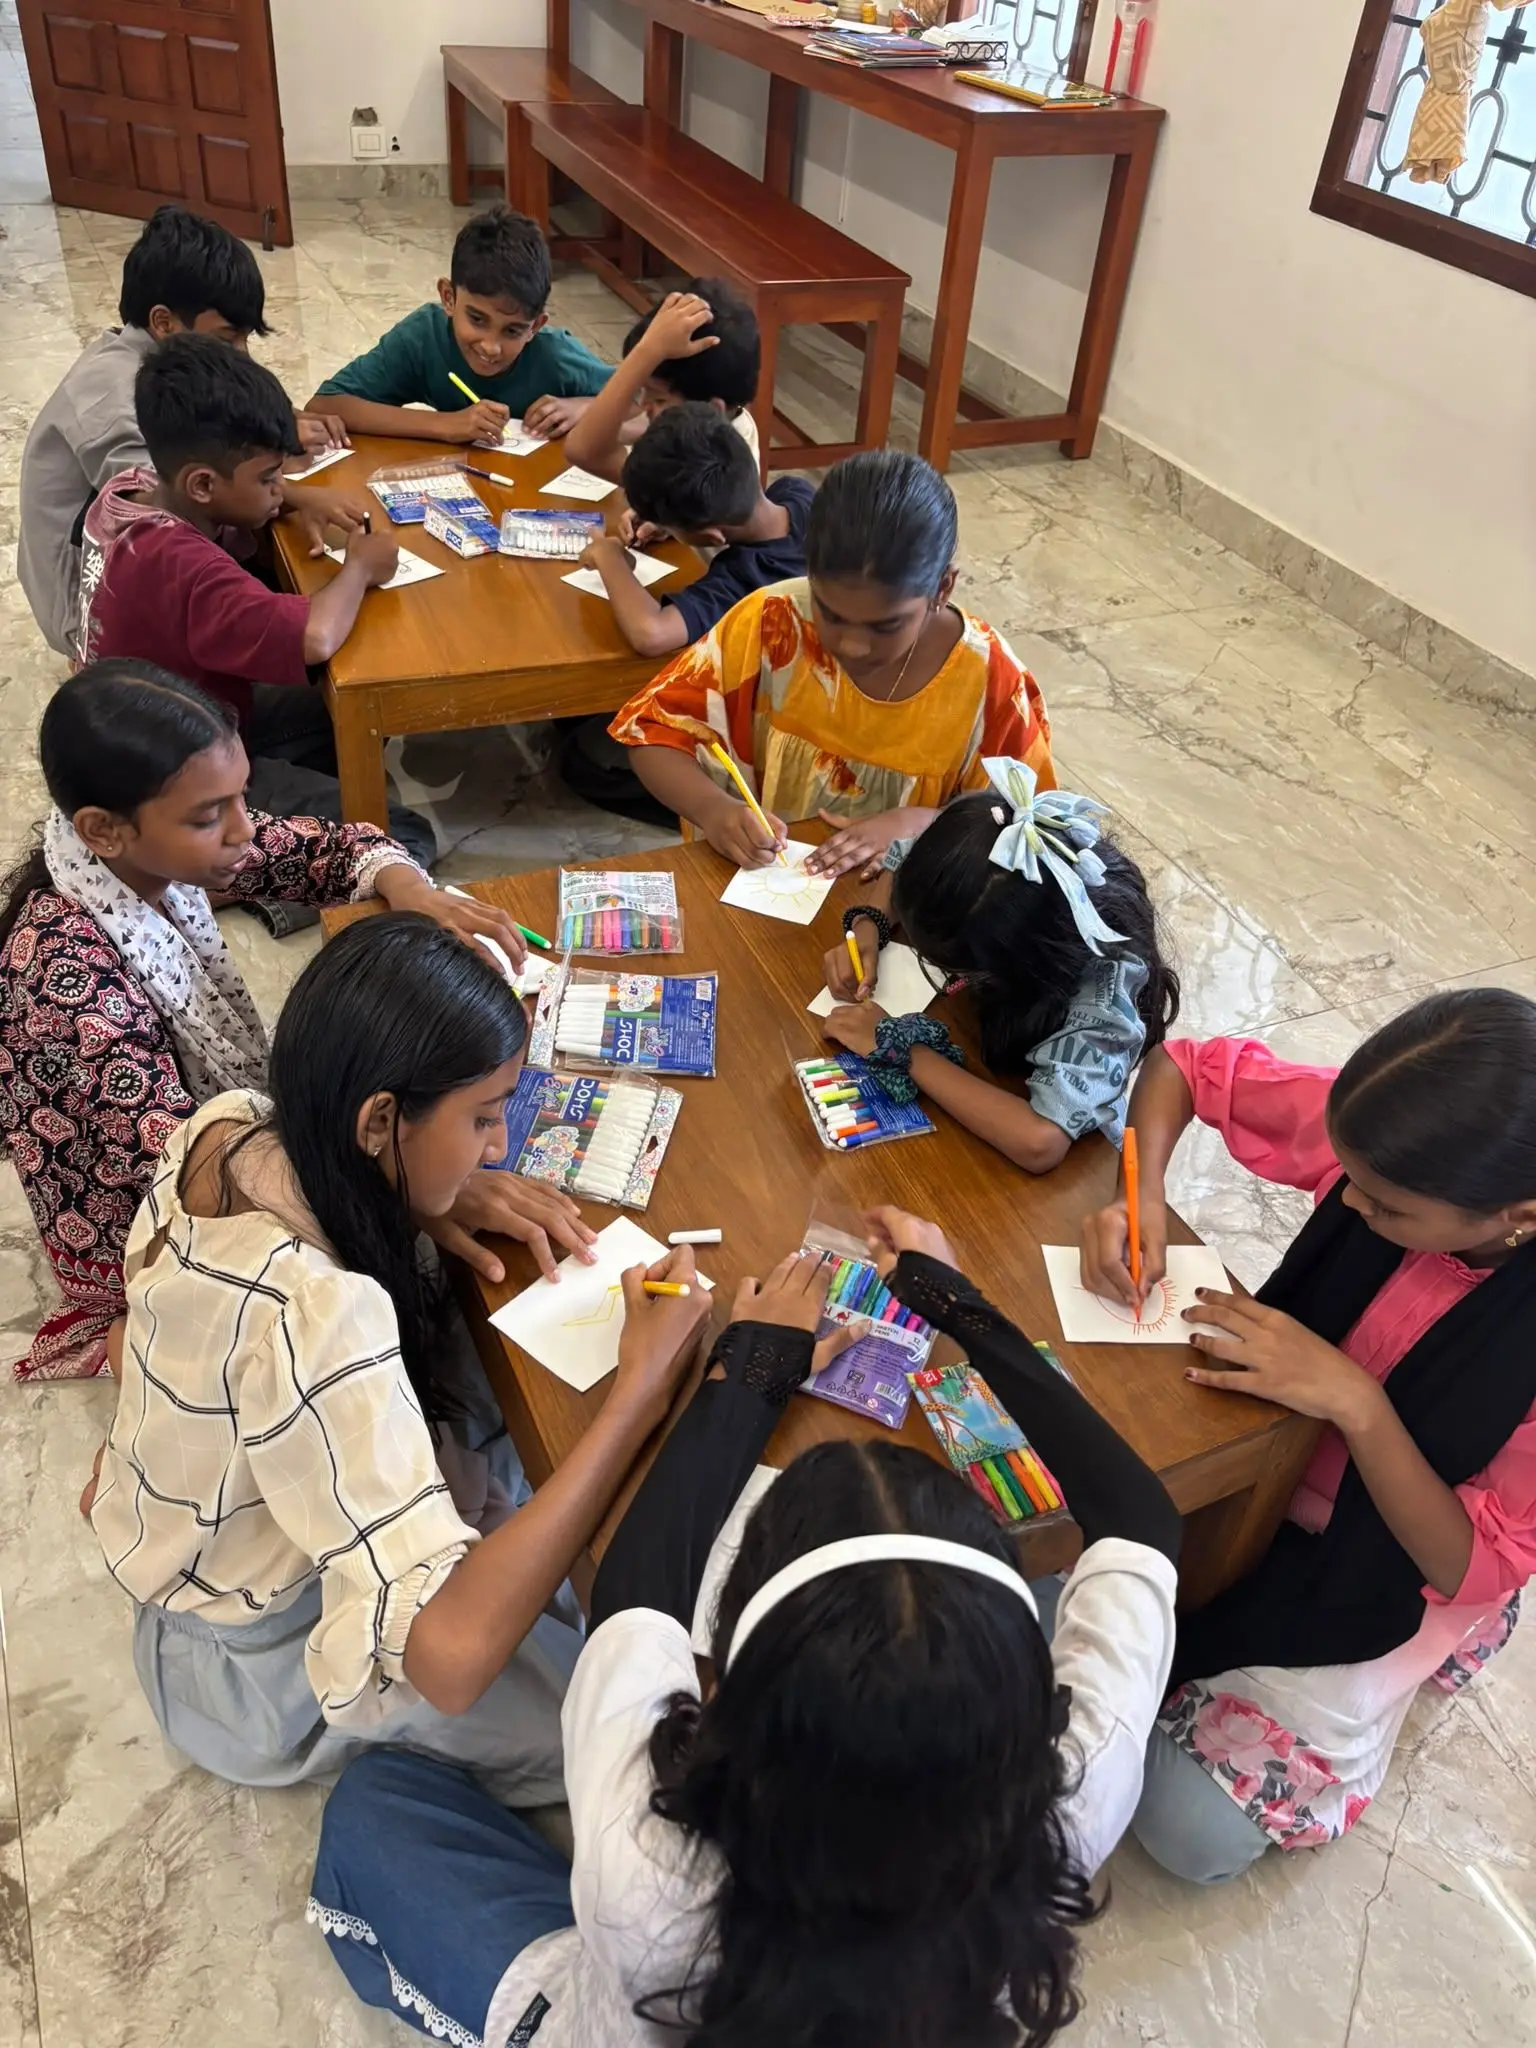
Each child built a paper circuit using a battery, LED and conductive tape, then turned it into their own design. We had traffic lights, lightning bolts and cars with working lights.
Not every circuit worked first time.
We had been unable to source copper tape, so we used aluminium tape instead, and some connections needed to be adjusted or rebuilt. We also noticed that some children used quite a lot of sellotape to hold things in place, which sometimes interrupted the connection and stopped the circuit from working.
That ended up being one of the best parts of the session.
Instead of giving up, the children kept checking, changing and trying again. One boy struggled for quite a while, but stayed with it until his light finally came on. The look on his face when it worked said everything.
By the end, every child who stayed to complete the activity managed to light their LED.
We came away with a few practical learnings. Next time, we would slow the build down further and demonstrate one step at a time before everyone moves on.
We are also curious to try reversing the order altogether — letting the children attempt the circuit first, notice what works and what doesn’t, and then using their questions and mistakes to introduce the science behind it. For a concept as abstract as electricity, experiencing the problem first may make the explanation easier to understand.
A messy, hands-on session with plenty of trial and error — which, in the end, was exactly where much of the learning happened.
Output
- Paper circuits, one per child
Outcome
Every child who stayed to finish lit their LED. The children kept checking, changing and trying again, and one boy stayed with it until his light came on.
(We observed it)
Learnings
Slow the build down and demonstrate one step at a time. Next, try letting the children attempt the circuit first, and use their questions and mistakes to introduce the science.
Run this activity yourself. You are free to copy, change and share this write-up, as long as you credit aikyam space. Photos are not included. (Creative Commons licence CC BY 4.0)